
While there are many effects you can implement in your video project in DaVinci Resolve, one of the most popular effects is an animated text highlight. DaVinci Resolve doesn’t offer a built-in text highlight effect, but you can achieve this effect in a few minutes.
By highlighting a text, you can draw attention to important elements in your video and make it more engaging.
In this step-by-step tutorial, I will show you how to highlight a text and how to animate it in DaVinci Resolve.
How to Highlight Text in DaVinci Resolve?
Step 1: Add text to your timeline.
Click on the “Effects” tab, select “Titles” in the Toolbox list, click on the “Text+“ and drag it over to the timeline.
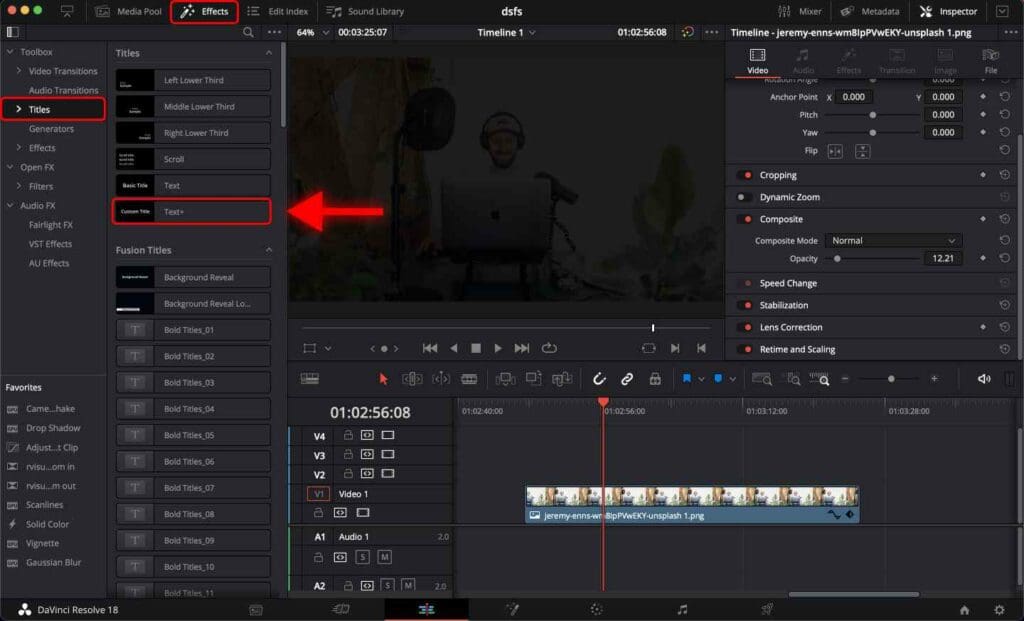
You can zoom-in or zoom-out the timeline to see the clips better.

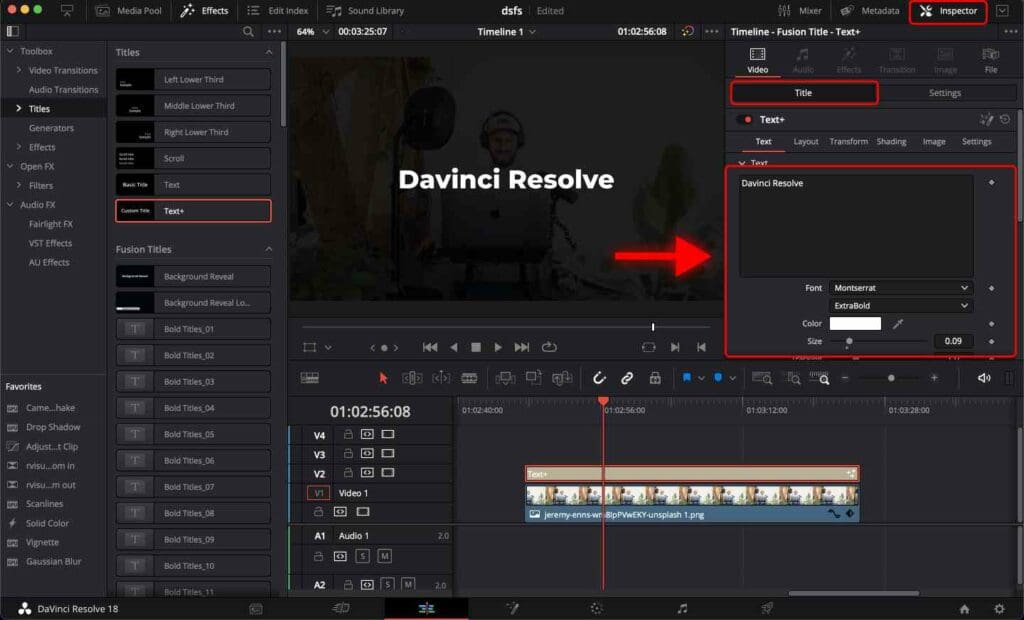
Step 2: Type the desired text and customize it.
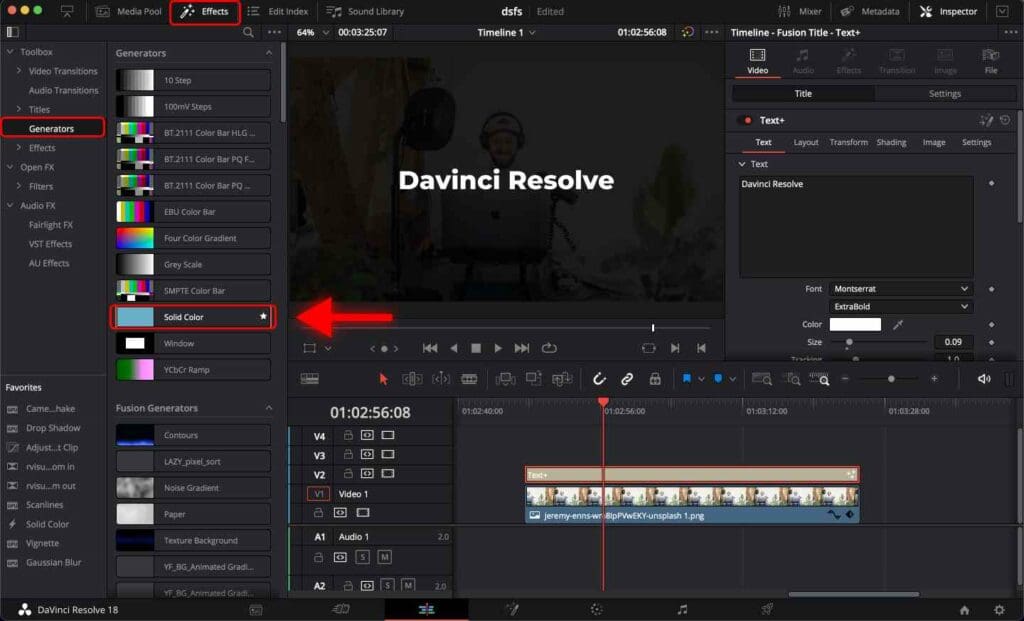
Add a Solid Color Clip
There are many ways to highlight text in DaVinci Resolve. In this example, I’m going to use “Solid Color”.
You will cover your video with a colored layer. Later, you will crop this colored layer from left, right, top, and bottom to cover just the text. It will be the highlight itself.
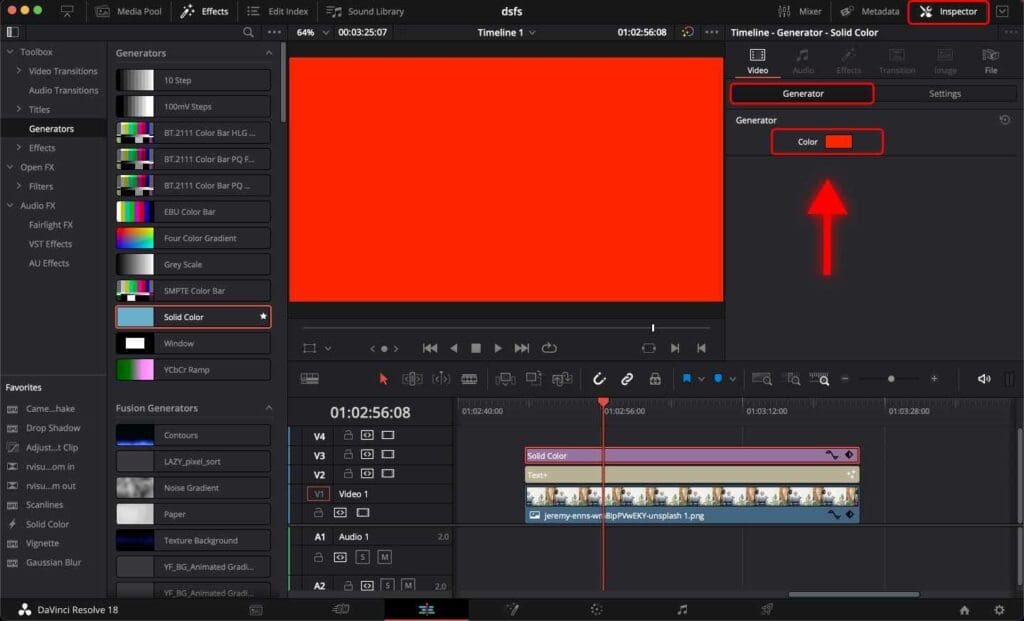
Step 1: Go to the “Effects” tab, and select “Generators” in the Toolbox list. Click “Solid Color” and drag it to the timeline.
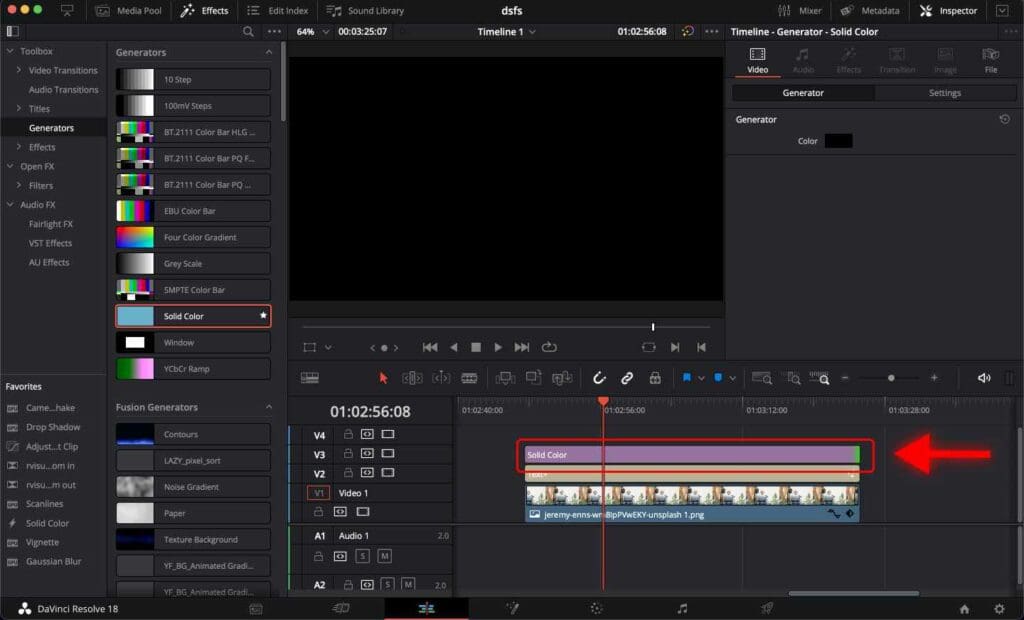
Make sure the “Solid Color” clip is the same length as the “Text+” clip.
Step 2: Click on the “Solid Color” clip. Go to the “Inspector” > “Generator” and change the color of the “Solid Color” to a color of the highlight.
Step 3: Change the composition mode. Go to the “Settings” tab, and scroll down to the “Composite” section. Click on it and change the Composition Mode from “Normal” to “Screen”.

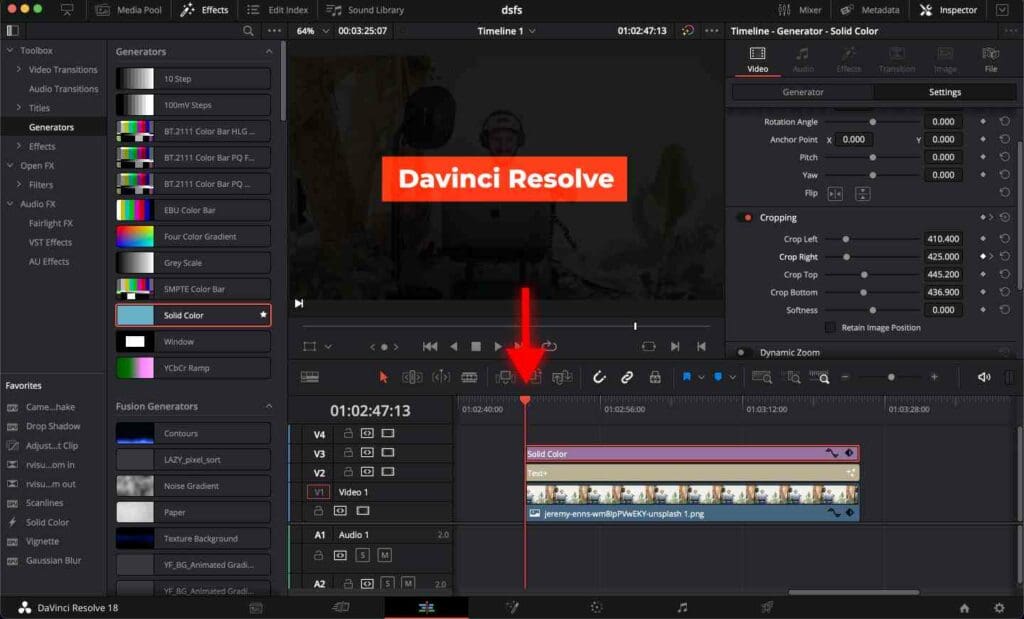
Step 4: Now click on the “Cropping” section to open it.
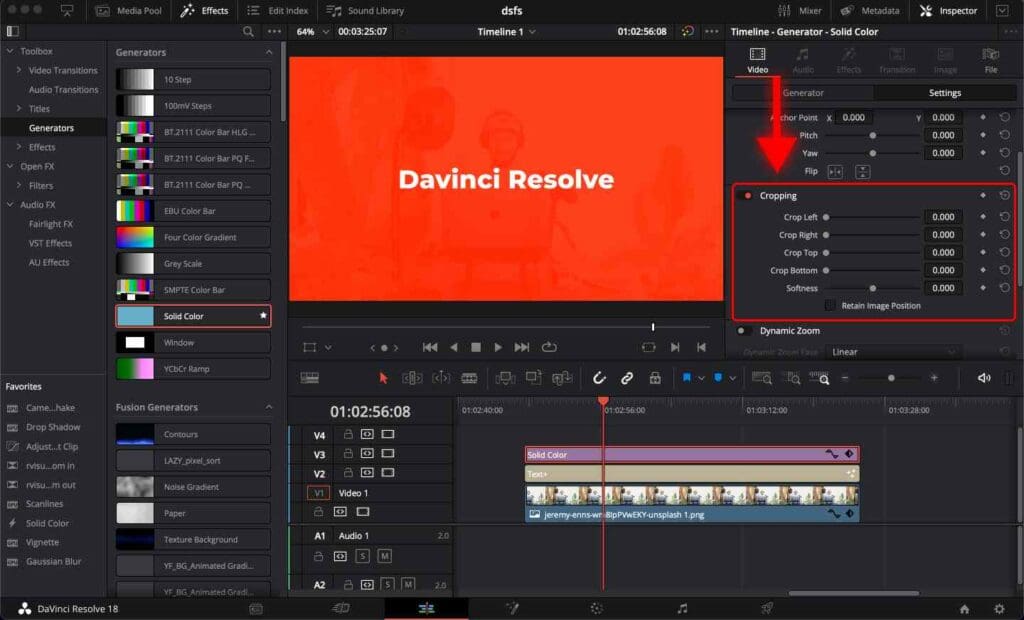
Now you can see the following parameters:
Crop left: Crops the solid color from the left.
Crop Right: Crops the solid color from the right.
Crop Top: Crops the solid color from the top.
Crop Bottom: Crops the solid color from the bottom.
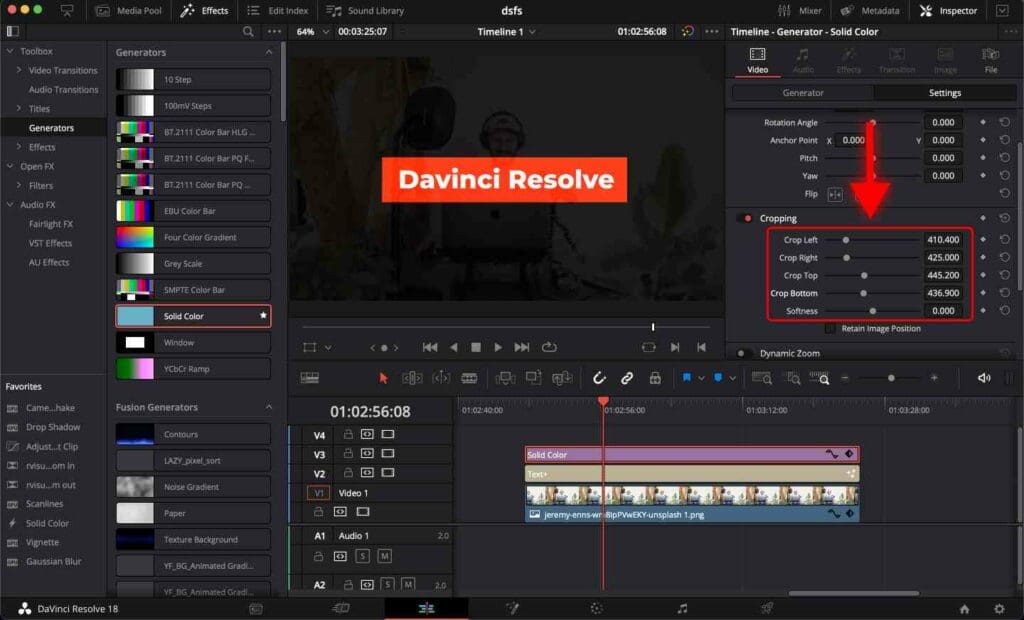
You must crop this colored layer from each side to cover the text. This can be done by moving the sliders left or right.
Here are my cropping settings after I cropped the colored layer.
How to Create an Animated Highlight in DaVinci Resolve?
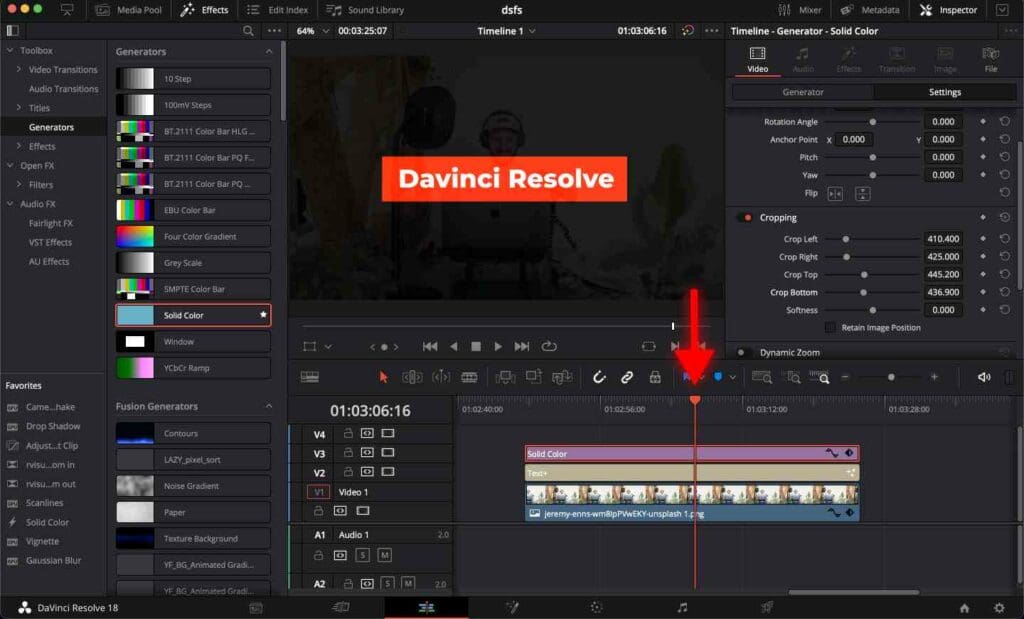
Step 1: Move the playhead to the point where you want your highlight animation to be finished and the text fully highlighted. In this example, I will place the playhead at the center of the text clip.
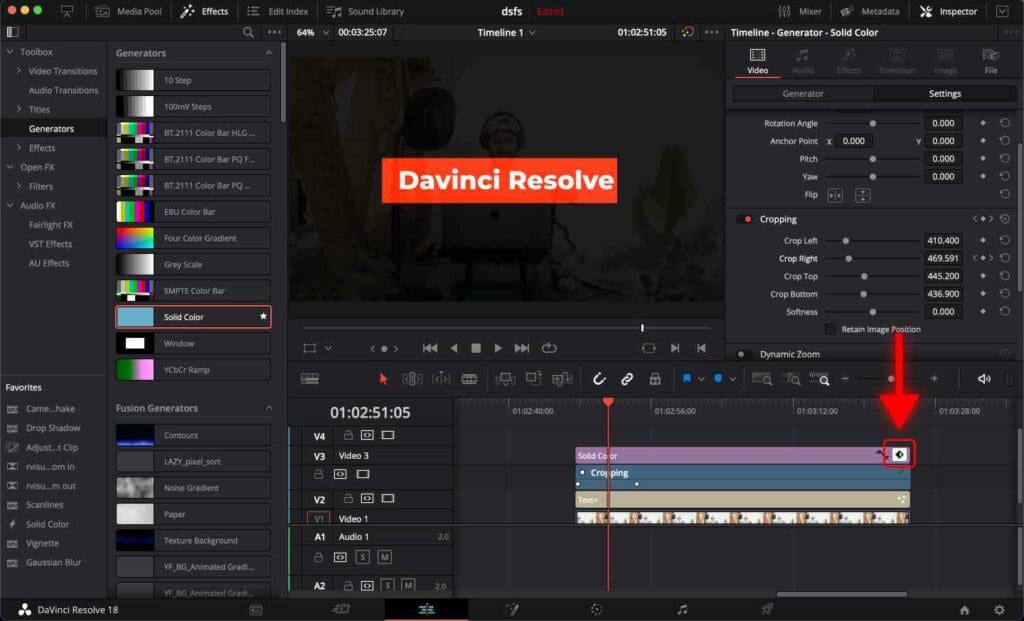
Step 2: Click on the “Solid Color” clip. Go to the “Inspector” tab > “Generator” tab > “Cropping” section and click on the keyframe icon next to the “Crop Right”.

Click the Keyframe Icon
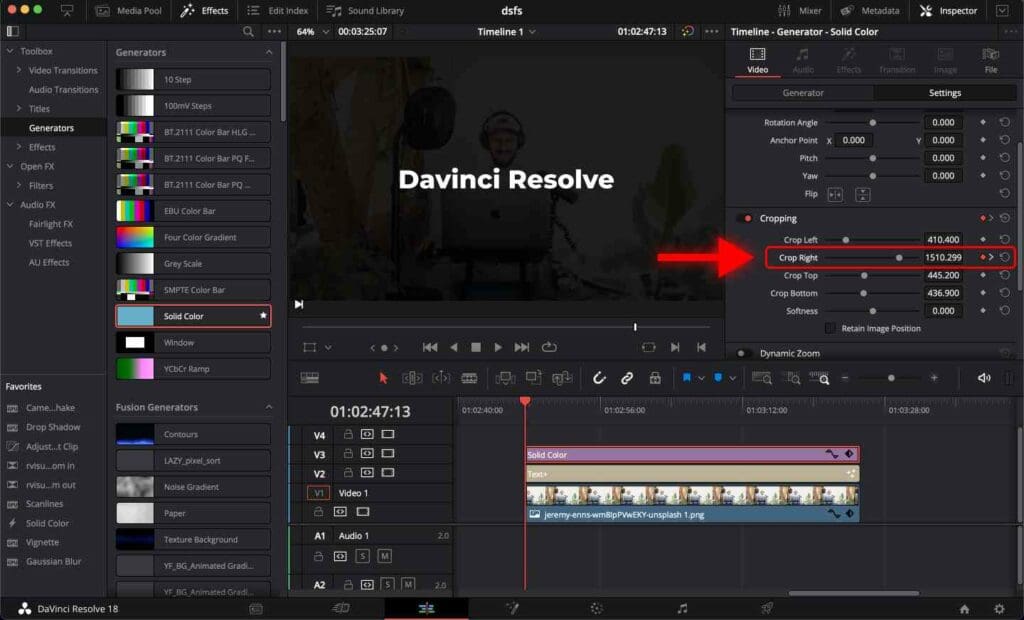
Step 3: Place the playhead at the start of the “Solid Color” clip.
Step 4: Click on the “Solid Color” clip. Go to the “Inspector” tab > “Generator” tab > “Cropping” section and move the “Crop Right” toggle to the right until you can’t see the highlight over the text.
At this point, you’ve made an animated text highlight. You can play it and notice that this animation is linear and not smooth.
To make this animation look even better, I suggest you to make it smoother.
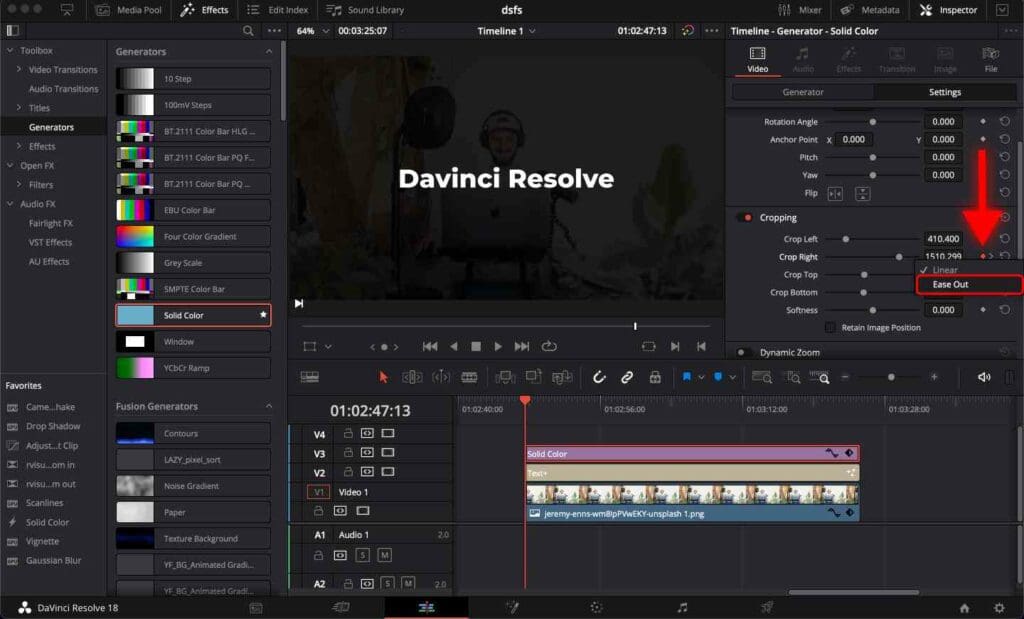
How to Achieve Smooth Highlight Animation in DaVinci Resolve?
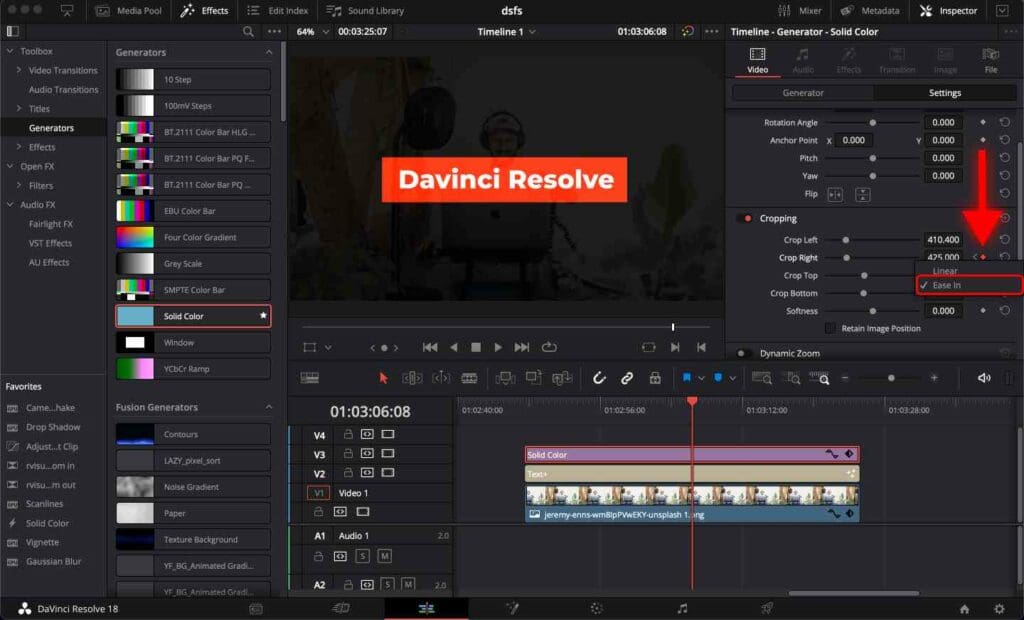
Step 1: Click on the “Solid Color” clip. Go to the “Inspector” tab > “Generator” tab > “Cropping” section. Right-click the diamond (keyframe) icon and select “Ease Out”.
Step 2: Click on the right arrow next to the keyframe icon. It will move the playhead to the next keyframe, where our highlight animation ends.
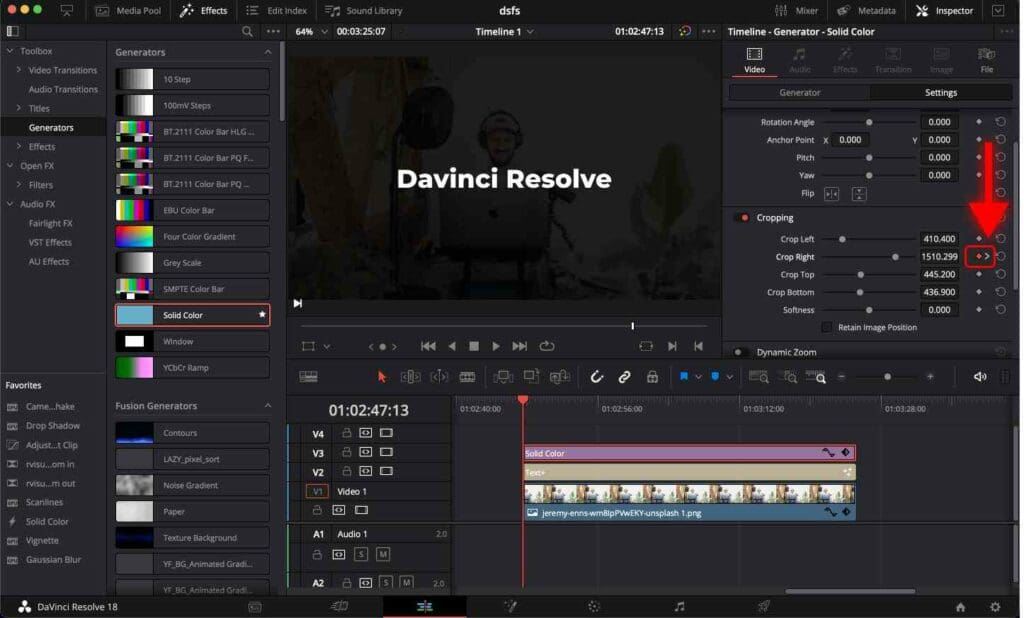
Step 3: Right-click the keyframe icon and select “Ease In”.
How to Change The Highlight Speed in DaVinci Resolve?
Sometimes, depending on the text length, you might want to change the highlight speed. Davinci Resolve made it easy.
Step 1: Click the keyframe icon next to the “Solid Color” clip. These are the Keyframe settings for this particular clip.
You can see that there are two keyframes that I set up earlier.
If you can’t see the keyframe, zoom in the timeline.
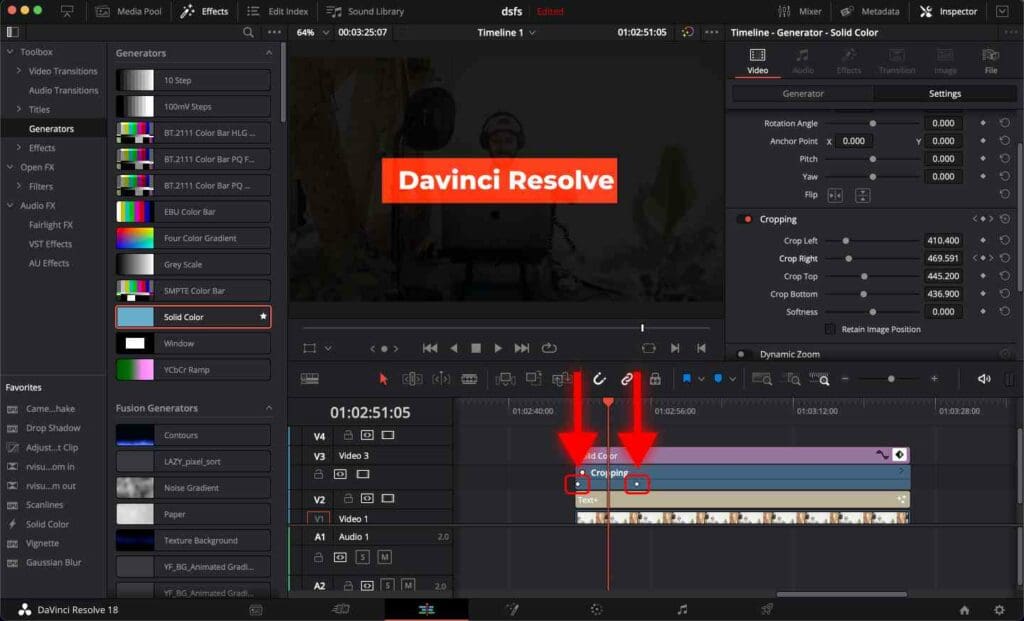
To shorten your text highlight animation, all you need to do is to drag the 2nd keyframe to the left.
If you want the text highlight animation to take longer, click and drag the 2nd keyframe to the right.
Now, play the video and enjoy a text highlight effect in Davinci Resolve, made in just a few minutes.
As a further step, you can play with the colors of the highlight and the composite mode to achieve a unique look.
Depending on how powerful your computer is, the highlight animation playback might stutter or be choppy. In this case, you can Optimize DaVinci Resolve for Smooth Playback.
Frequently Asked Questions
How to highlight text in DaVinci Resolve?
To highlight text in DaVinci Resolve, add a Solid Color clip to the timeline, reduce its opacity, and crop it to cover the text.
How to highlight multiple lines of text in DaVinci Resolve?
You can apply the same highlight effect to multiple lines of text by duplicating the Solid Color clip. Adjust the clip position and size to cover each line of text.
How to animate the text highlight effect in DaVinci Resolve?
If you want to animate the text highlight, go to the “Inspector” tab, and set starting and final keyframes in the “Cropping” section for the “Crop Right” value.


