When it comes to creating quality content in DaVinci Resolve, having good sound is just as important as having good visuals. No matter how stunning your video looks, poor audio quality can be a major distraction for viewers.
Even if you invest in a professional microphone, you may still need to edit the audio to ensure the best possible sound.
Whether you’re a podcaster, voiceover artist, or content creator, at the end of this step-by-step tutorial, your audio will sound professional in DaVinci Resolve.
How to Achieve a Professional Level Voice Quality in DaVinci Resolve?
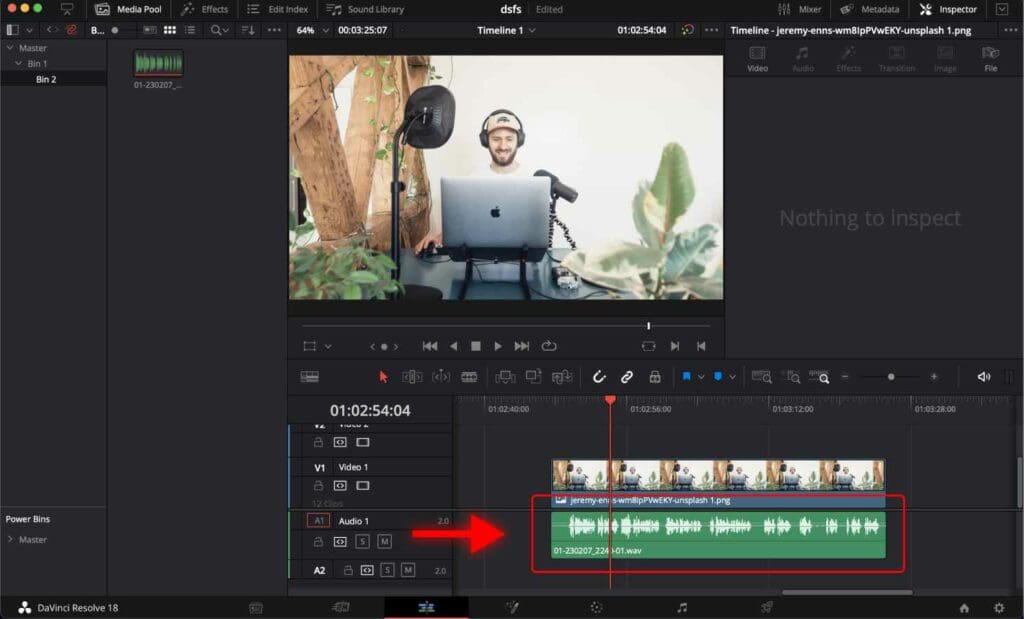
Step 1: Place the audio clip into the timeline.
You can zoom-in or zoom-out the timeline to see the clips better.
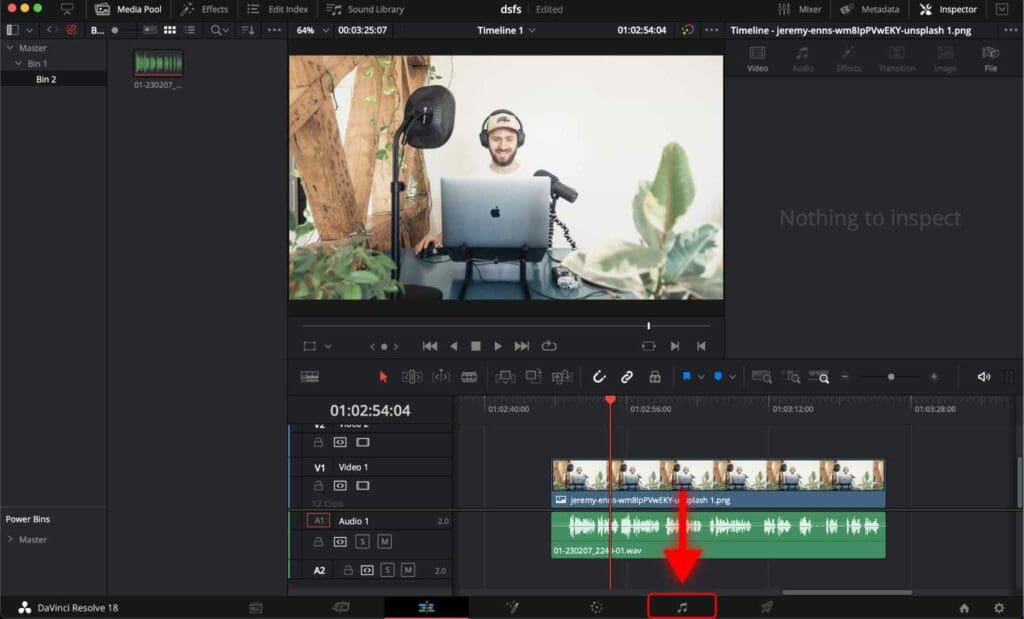
Step 2: Go to the “Fairlight” Page.
Alternatively, you can use a shortcut to open the Fairlight page by pressing “Shift + 7“.
Normalize Audio Levels in DaVinci Resolve
Normalizing audio levels can be useful when working with clips that have inconsistent volume levels. Normalizing your audio clips in DaVinci Resolve ensures they will have a consistent volume level with other clips in your project.
How to Normalize Audio Levels in DaVinci Resolve?
Sep 1: Right-click on the track and select “Normalize Audio Levels”.
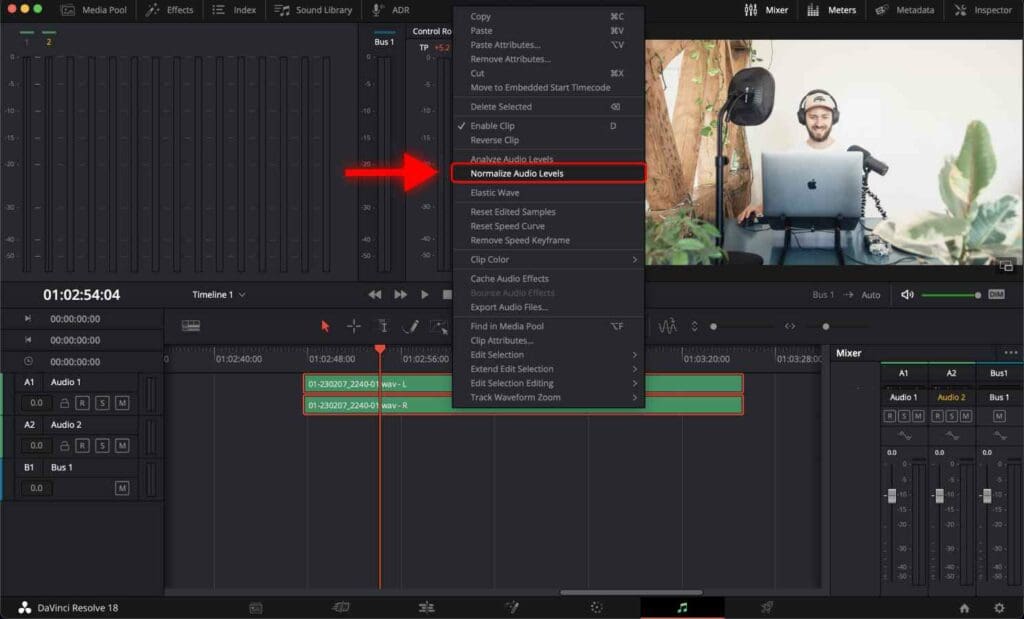
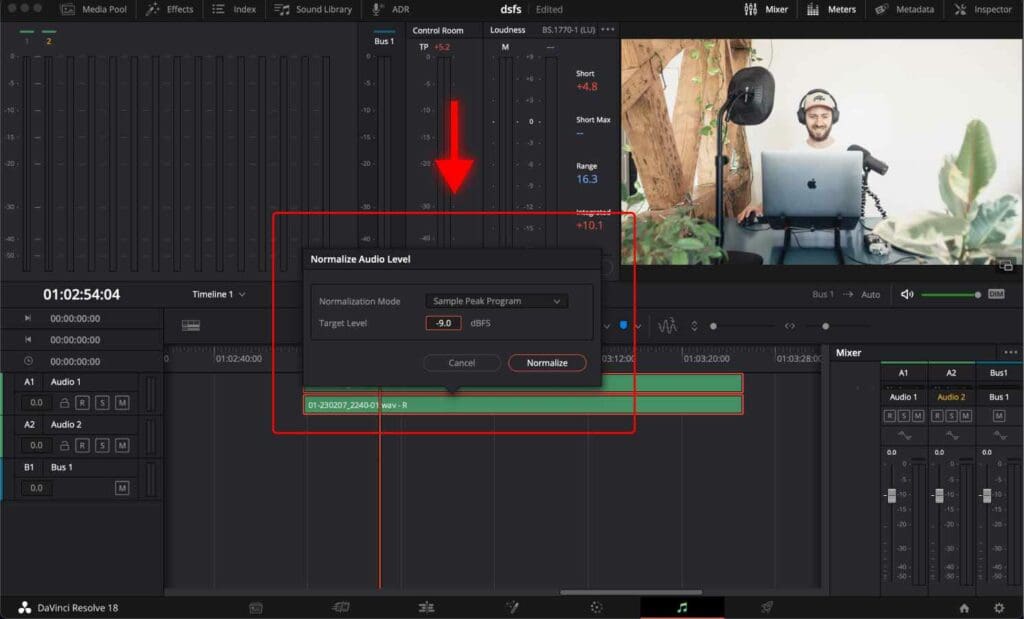
Step 2: A window will pop up. Leave the default values and click “Normalize”.
Use Equalizer in DaVinci Resolve
Now I will use a built-in Equalizer in DaVinci Resolve to make the voice crisp and clear. It’s easy to make any audio sound worse here, but if you follow this step-by-step tutorial, you should have nothing to worry about.
In DaVinci, Resolve equalizers are applied individually to each audio track.
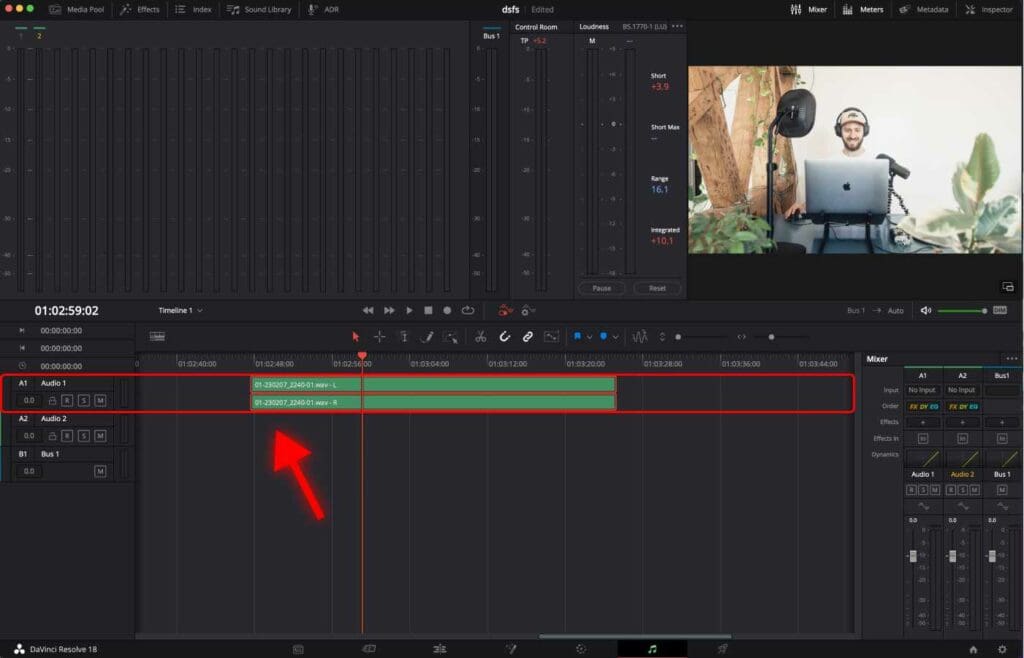
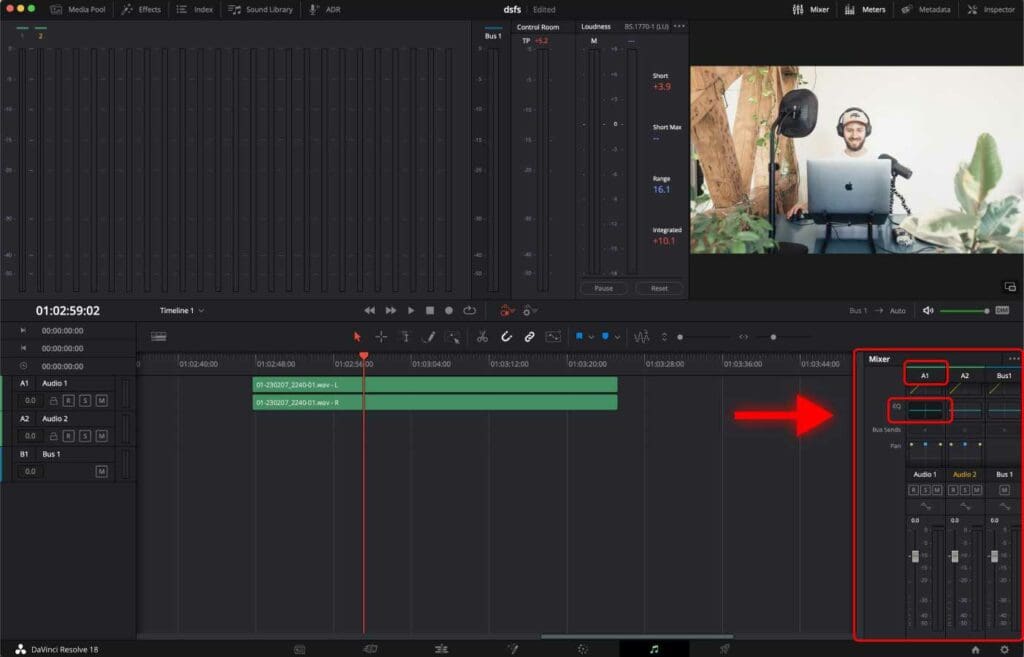
You can see in the screenshot below where audio tracks are located on the screen.
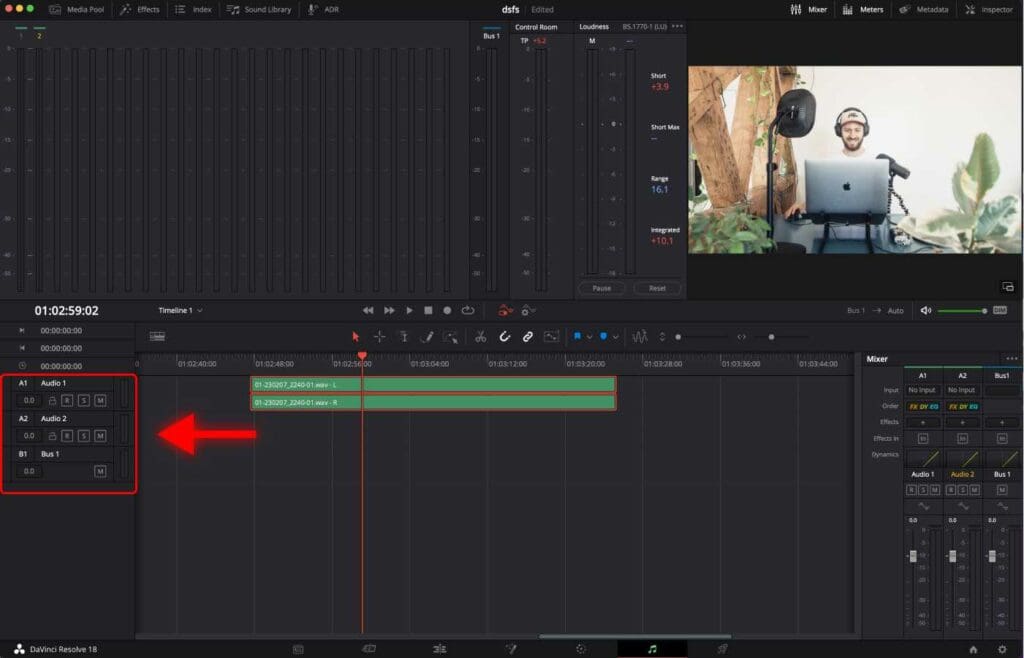
Now you must determine on what audio track your audio clip with your voice is placed.
You can see in the screenshot below that my track is placed on the “A1: Audio 1” track.
Now, let’s open the equalizer for that particular audio track.
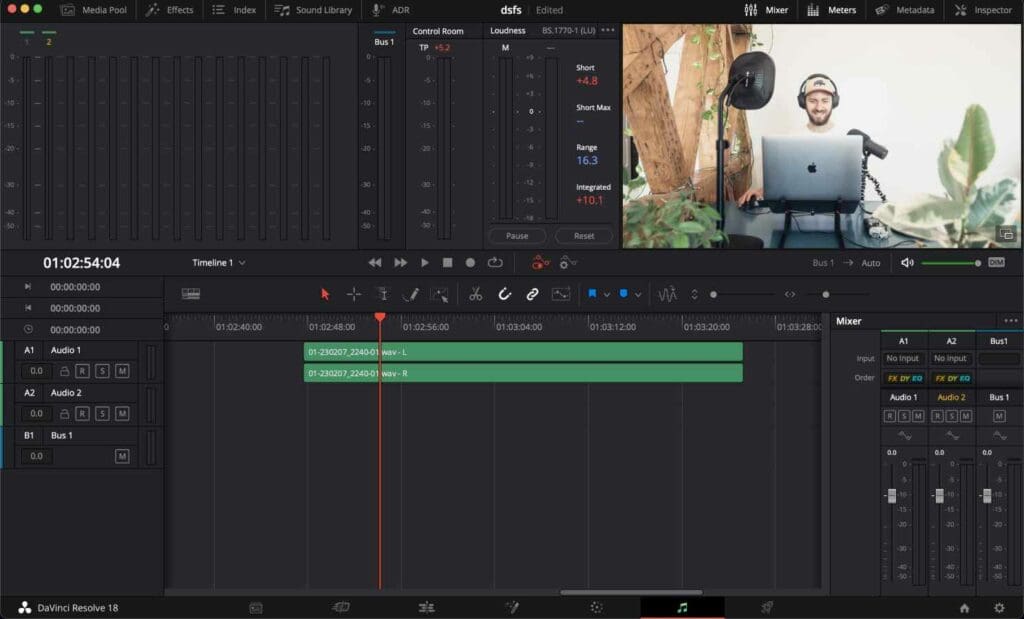
Step 1: In the “Mixer” section, you can see columns named “A1”, “A2”, “A3” and so on. To see more tracks scroll to the right.

Step 2: Under the “A1” track, find the “EQ” diagram. Click twice to open the equalizer.
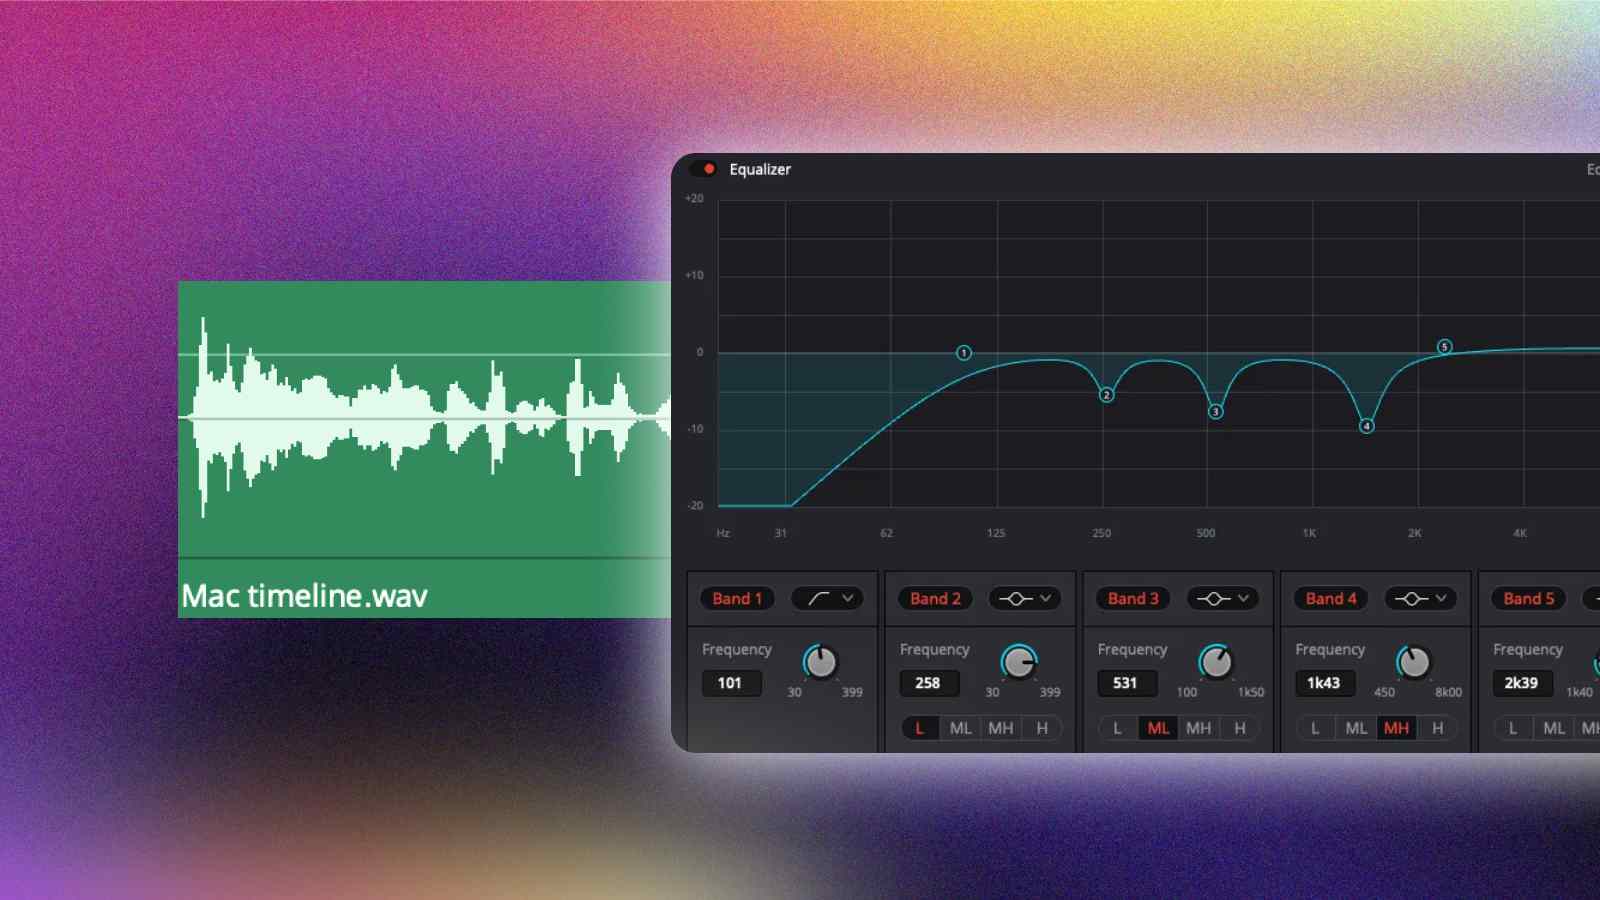
An equalizer window popped up.
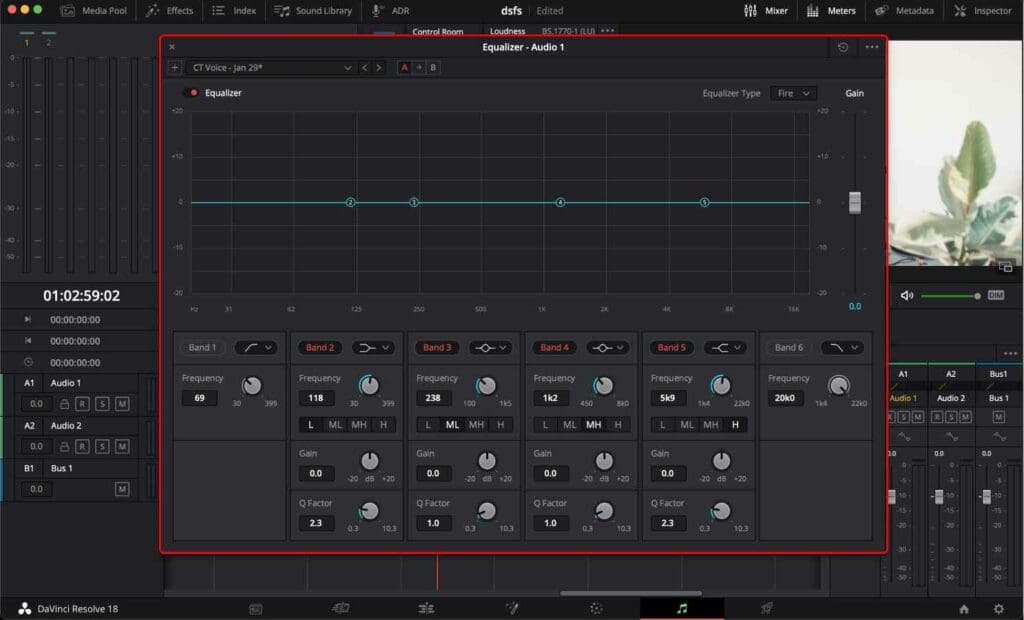
To simplify this tutorial and avoid the technicalities of equalizer functionality in DaVinci Resolve, let’s jump right into the optimal equalizer settings for enhancing voice audio.
By using these settings, you can ensure that your voice sounds as though it was recorded with a high-quality professional microphone.
Optimal Equalizer Settings For Perfect Voice in DaVinci Resolve
Now as you have an equalizer window, you can start tweaking its parameters to your liking.
Below, you can see the optimal equalizer settings for a crisp voice.
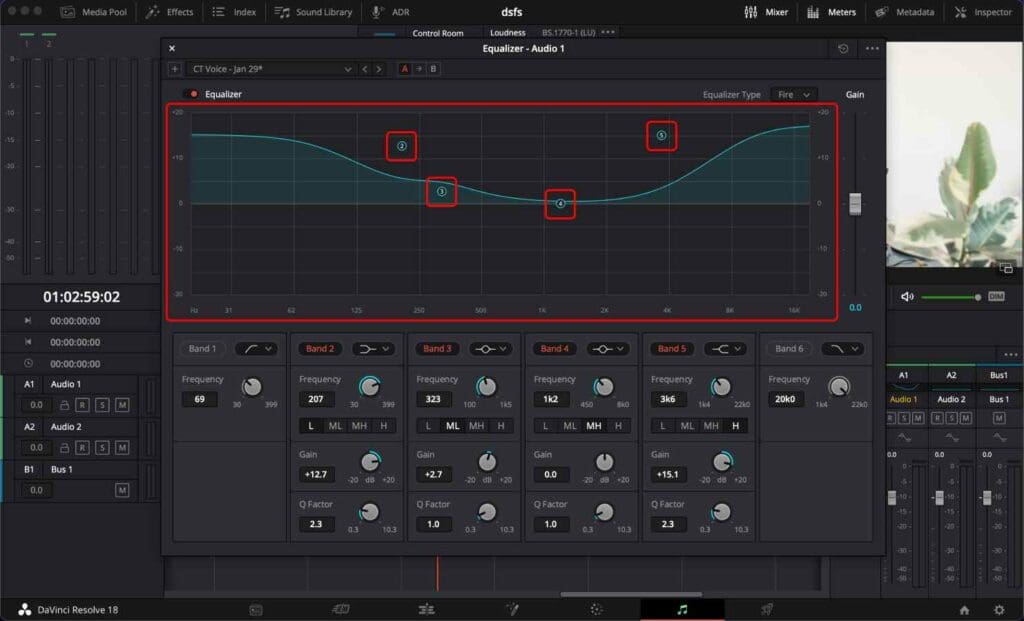
Notice that there are 4 dots named “2”, ”3”, “4”, “5”.
All you need to do is to recreate the diagram by clicking on each number and placing it on its spot, as shown in the image above.
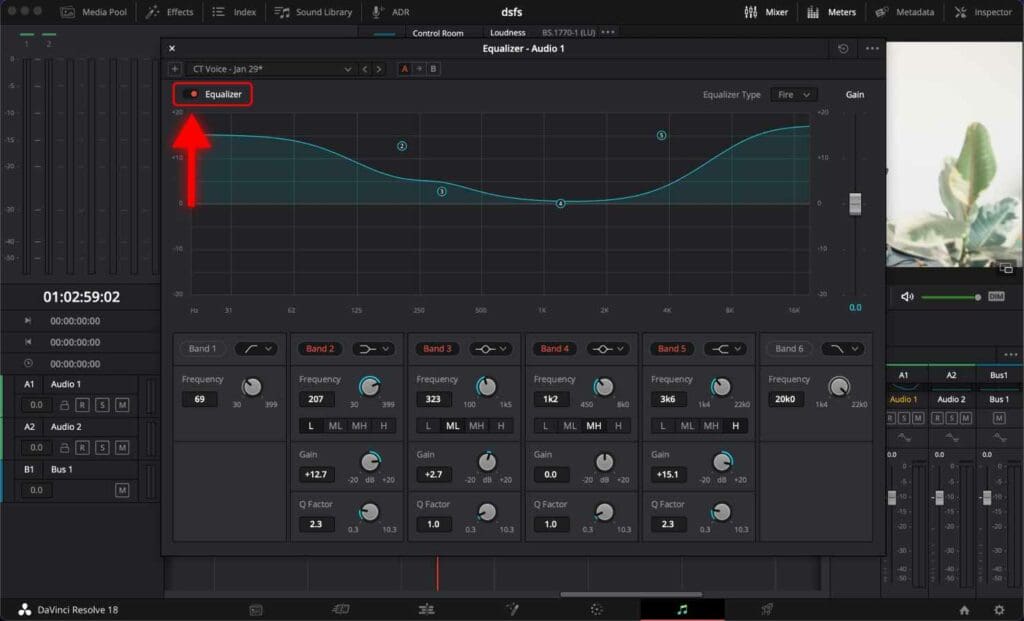
By normalizing the audio levels and applying these adjustments to the equalizer, your voice should now sound very close to professional-level audio quality.
If you wish to hear the difference between the original audio and the audio with the equalizer applied, you can turn off and on this toggle.
Best Practices For the Best Sound Quality
1. Use a high-quality microphone
Investing in a good quality microphone can significantly improve the clarity and quality of your voice recordings.
Shure MV7 is a popular choice among many individuals as it provides excellent sound quality. For those who want an even better sound experience, the Shure SM7B is another option worth considering.
2. Choose a quiet location
When recording your voice, it’s important to choose a quiet location to minimize background noise. Avoid areas with excessive noise from outside sources such as traffic or people.
In case you need to record in a noisy environment, you can make use of a microphone isolation shield to avoid noises and echo.
3. Position the microphone correctly
Ideally, position the microphone about six inches away from your mouth and slightly off to the side to reduce plosive sounds.
Frequently Asked Questions
What is the Fairlight Audio page in DaVinci Resolve?
The Fairlight Audio page is a dedicated audio editing workspace within DaVinci Resolve. It is designed for professional audio post-production workflows, such as creating sound effects, editing dialogue, applying equalizers, and more.
What is normalizing audio levels in DaVinci Resolve?
Normalizing audio levels is the process of adjusting the overall volume of an audio clip to a standard level. It can help to eliminate sudden changes in volume during the playback.
How to improve voice in DaVinci Resolve?
Use the Equalizer in the Fairlight Audio page. You can boost the high frequencies and decrease the low frequencies to add clarity and crispness to the voice.


