Glassmorphism is a design trend that uses properties of glass, such as transparency and blur, to create modern user interface designs.
It gives a transparent look to UI elements, making them appear as if they are made of glass.
This effect can be applied to various UI elements, including buttons, cards, and backgrounds.
In this step-by-step tutorial, I will show you how to create a glass effect in Figma.
What is glassmorphism?
Glassmorphism is a design trend in user interface and graphic design. It features a frosted glass-like or blurred background, often with a slight tint or color gradient and a stroke.
In the past few years, glassmorphism has become a huge trend. However, it’s important to note that using glassmorphism can cause your site to become slow. But in this article, we will not limit ourselves to optimization. Let’s focus on the art.
How to Create a Glass Effect in Figma
There are only a few easy steps to create a glass effect in Figma.
Follow the steps below to achieve this effect.
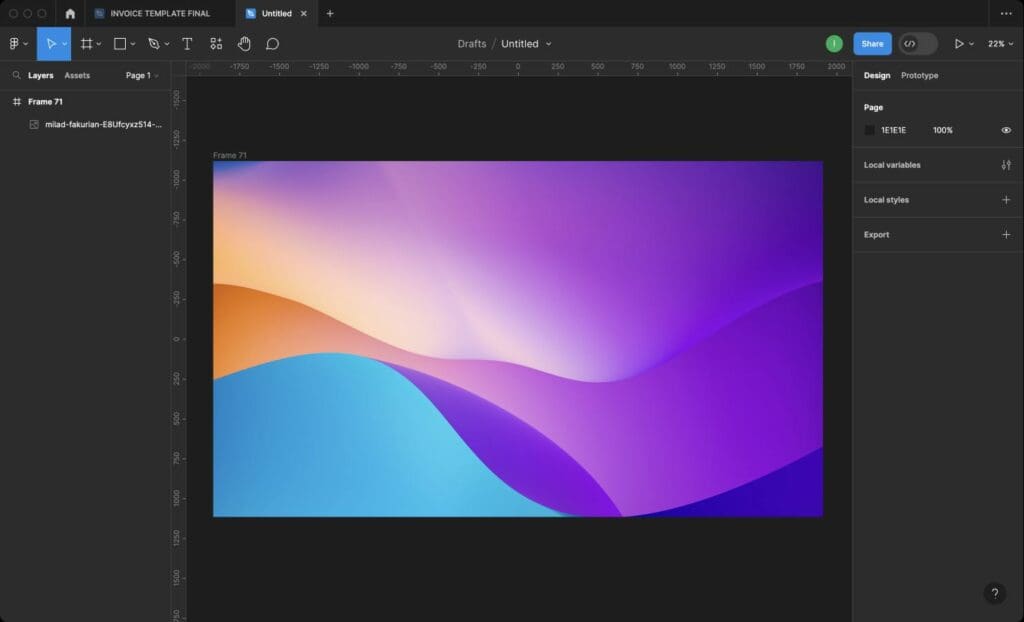
1. Choose the Background
Background is the most important element in the glass effect. The UI element with the glass effect will diffuse your background. The background must be colorful and vibrant to emphasize the beauty of the glass effect in the design.
Step 1: Draw the frame by pressing the “F” key.
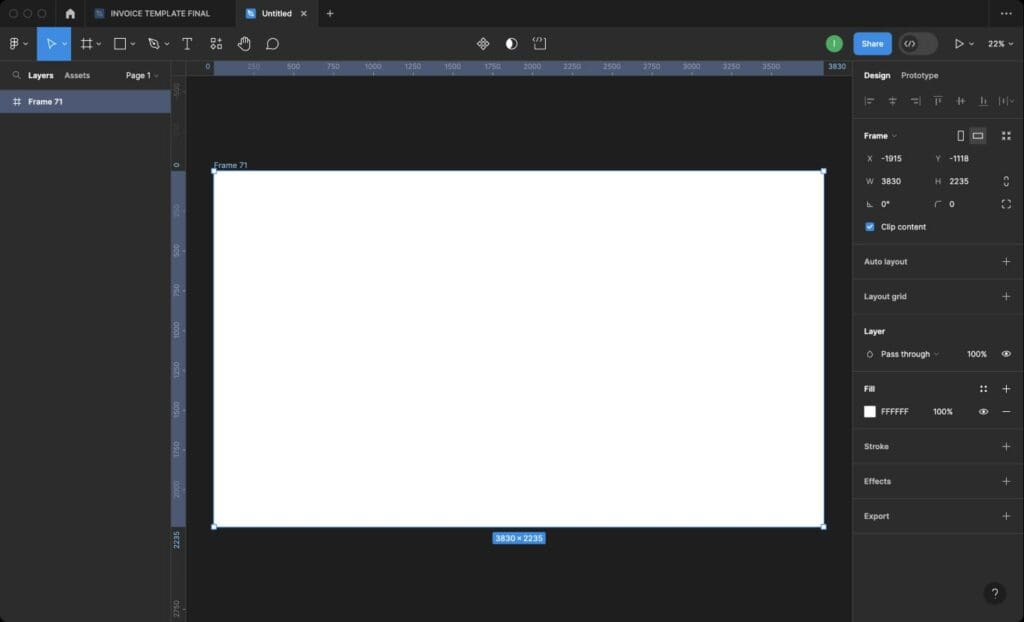
Step 2: Insert your background.
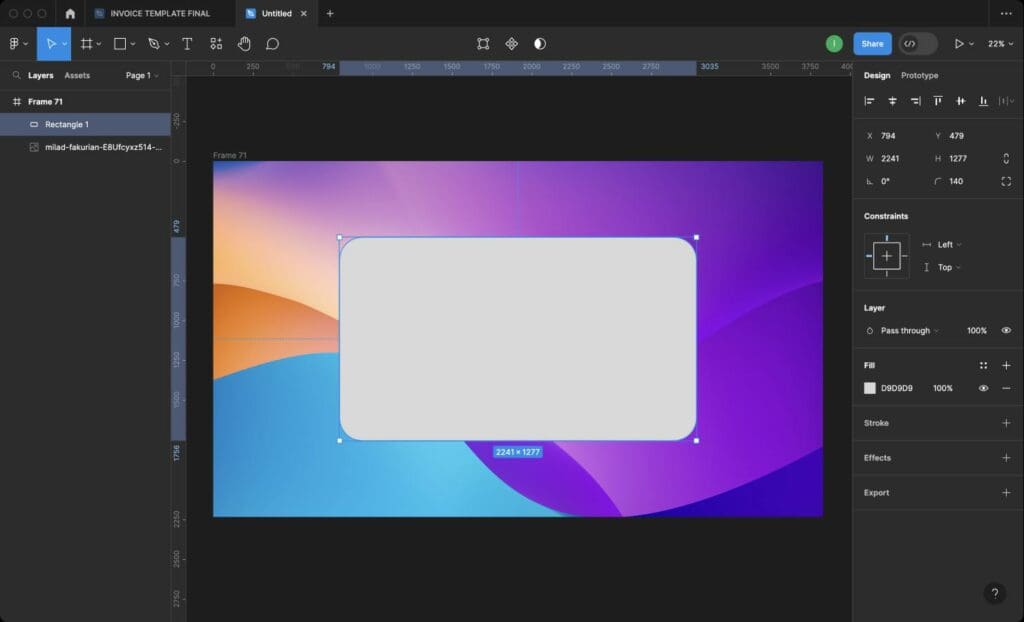
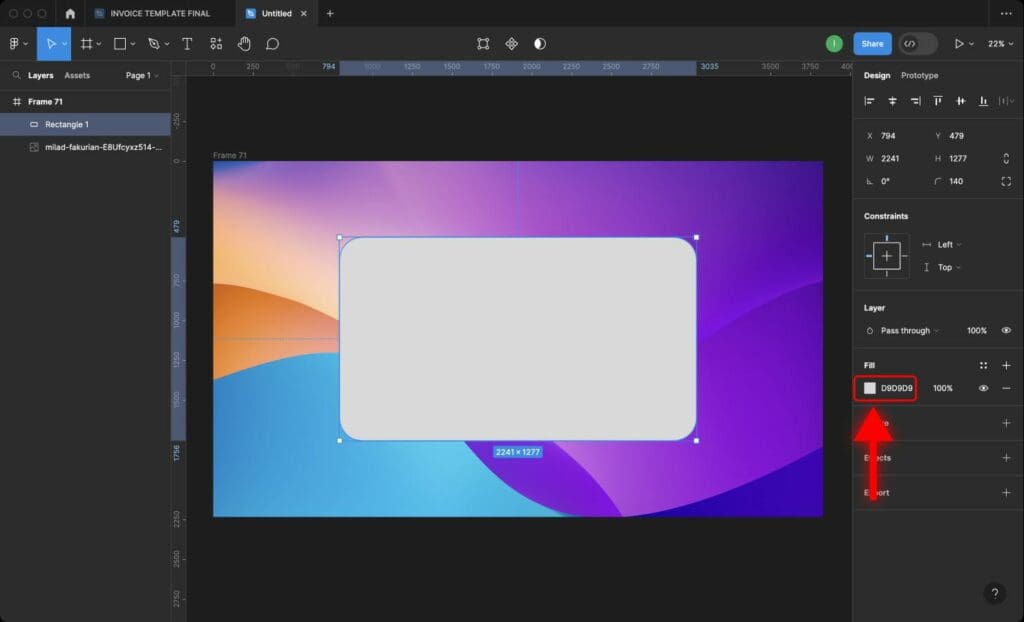
2. Create a Card
Step 1: Draw a simple shape such as a rectangle by pressing the “R” key.
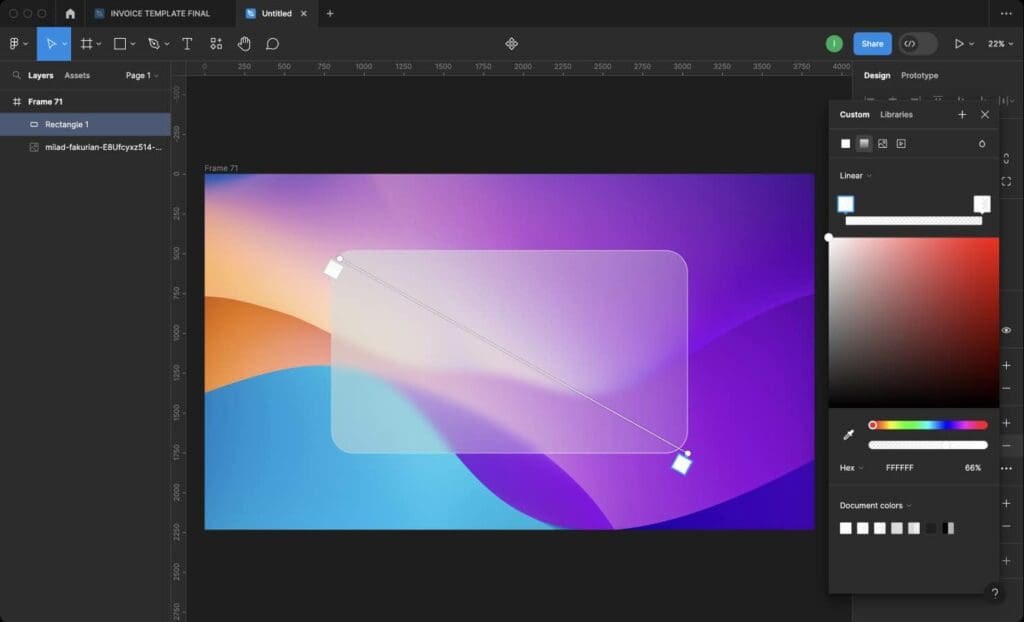
3. Apply a Gradient
Step 1: Select the card/shape.
Step 2: Locate the vertical panel on the right and find the “Fill” section.

Step 3: Click on the color below the “Fill” section.
Step 4: Click the “Gradient” icon in the pop-up window.
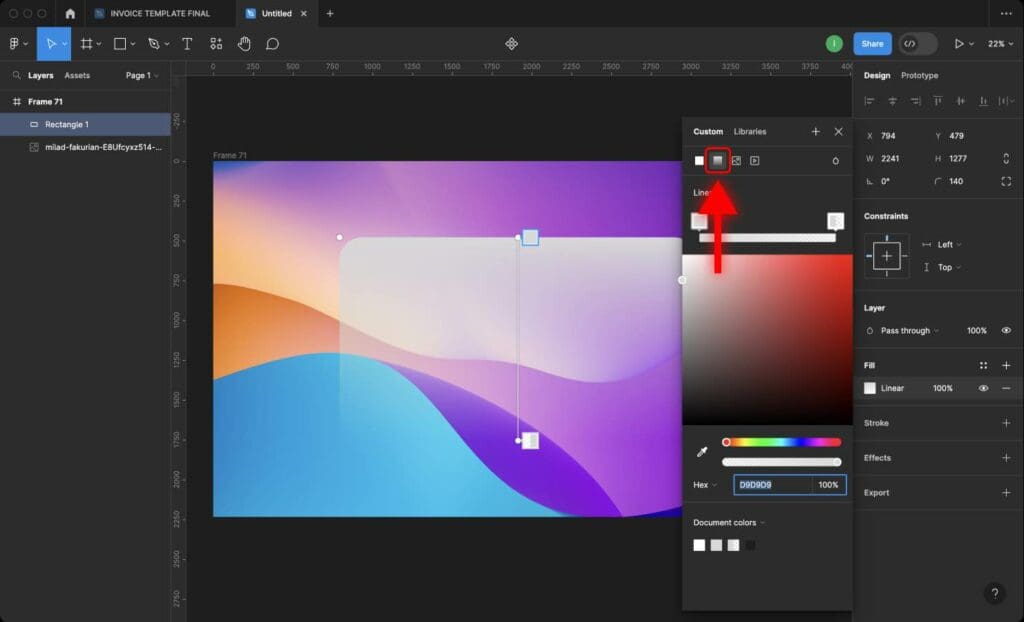
Step 5: Once you select “Gradient”, two gradient handles connected with a straight line will appear over the shape or text.
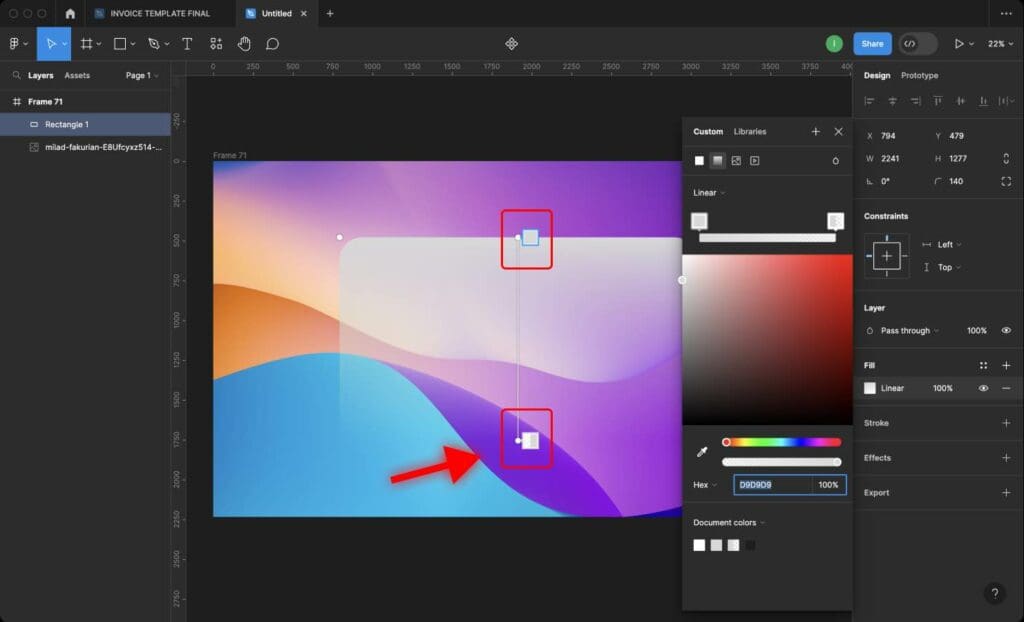
To create a glass-like appearance, use a gradient fill with two colors with different opacity levels.
Learn How to Create a Color Gradient in Figma.
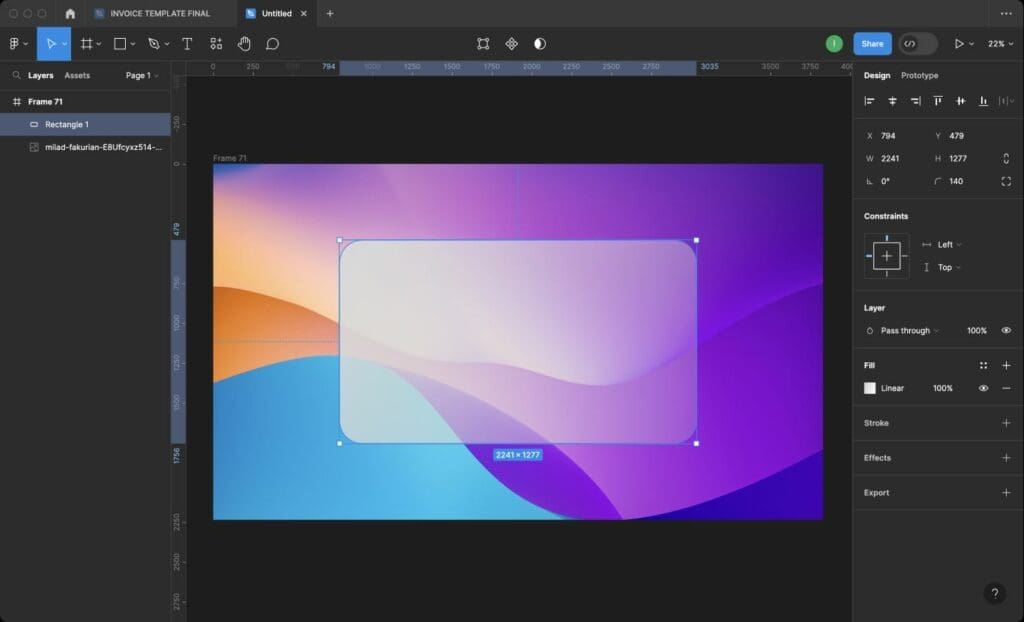
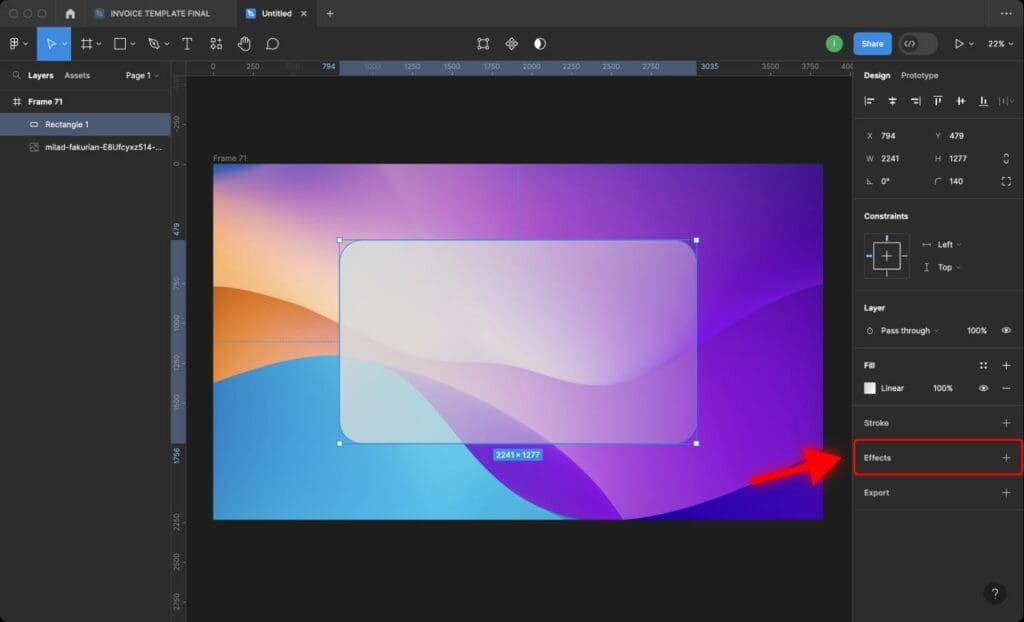
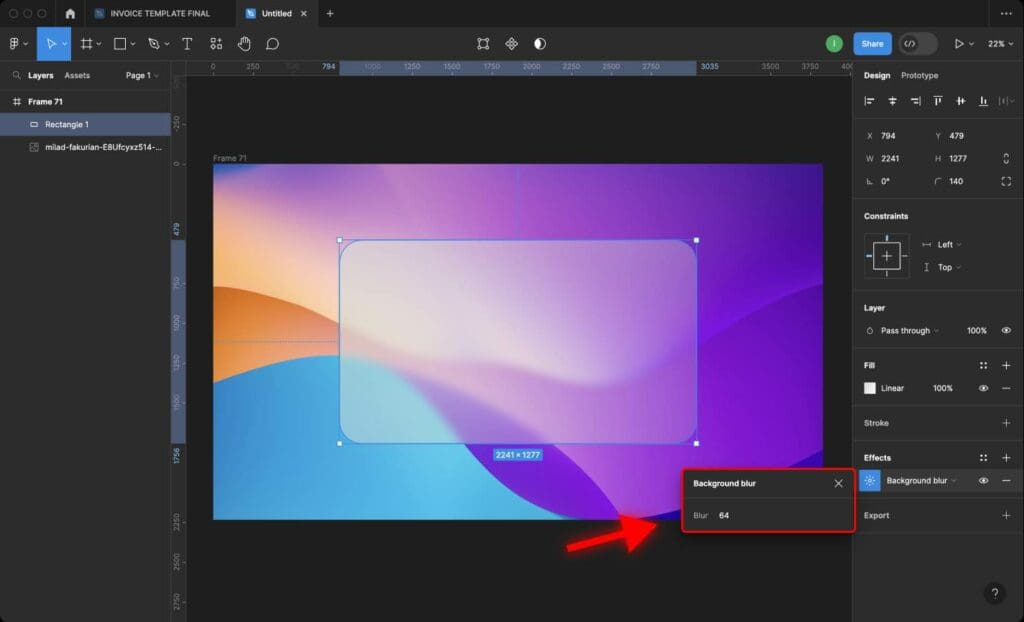
4. Add a Background Blur
Step 1: Select the card/shape.
Step 2: Go to “Effects” and select “Background Blur”.

Step 3: I have set the Background Blur value to 64. This is the result I got.
5. Add a Shadow
Step 1: Select the card/shape.
Step 2: Go to “Effects” and select “Drop Shadow”.
6. Add a Stroke
Step 1: Go to the “Stroke” section.
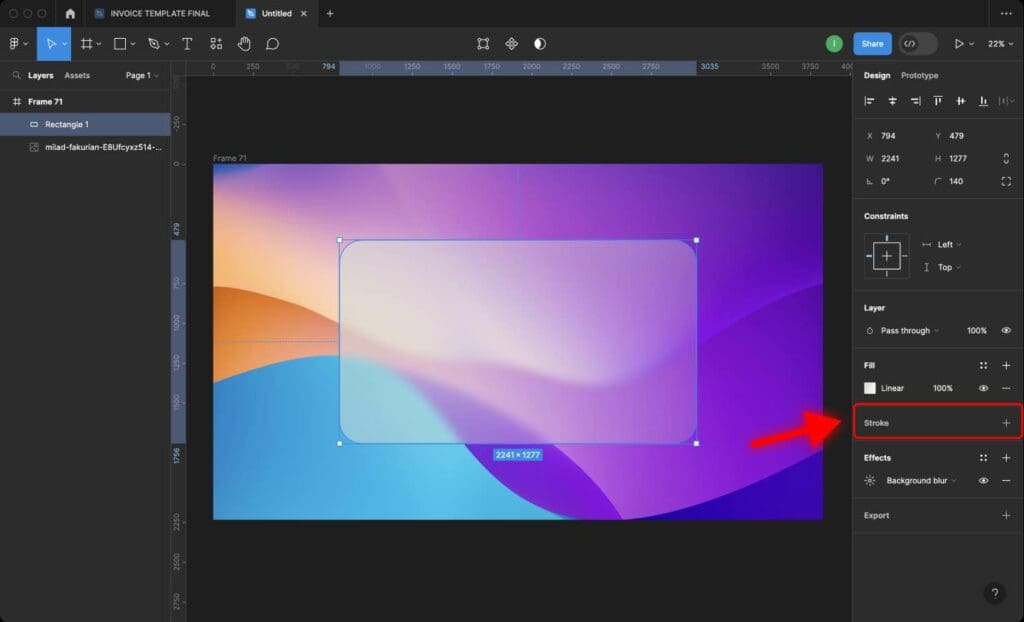
Step 2: Set the Stroke color to “Gradient”

Step 3: Change the angle of the Stroke and its opacity.
Remember that the Stroke color must be brighter than the shape color. In this case, the stroke is the edge of the glass that is usually brighter because it reflects the light.
6. Add Content
Now it’s finally time to add the content.
This is the final design of the glass effect applied to a bank card.

You can reuse and resize this shape and the effect will remain the same.
Frequently Asked Questions
Will glassmorphism design make the website slower?
Glassmorphic designs can be resource-intensive, leading to slower loading times. To mitigate these issues, use the blur effect on only a few elements in your UI design.
How to add Background Blur in Figma?
Step 1: Select the shape to which you want the background blur to be applied.
Step 2: Go to “Effects” in the right sidebar and select “Background Blur”.
How to add a Gradient in Figma?
Step 1: Select the shape or text to which you want to apply the gradient..
Step 2: Locate the sidebar on the right and find the “Fill” section
Step 3: Click on the color below the “Fill” section.
Step 4: Click the “Gradient” icon in the pop-up window.
Step 5: Once you select “Gradient”, two gradient handles connected with a straight line will appear over the shape or text. You can move them around and change the color gradient.


