One of the features that many users find helpful in Pixelmator is the ability to curve text or add circular text.
In this step-by-step tutorial, I will guide you through the process of adding a circular effect to text in Pixelmator. I will also address some of the common issues that users may encounter.
Let’s get started.
Step 1: Click the “Type” tool located on the right sidebar.
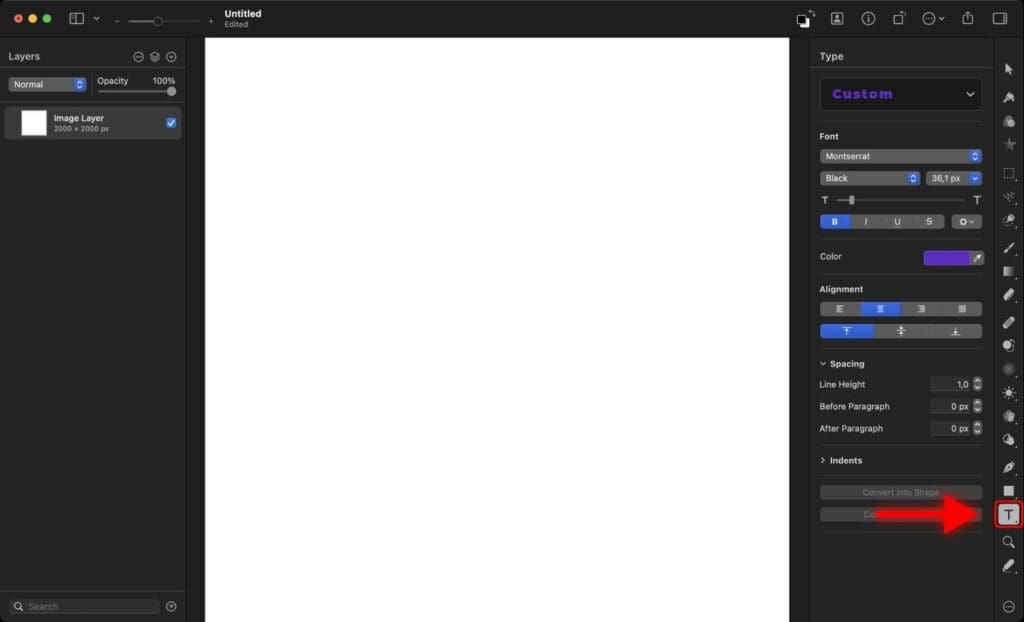

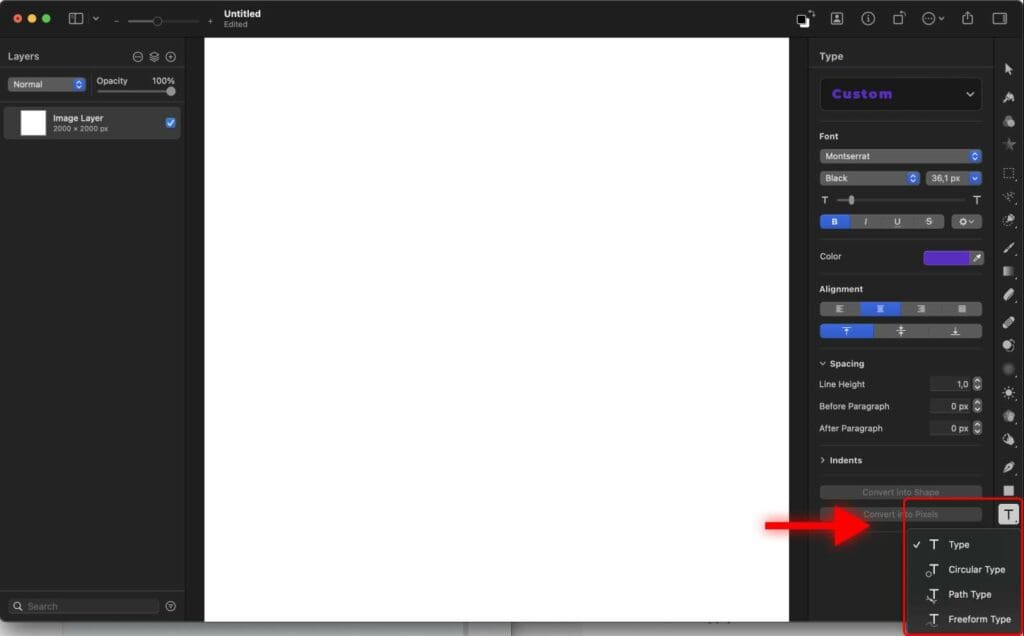
Step 2: Click the “Type” tool again and select “Circular Type”

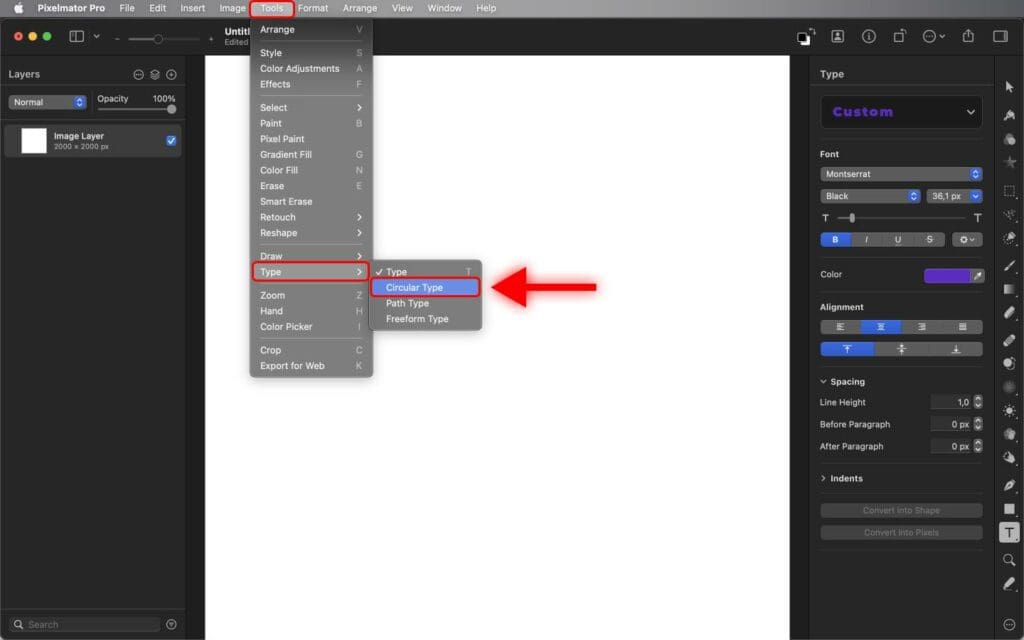
Alternatively, you can go to “Tools”, select “Type” and choose “Circular Type”.

Step 3: Click and drag the mouse to the right to create a circular path for your future text.
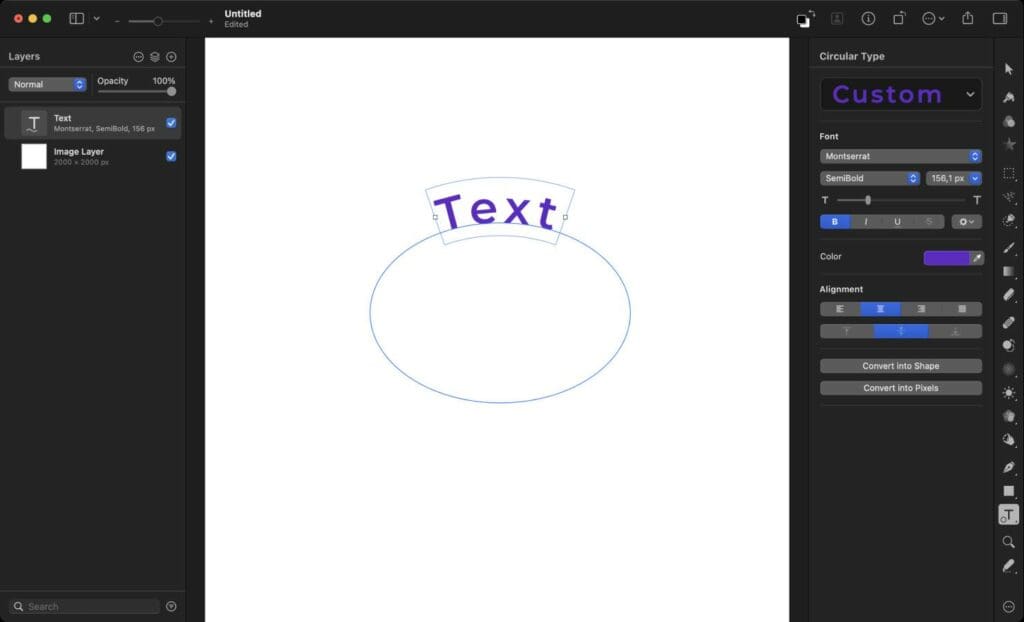

If you want your path to be a perfect circle, hold “Shift” while dragging.
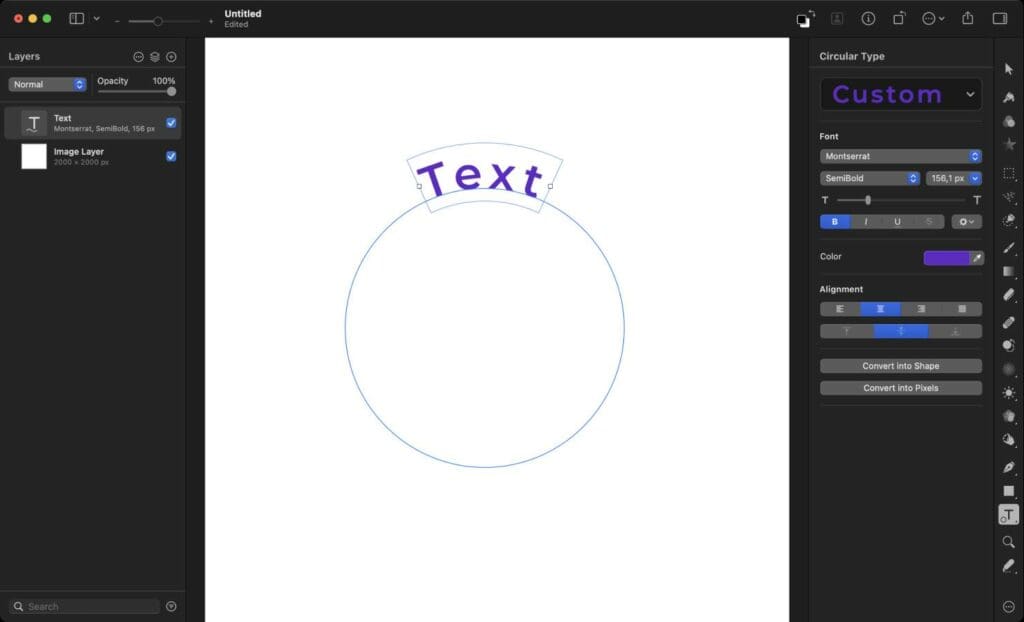

Step 4: Double-click on the text box (it contains the word “Text” by default) to type your text.
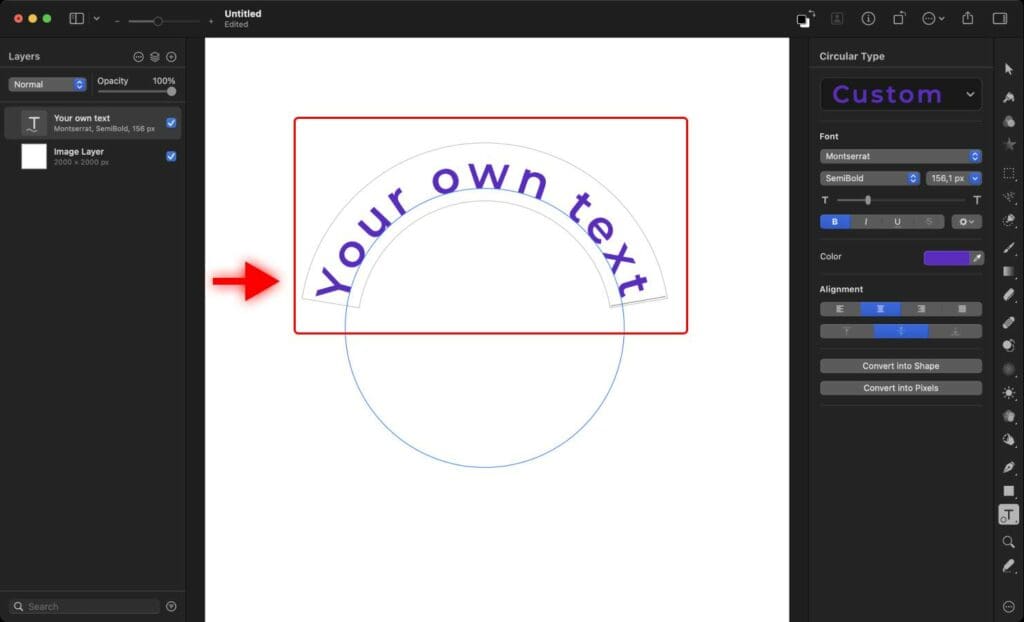

Use Type controls on the right to change the font, size, color, and more.
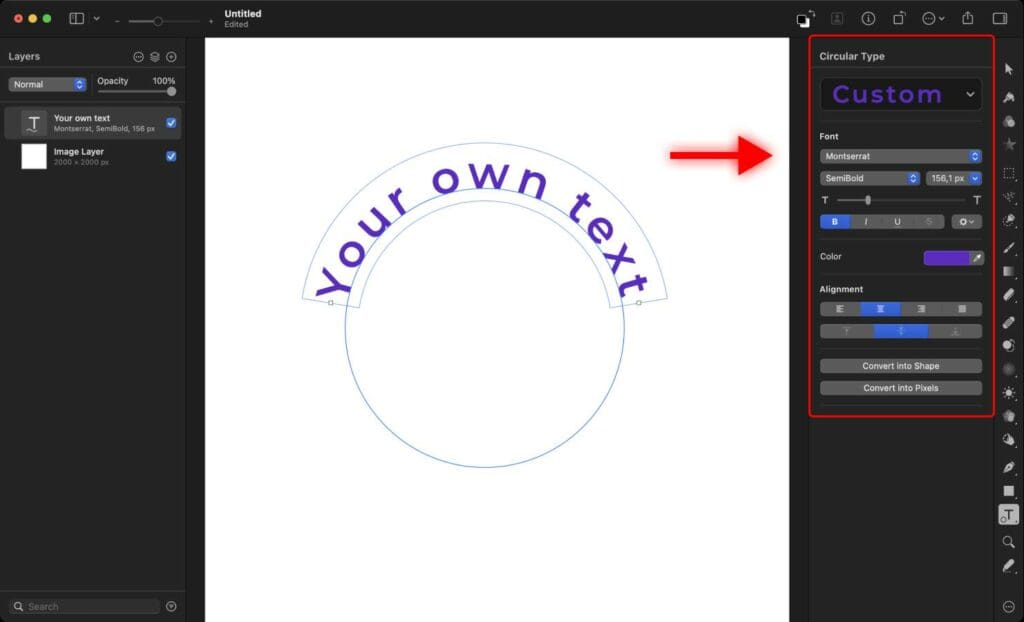

If you want to change the position of the text, click on the tiny square next to the text and drag it either to the left or right.
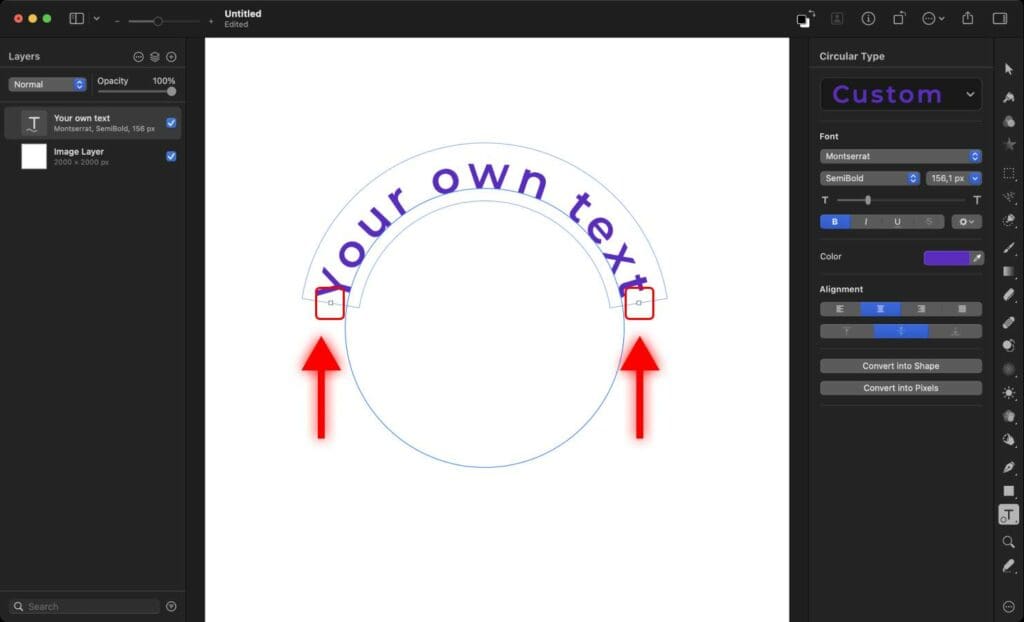

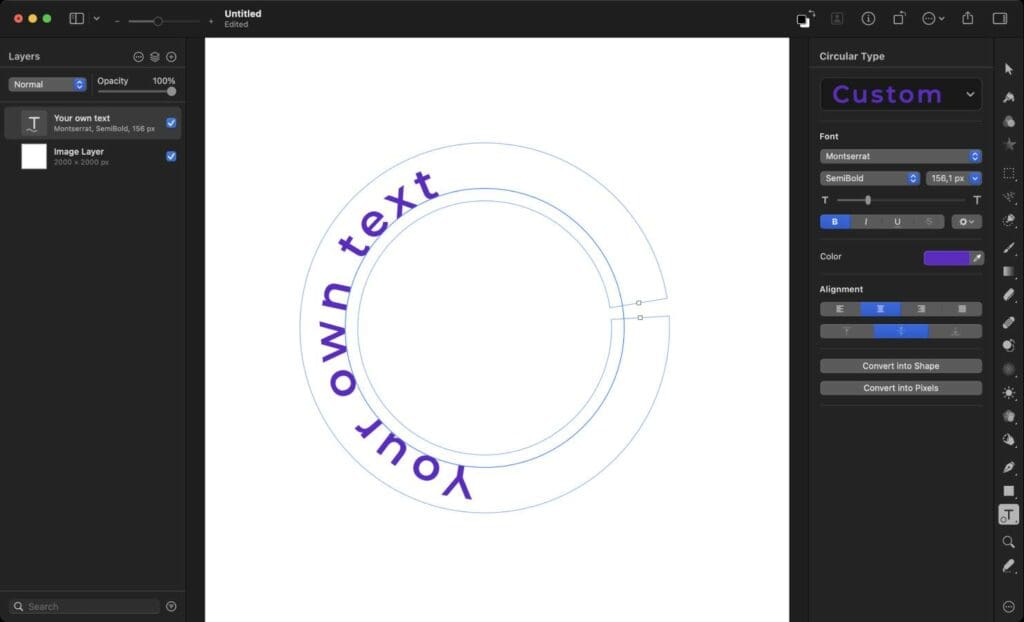

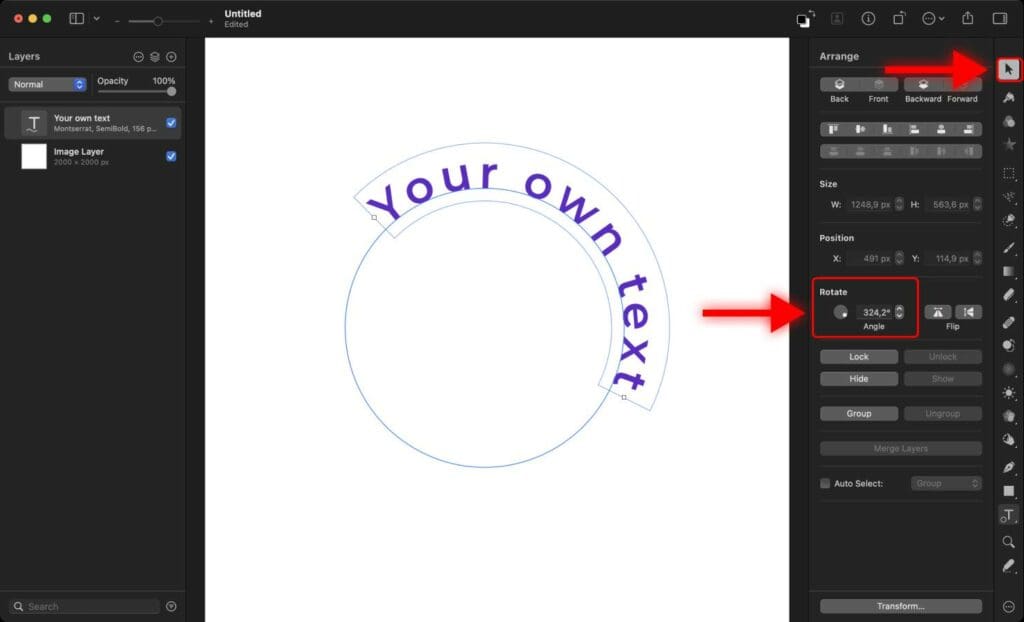
Alternatively, you can change the position of the text by selecting the “Arrange” tool on the sidebar and using the “Rotate” tool.

To move the circular text across the whole canvas, click on the text and drag it.
That’s it! Now you know how to apply a circular effect to text in Pixelmator.
Frequently Asked Questions
How to move circular text to the bottom of the curve in Pixelmator?
Go to the “Arrange” tool on the right sidebar and spin the “Rotate” tool either to the left or right.
How do I curve text along a path in Pixelmator?
Click the “Type” tool on the right sidebar and select “Path Type” or “Freeform Type“. Then you will have to create a path for the text.

