System backup is not something people think about every day, but its importance can not be overstated. If you are like the majority of Mac users, you store a lot of important documents and files on your machine, from family photos to business contracts.
Without a proper backup system in place, you could have a catastrophic data loss that could have profound implications. Thankfully, there are ways to prevent this, and they are surprisingly simple and easily automated.
Time Machine Backup
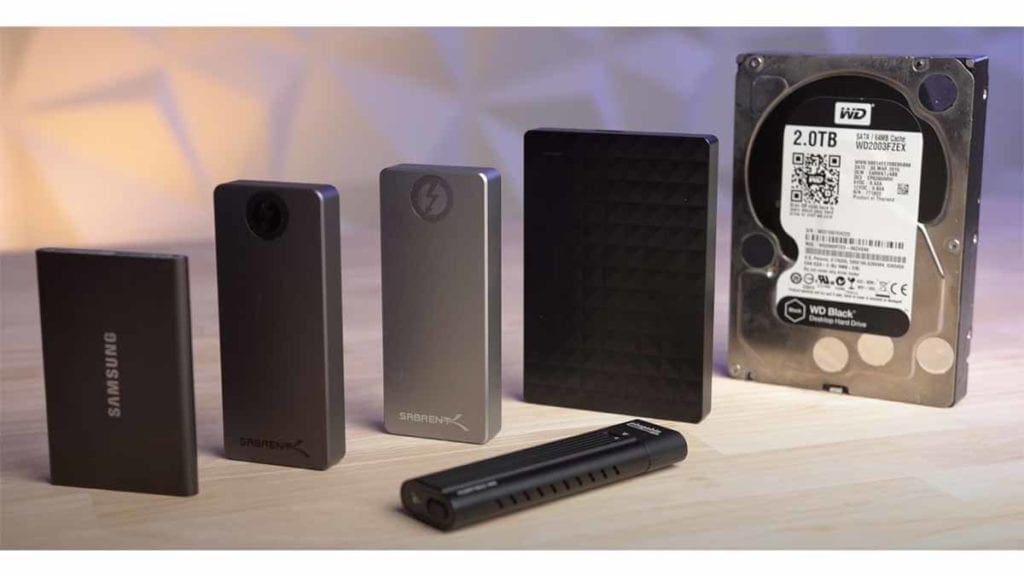
One of the reasons people go to buy a Mac is because of its high functionality – since Mac macOS(10.5 and above) comes with a Time Machine feature that makes backing your system easier, you can see why people flock to it. To create backups with the Time Machine, you need an external storage device. If you aren’t sure which storage device is best for you, check out our Ultimate Mac External Storage Guide.
Once set up correctly, the time machine will automatically work in the background, saving your system files and applications. It might omit things that you most likely don’t need, such as log files and files in the trash bin.
When your external drive is filled up, it automatically deletes the oldest version of some files. (the reason why it is advisable to buy a hard drive with more space than your Mac).
Method 1: Set up a time machine
- Connect an external hard drive to your Mac
The first action you need to take is to get an external drive with enough storage space. Connect to your Mac. You can connect it via USB, thunderbolt depending on your drive. You can also use the Time machine while the external drive is connected to other network drives or routers such as import time, capsule network devices, and so on.
But for the sake of simplicity, I am going to explain using an external hard drive, directly connected to the mac, which is significantly the fastest means.
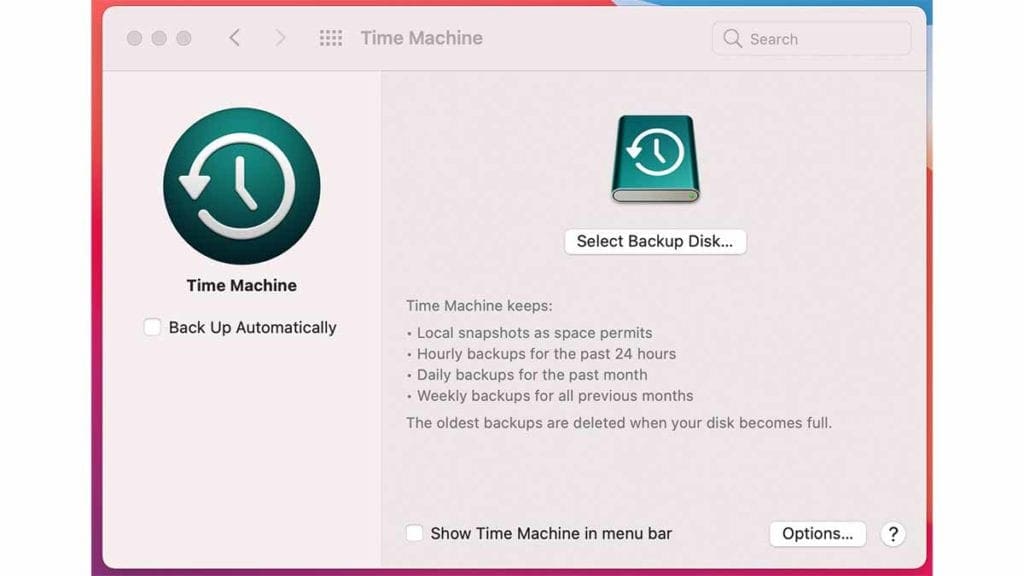
- Turn on Time Machine and select options
Most times, when your external drive is plugged in, your computer recognizes this, and a pop-up appears asking if you want to use the external storage device with the time machine.
If it does recognize it, the next step is choosing whether to encrypt your backup disk, you can choose not to – this is dependent on your preference, but it is advisable to do so. Then click “Use as backup disk”.
If there is no pop up after your external hard drive is plugged in, follow these steps:
- Go to system preferences, select Time Machine, and toggle from “off” to “on”.
- Then click the “the select disk…..” option to choose the volume of the part of the drive you want to use for the Time machine.
- Next, the time machine will ask you if you want to use the disk as a backup as it would normally do from the pop-up step and also the option to encrypt the backups.
- Once everything is selected, the Time Machine immediately starts creating backups. The initial backup might take some time, but subsequently, time spent will be reduced.
NOTE
*You can choose to encrypt your backup with a password.
*Another optional step is getting notified of when the backup is about to be deleted and excluding items from the backups. These are features of the “options” button in the time machine.
* And there is an option of hourly, daily, or weekly backups.
With the seemingly unending pros to the Time Machine, some of the cons are that you need an external device to work; it may not be as convenient as other backup tools we will explore later in this article. So many things can go wrong with an external storage device – it could get missing, stolen, and even corrupted.
Method 2: Use Backup Software to Clone Your Hard Drive
The following method also requires you to have an external storage device, but in this case, it is to create a clone. The simple definition of a clone is to create an exact duplicate of what you have on your computer or system. Ensure the back of the drive is larger than your primary drive to ensure enough room for cloning.
The macOS has a built-in feature that can handle this. Still, it is generally better to use third-party applications due to their extra functionalities, such as schedule backups – making the whole process less tedious. Some of the best cloning apps include SuperDuper Carbon Copy cloner and disk-free. Most of these apps offer free trial versions, so you can test run before making the purchase.
Using super-duper as an example, these are the steps to take( often similar to most cloning apps).
- Install your preferred cloning application.
- Launch your preferred cloning tool and choose the destination volume and source for your backup files.
- As with the time machine, you can back up to an external drive or a networked computer.
- Most cloning tools will give you the option of copying or cloning your files directly, go ahead and select that option. Some also give you the option of backing up all your files or just your user files. Choose your preferred choice.
- After reviewing your choices, you can click okay to start cloning.
- In the paid version of most of the cloning apps, you can schedule your backups for a more automated service.
Note* that you can save both your cloned and time machine images on the same drive, but better if the drive is partitioned into two, with one for each backup.
The best option is to have multiple hard drives, one for each.
One significant advantage of this method is that it can boot Mac up from the backup if you are having start-up problems and instrumental in data recovery when you damage the drive.
Method 3: Backup Your Mac to an Online Backup Service
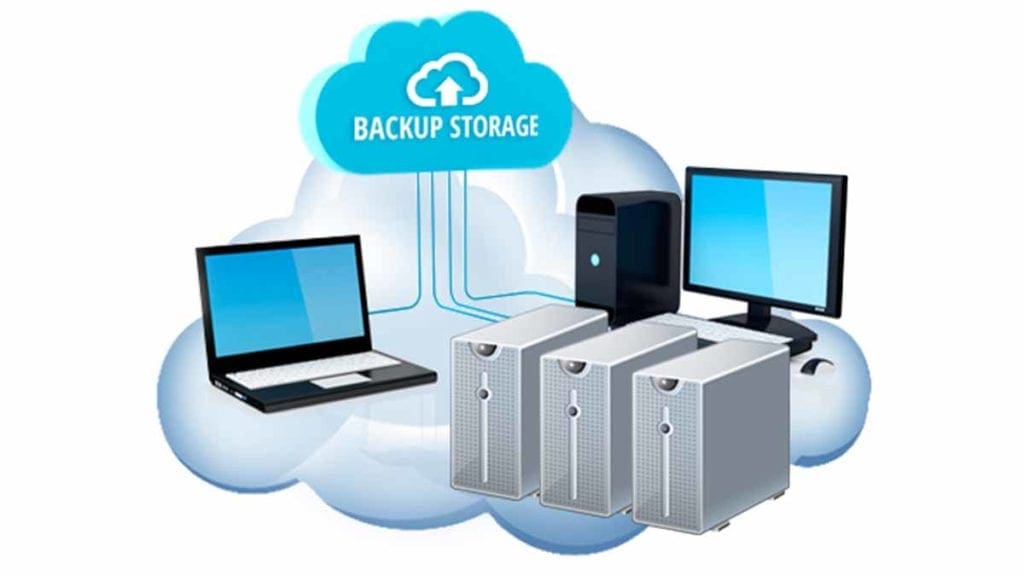
The newest method of backing up files is sending them to the cloud. With the evolution of technology, so has the “backup” game involved. There are several advantages to backing up your files in the cloud, one of which is that it is easily accessible everywhere. You do not even need to be with your computer or any hardware for that matter – although most times, you have to be connected to the internet.
When it comes to cloud storage, there are so many options to pick from these days. Let’s look at a few.
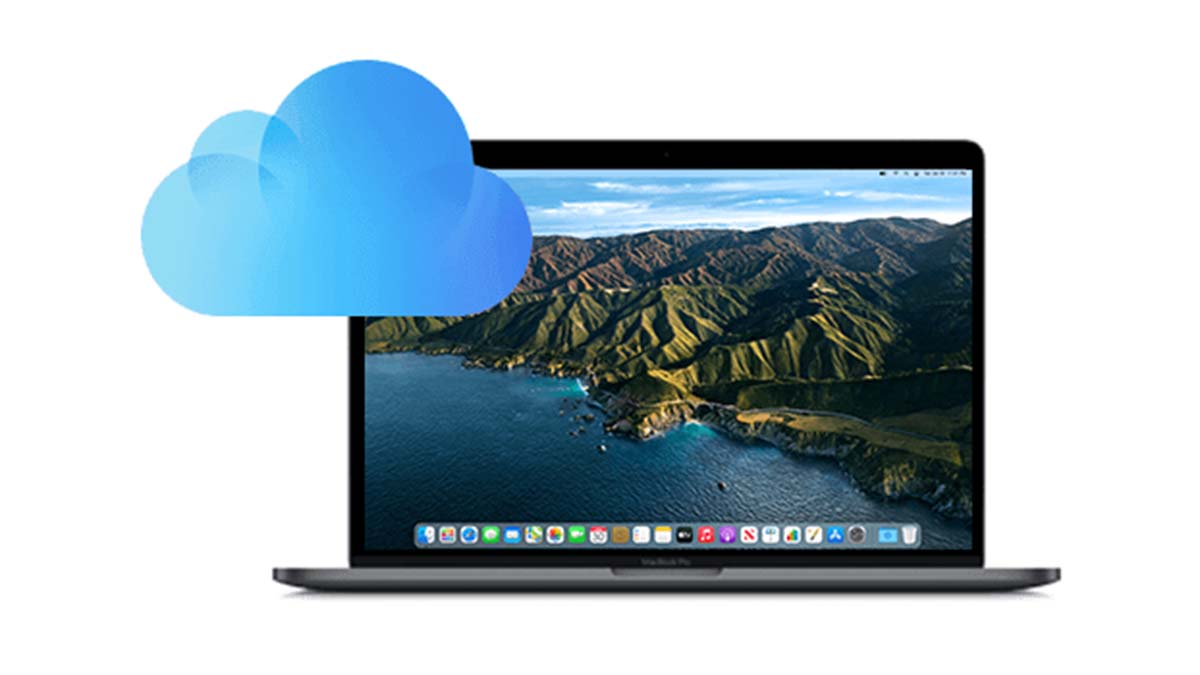
iCloud
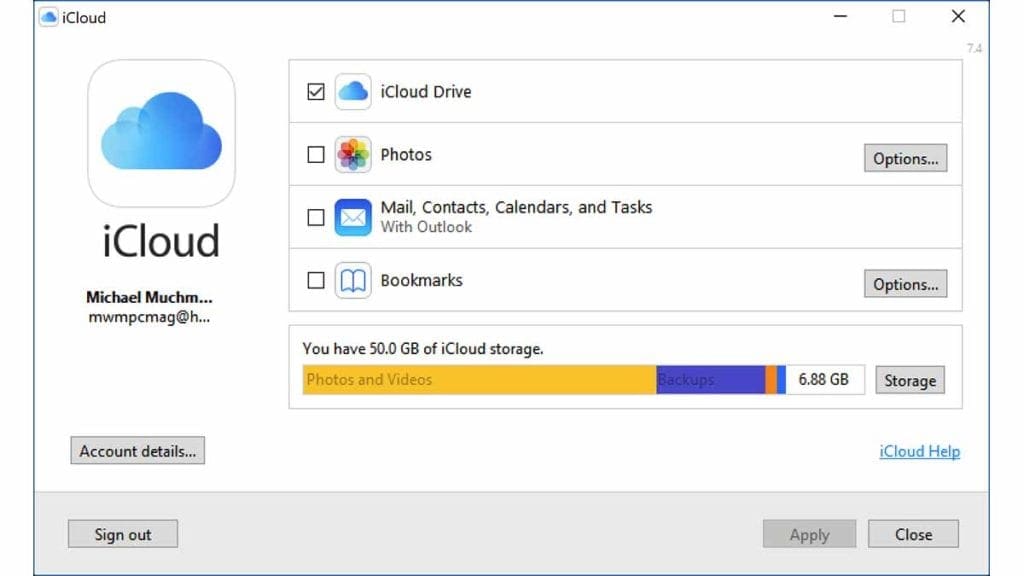
For most Mac users saving on iCloud is their most preferred cloud option because it is Apple’s default option. Here are a few steps to take;
- Ensure your Mac is updated to the latest OS.
- Go to system preferences and select iCloud.
- Log in using your Apple Id and agree to the terms and conditions.
- Select the type of files you want to back up.
Asides from iCloud, there are other backup storage options such as dropbox, google drive, and one drive. Most of these storage options have free plans, but if you need to store more data, you would have to switch to a paid plan. They often offer you more than just storage options but collaborative options.
Final Thoughts
As you can see, there are a plethora of techniques and options available that you can employ when backing up your Mac. Not backing up your machine exposes you to loss of data and subsequent problems from such events. If you are among the many who don’t back up their Mac – choose one of the options and start backing up today.


