Cropping is helpful when you want to hide unwanted parts or to help focus on a specific section in an image.
In this step-by-step tutorial, I will show you three different ways to crop an image in Figma. Additionally, I will address potential issues you may encounter along the way.
Method 1: Using Keyboard Shortcut (Easy)
This is the easiest and fastest way to crop an image in Figma.
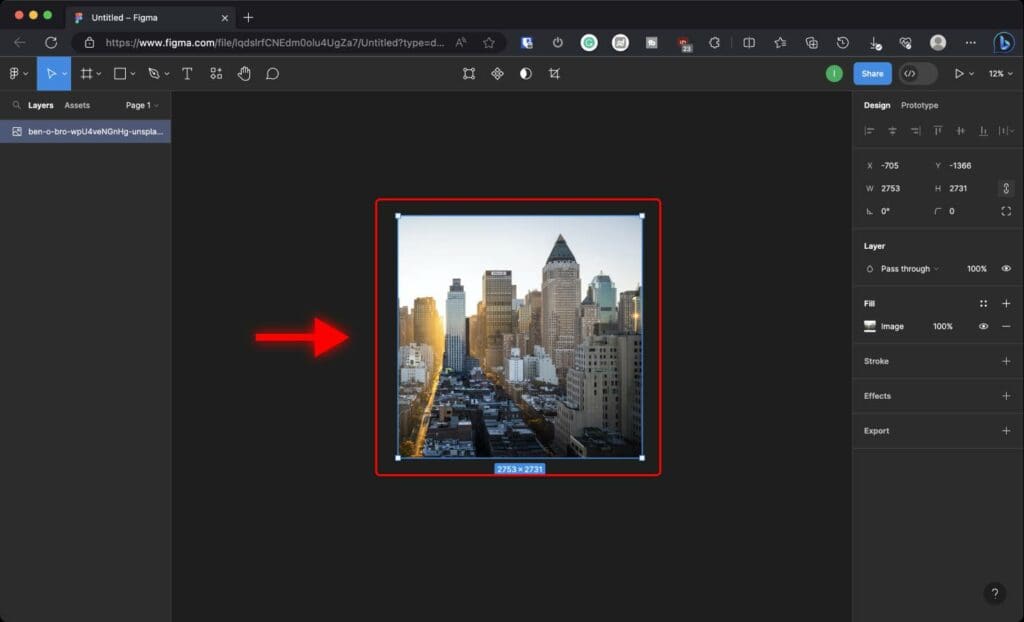
Step 1: Select the image you want to crop (you can just click on the image if it’s not already selected).
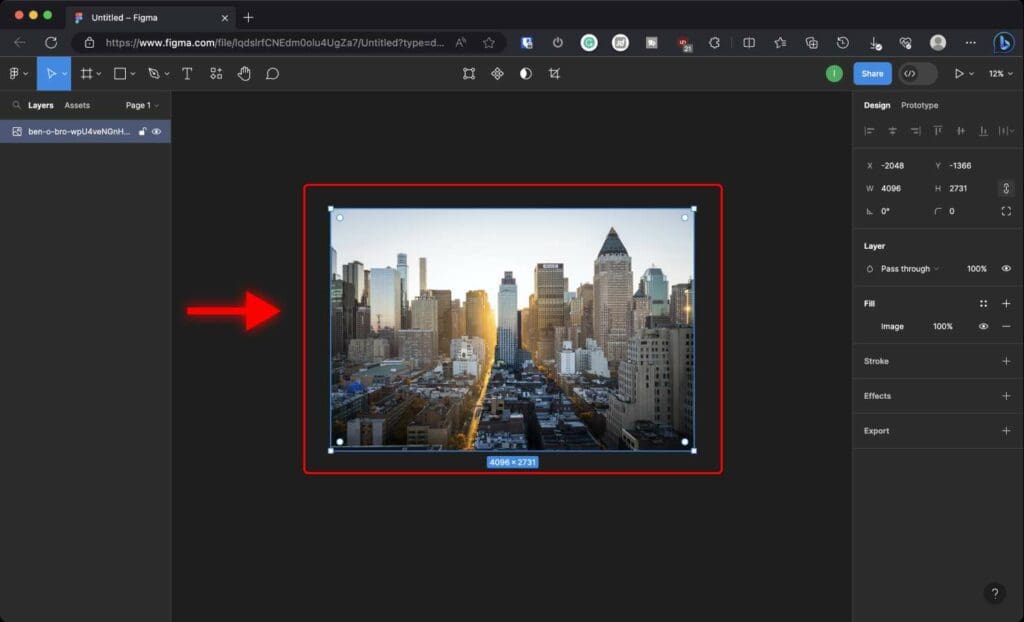
Step 2: Hold down the Command key (Mac) or Ctrl key (Windows).
Step 3: While holding the key, click and drag any edge of the image to adjust the crop area.
Step 4: Once you’re finished adjusting, release the mouse button before releasing the Command or Ctrl key.
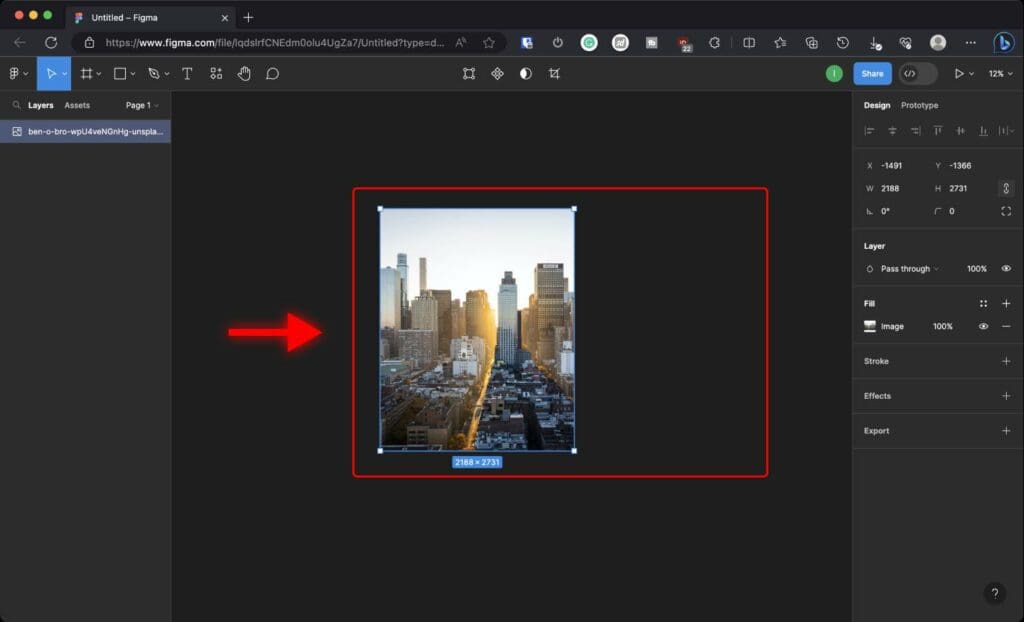
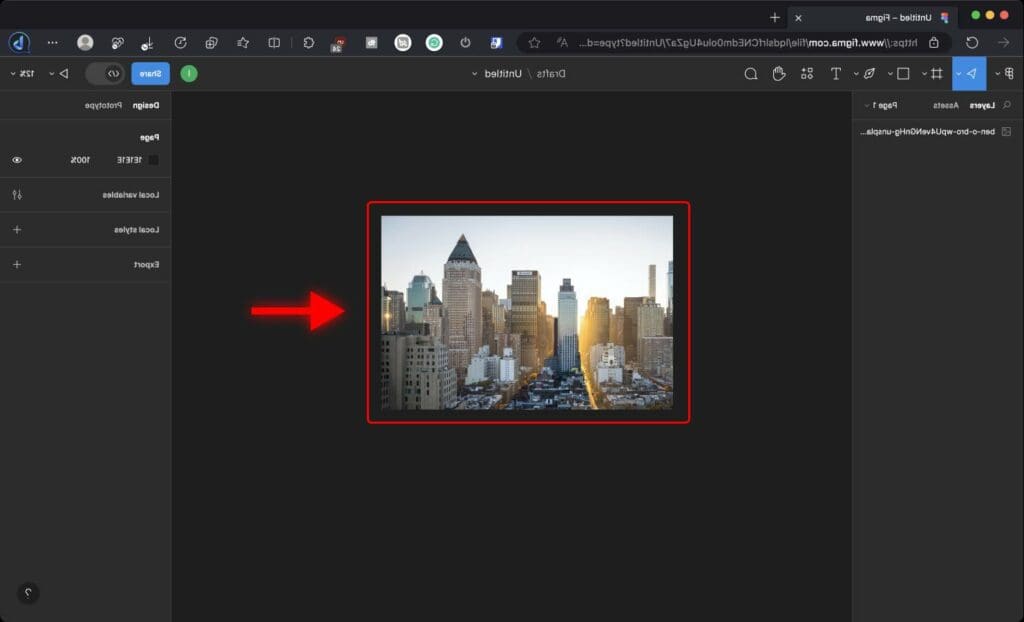
All done! The image is cropped, and the unwanted part is removed.
Pro tip: Hold down the Command key (Mac) or Ctrl key (Windows) + the Shift key while you drag a corner of the image to crop it from all 4 sides and keep the same aspect ratio.
If you want to bring back a part of the image, hold down the Command key (Mac) or Ctrl key (Windows) and drag the edges of the image.
If you want to revert the changes press “Command + Z” on Mac or “Control + Z” on Windows.
How to Preserve Aspect Ratio While Cropping Images in Figma
In some cases, you may need to keep the proportions of an image the same. Aspect ratio refers to the relationship between the height and width of an image.
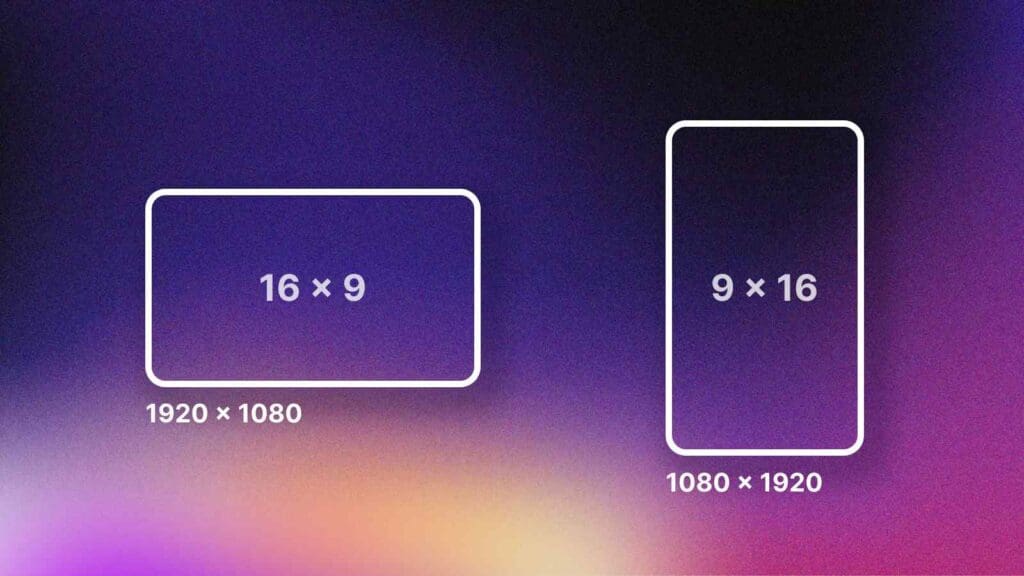
One way to keep the original aspect ratio the same while cropping an image in Figma is to hold the Shift key while dragging the blue crop handles.
Method 2: Using the Crop Tool
Another way to crop an image in Figma is using the Crop Tool.
Follow these steps to crop an image:
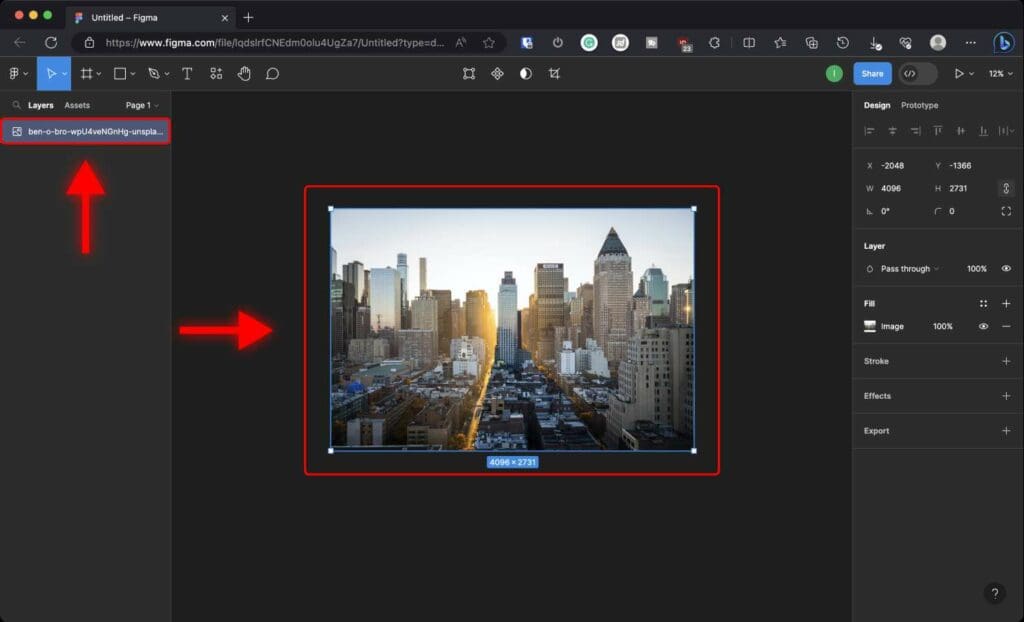
Step 1: Select the image you want to crop.
To crop an image, you need to select the image. Just click on the image or click on the image layer in the Layers panel on the left.
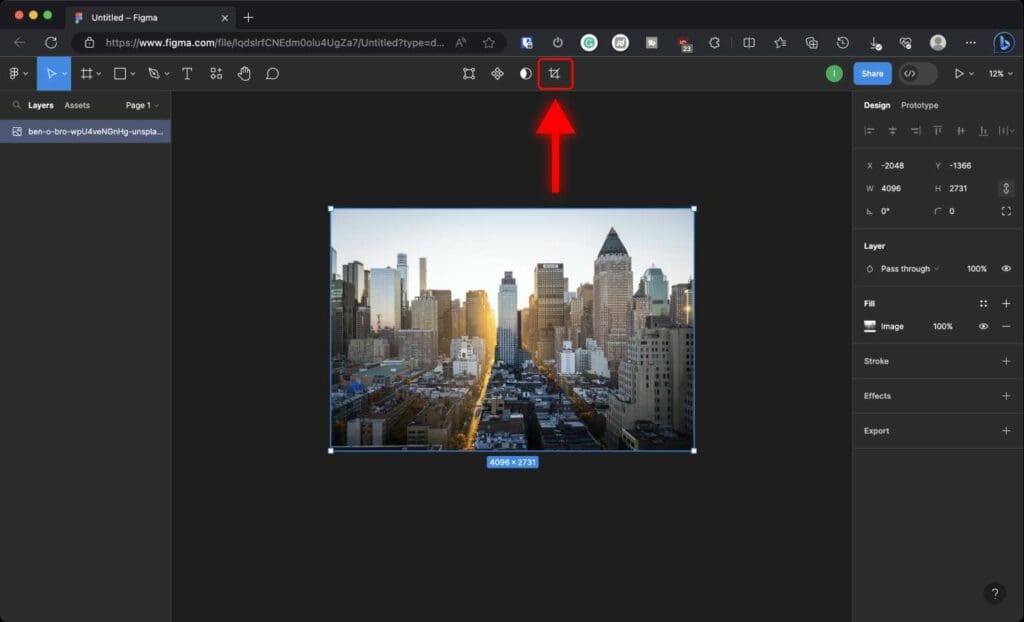
Step 2: Select the Crop Tool
In the toolbar at the top, click on the “Crop Tool” button.
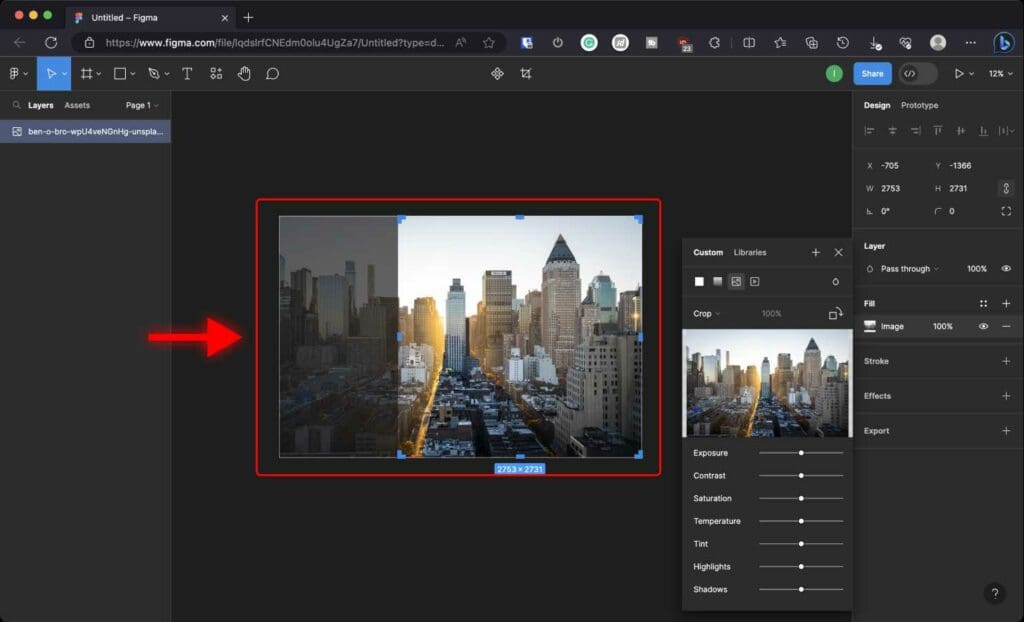
Step 3: Crop the Image
You will notice that rectangular blue crop handles appear around the edges of the image. Click and drag these handles in any direction to crop the image to your liking.

Note that you can also move the image by clicking and dragging it to select which area to crop.
Step 4: Apply the Crop
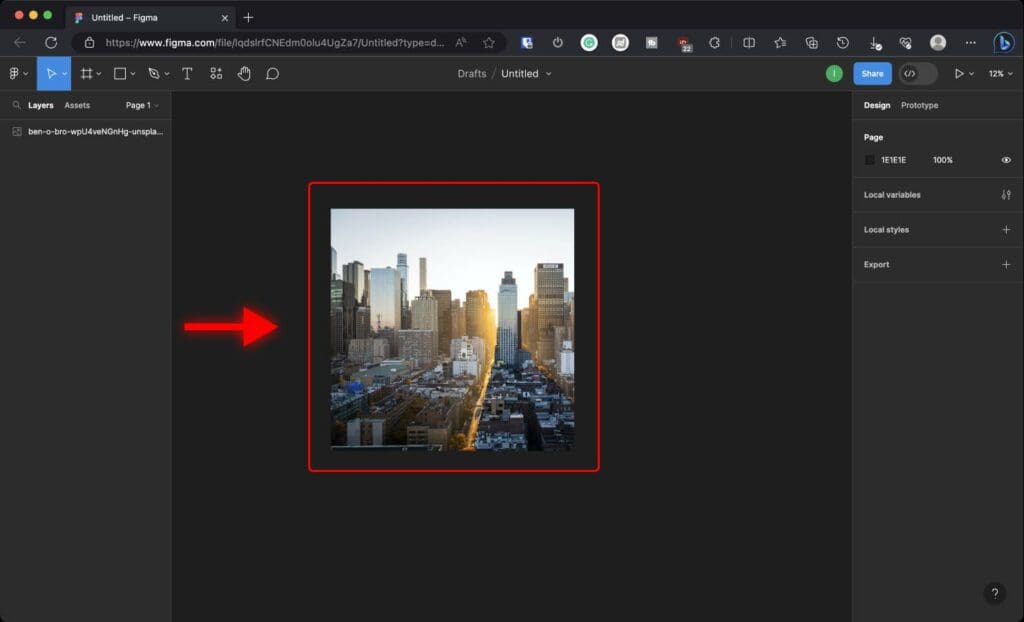
Click outside the image to apply the crop.
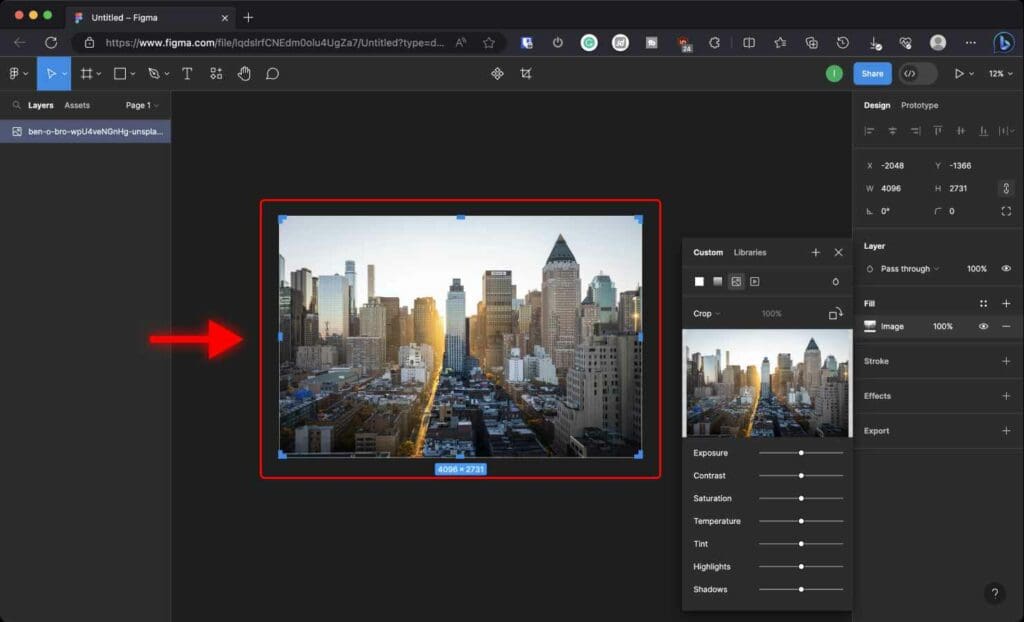
Method 3: Using Fill Mode
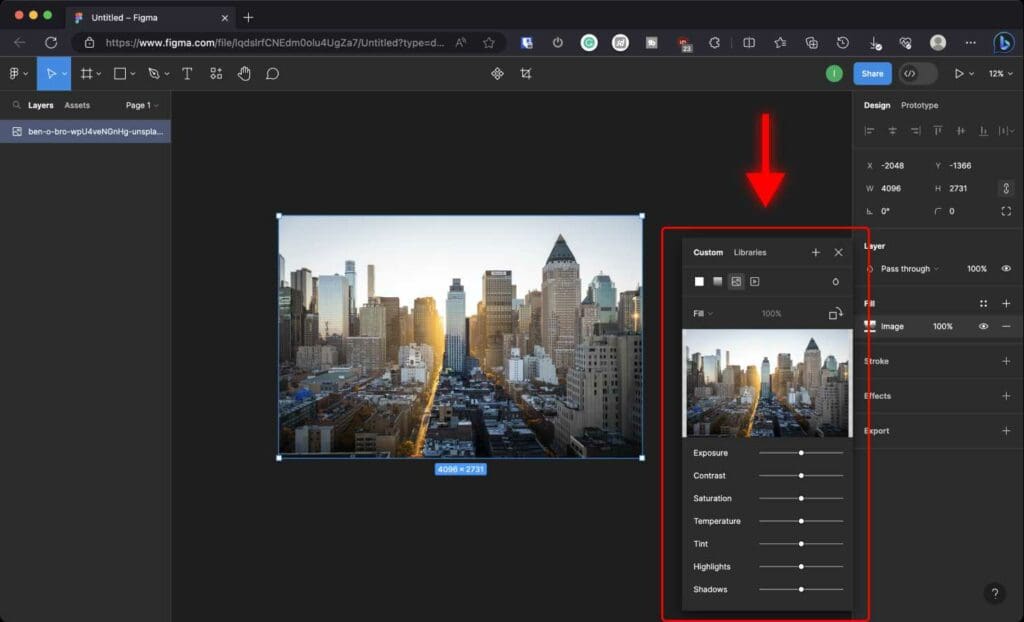
Step 1: Double-click the image you want to crop.
A “Fill” window will pop up.
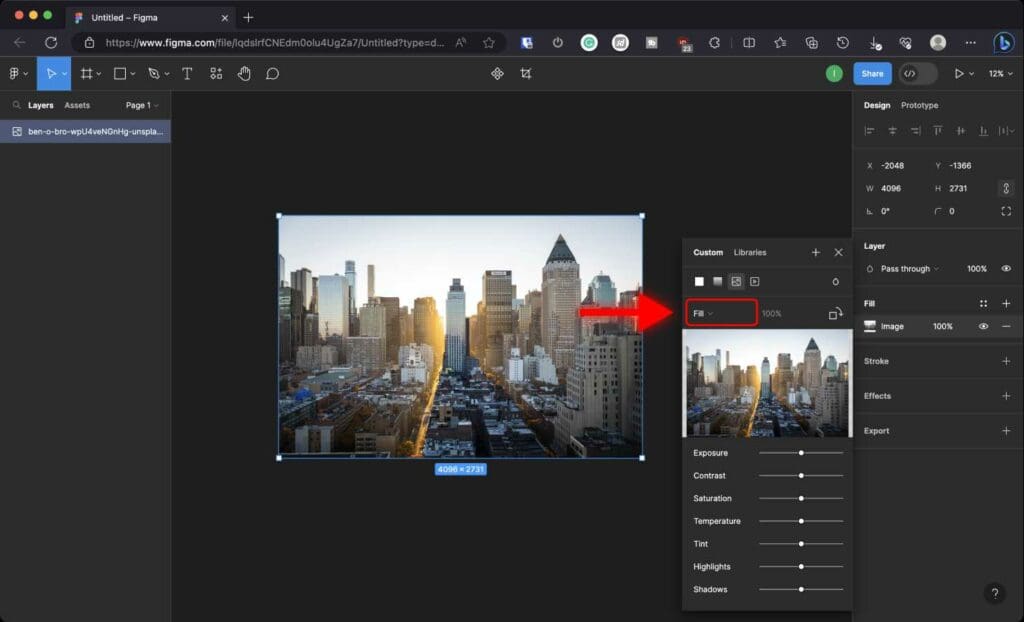
Step 2: Click on the “Fill” dropdown menu.
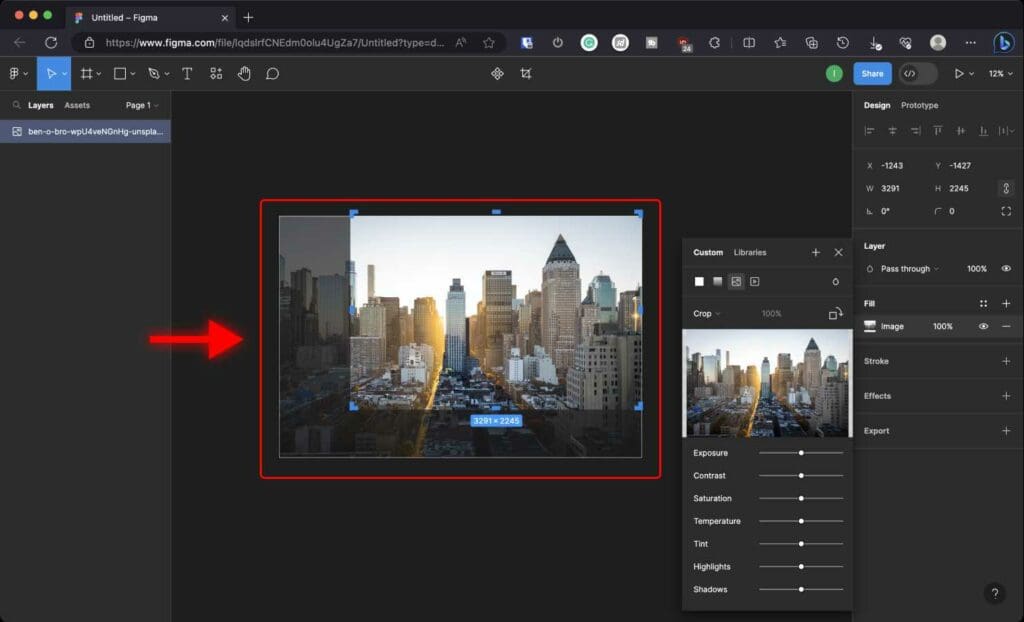
Step 3: Select “Crop” mode from the options.
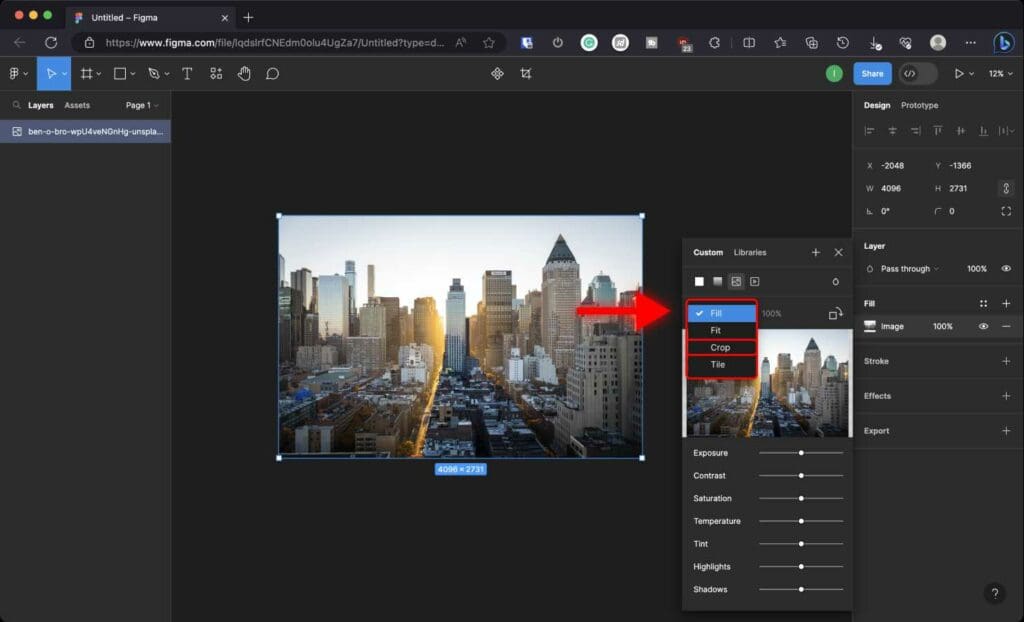
You will notice rectangular blue crop handles around the image.
Step 4: Click and drag the crop handles in any direction to crop the image to your liking.
Frequently Asked Questions
How to undo a crop in Figma?
You can undo a crop by pressing “Command + Z” on Mac or “Control + Z” on Windows.
How to crop multiple images at once in Figma?
Figma currently does not have a feature to crop multiple images simultaneously. However, you can use several community plugins to perform batch crop and resize.
Why can’t I crop an image in Figma when holding the Command/Ctrl key?
If the image is not selected before applying the keyboard shortcut, the crop function may not work. Make sure to select the image first.


