You’re probably here because you’ve decided to learn how to create a mask in Figma. Trust me, you’re not going to regret it. I put off learning about masks for the first few months of using Figma, but now I use them almost every day!
Here’s a super helpful guide I put together that will tell you everything you need to know about how to use masks in Figma.
1: How Masks in Figma Work
Before we dive into the nitty-gritty of using masks in Figma, let’s understand the fundamentals.
What are Masks?
In Figma, masks are used to control the visibility of one or more layers using another shape or image as a template. This technique is particularly useful for revealing only the content within the mask’s boundaries.
How Masks Work?
- The mask layer acts as a window through which you can view the content of the layers underneath.
- Any content outside the mask’s boundaries is hidden.
- You can create complex effects and reveal specific parts of your design by using masks.
2: How to Enable Masks in Figma
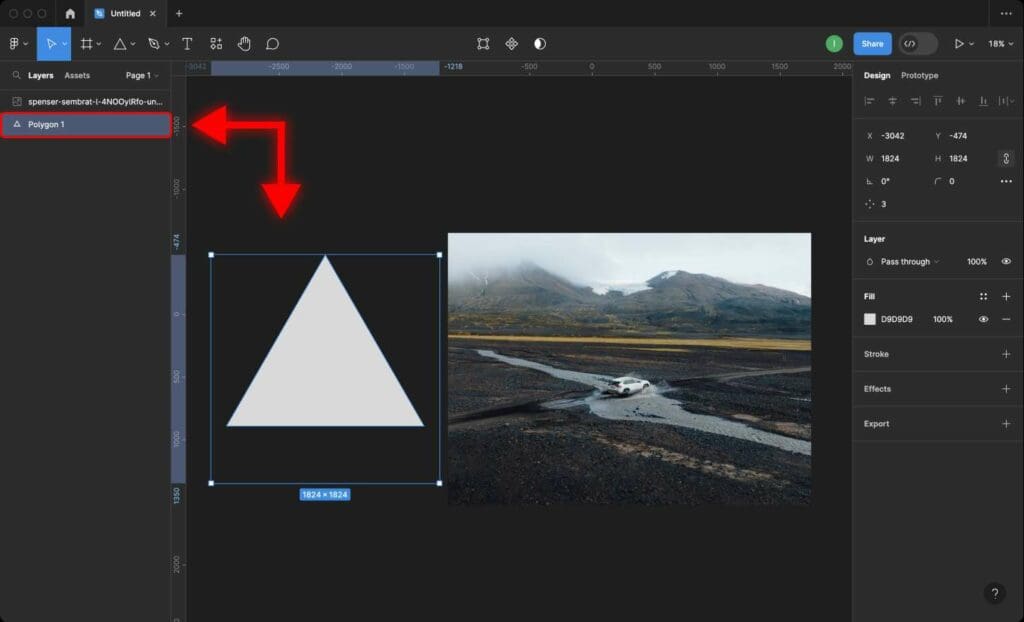
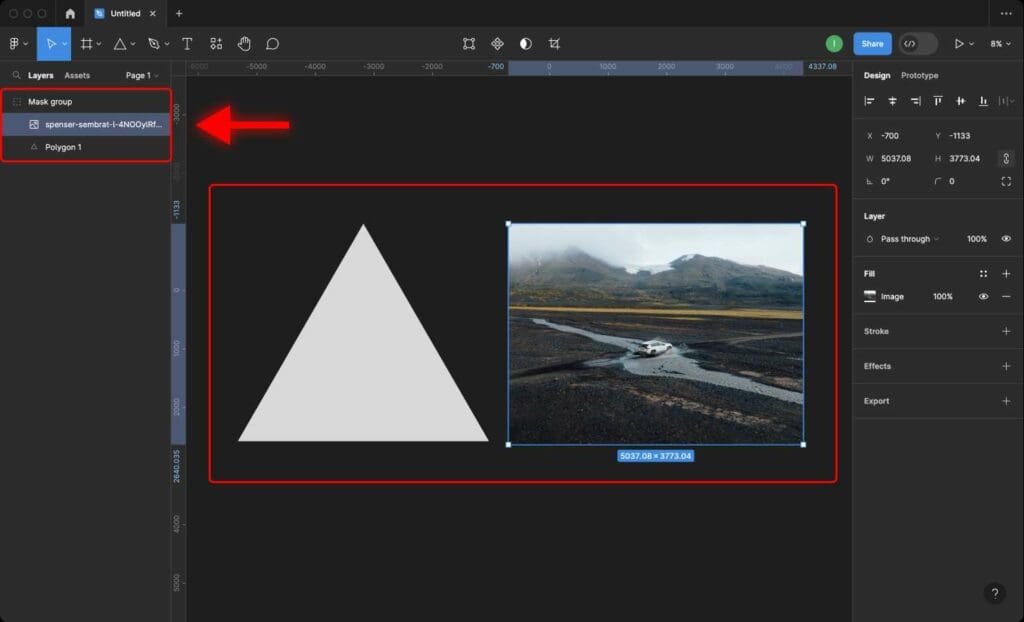
Step 1: Select the shape or layer you want to use as the mask (in our case it is a Triangle) and place it below the content you want to mask.
Step 2: Select both layers on the canvas.
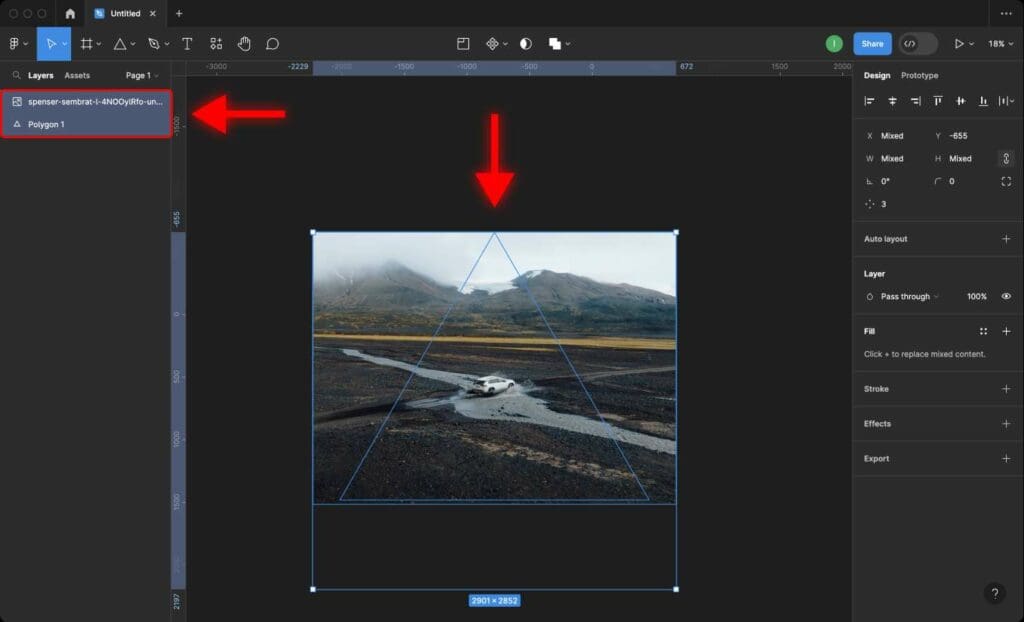
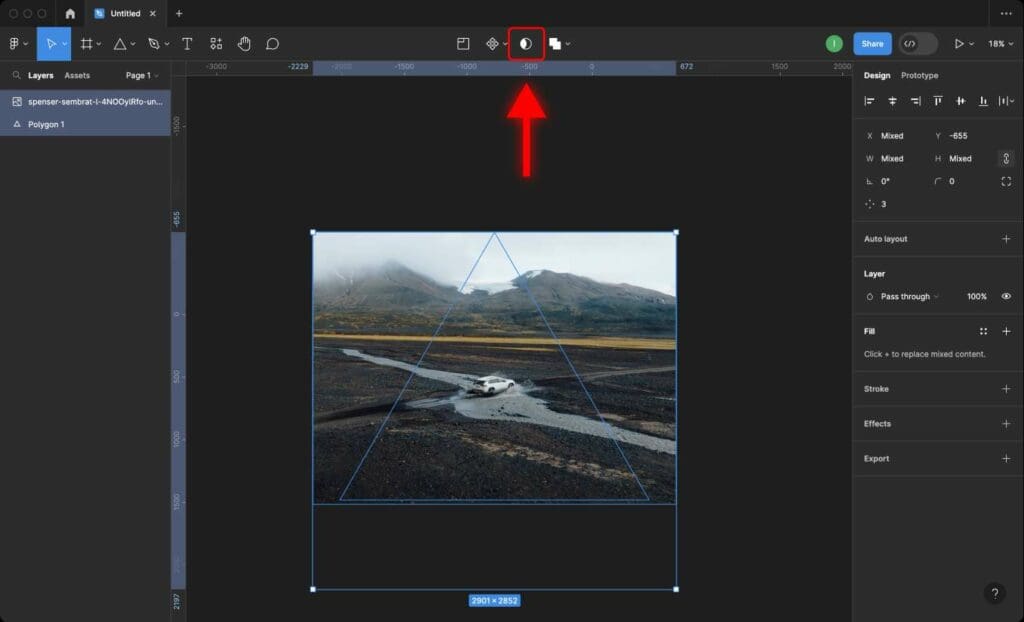
Step 3: Click on the “Mask” icon in the top menu bar.
Alternatively, you cab use the shortcut keys Shift+Command+M on Mac or Ctrl+Alt+M on Windows.
Pro tip: Check out my article on Every Figma Shortcut For Mac and Windows.
The selected layers will now be masked and placed in the Mask Group.
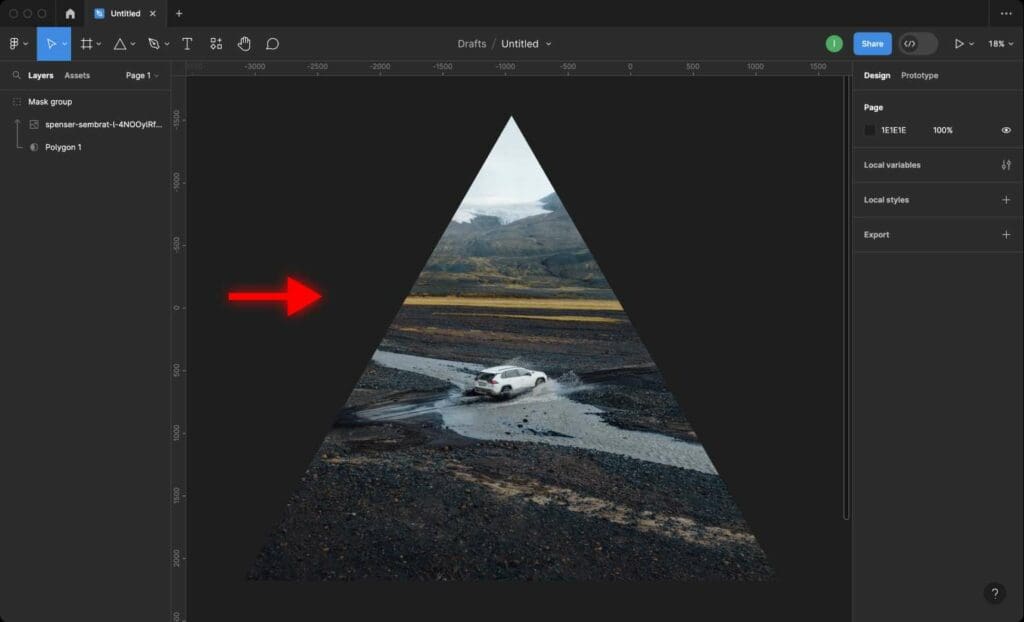
Now you can resize the background image, move it, and rotate it to achieve the desired look.
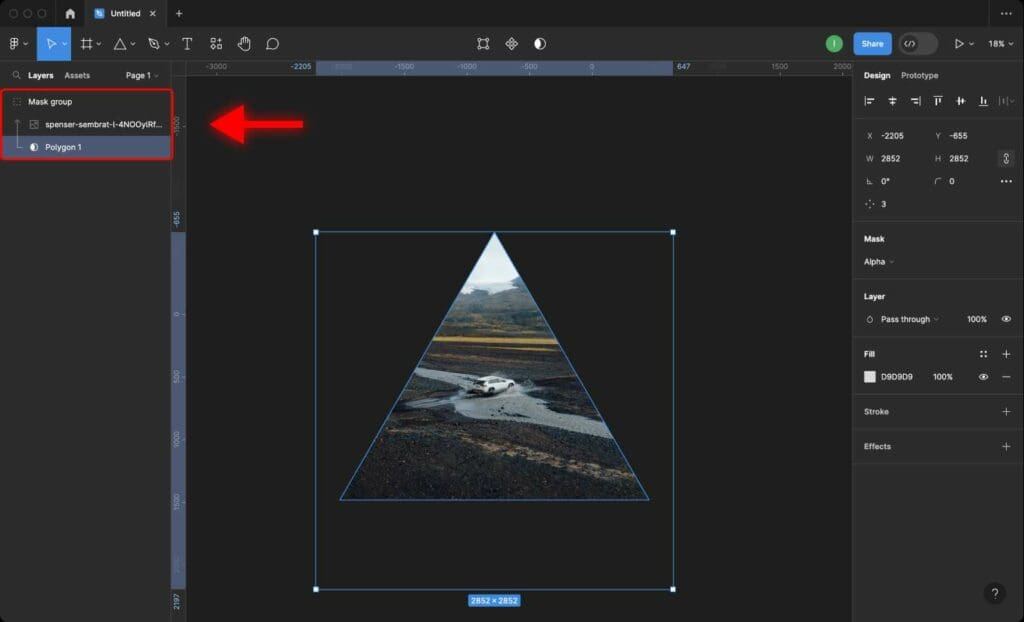
Only the content within the bounds of the mask will be visible.
3: How to Disable Masks in Figma
Step 1: Click the Mask layer which is located at the bottom of the Mask Group. In our case it is the Triangle.
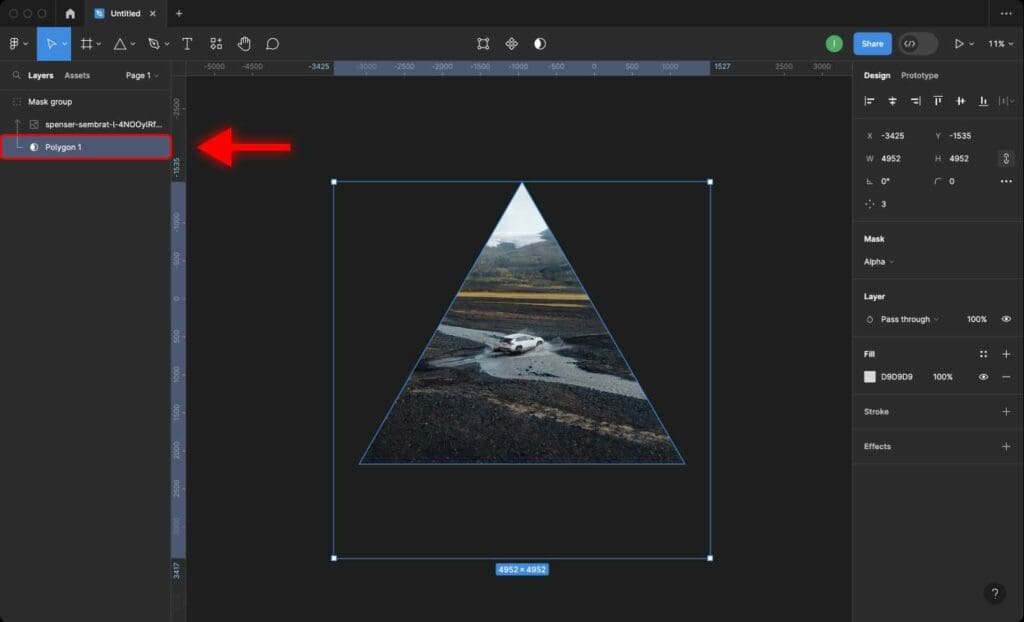
Step 2: Click on the Mask icon on top of the toolbar.

The mask will be removed, and all layers from the Mask Group will be visible again.
Learn How to Proportionally Resize Frames and Groups With Content in Figma.
4: How to Mask Text in Figma
Figma also supports masking text. Now, let’s get hands-on and learn how to mask text in Figma. It gives you an ability to fill the text with any background you want.
The only downside is that you will not be able to change or edit the text. Keep that in mind.
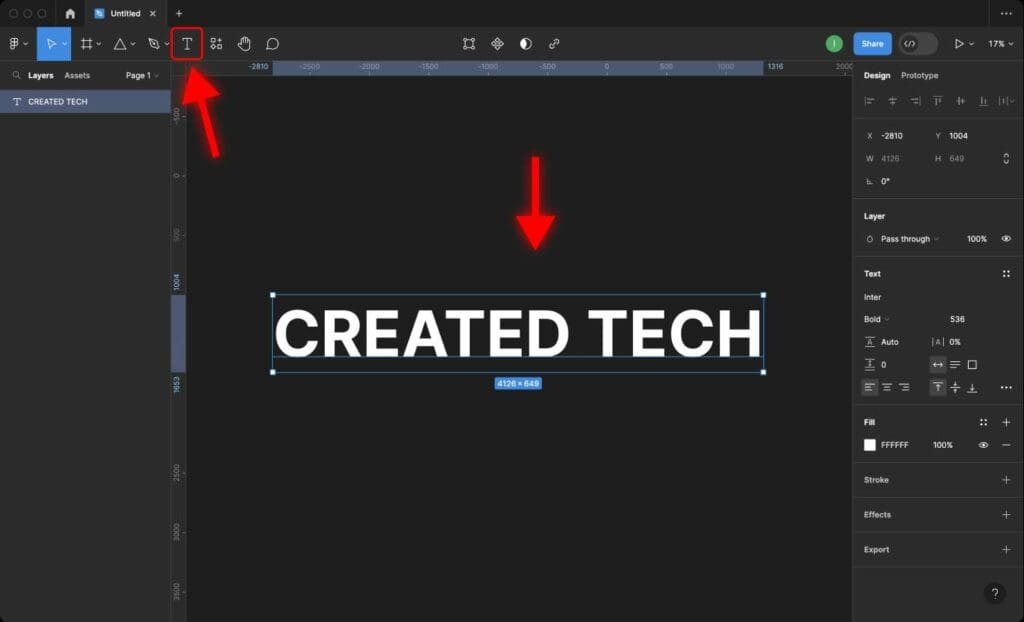
Step 1: Create a Text Layer
Start by creating a text layer by selecting the Text tool from the toolbar and clicking on your canvas. Type in your desired text.
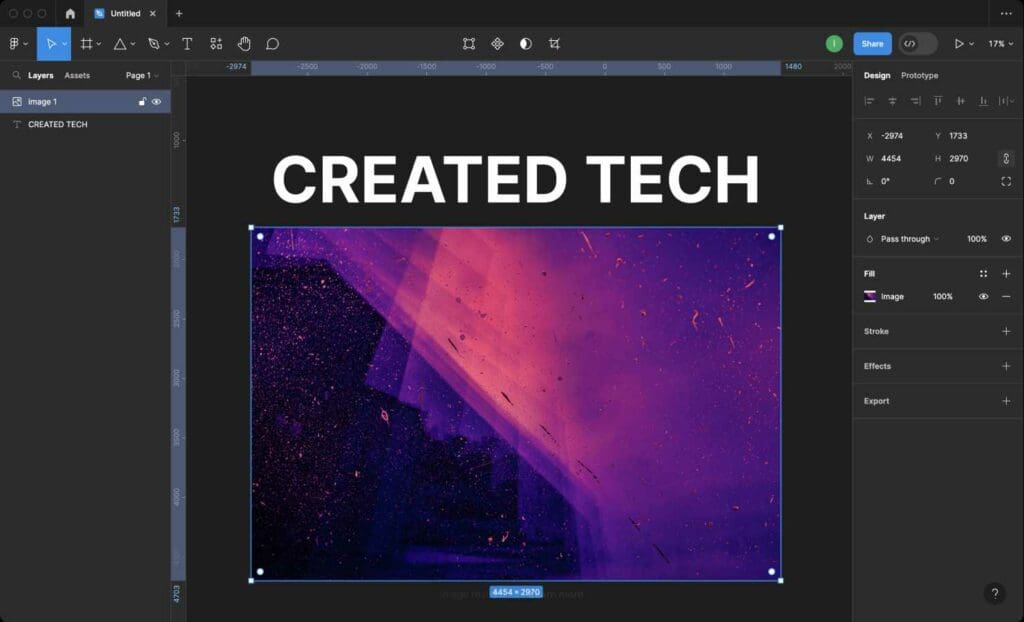
Step 2: Add the Background
Now add a nice background or an image that will fill the text.
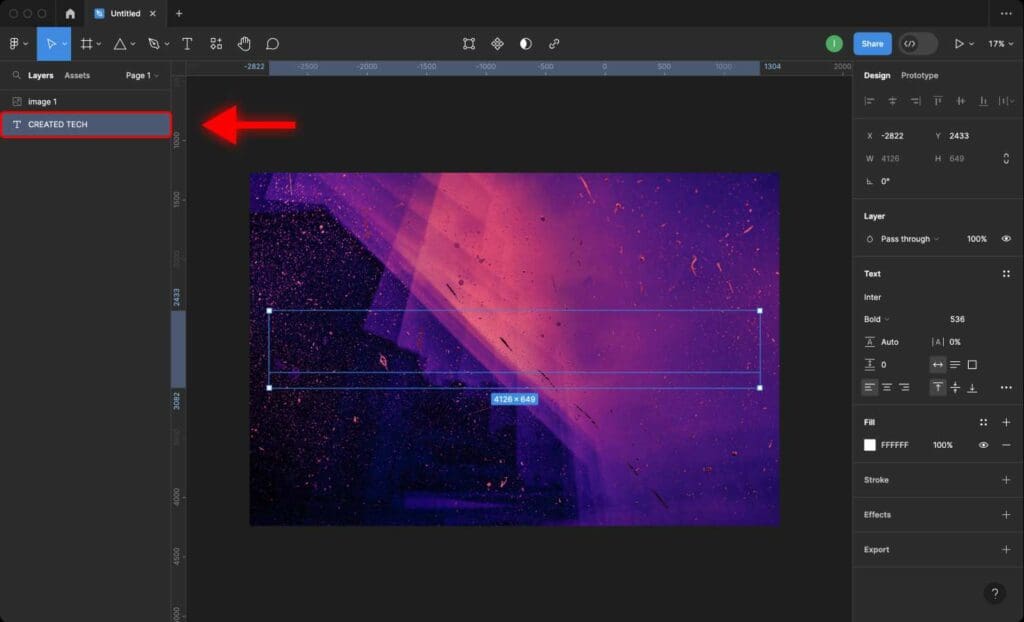
Step 3: Place the Text layer under the background image in the Layers Panel.
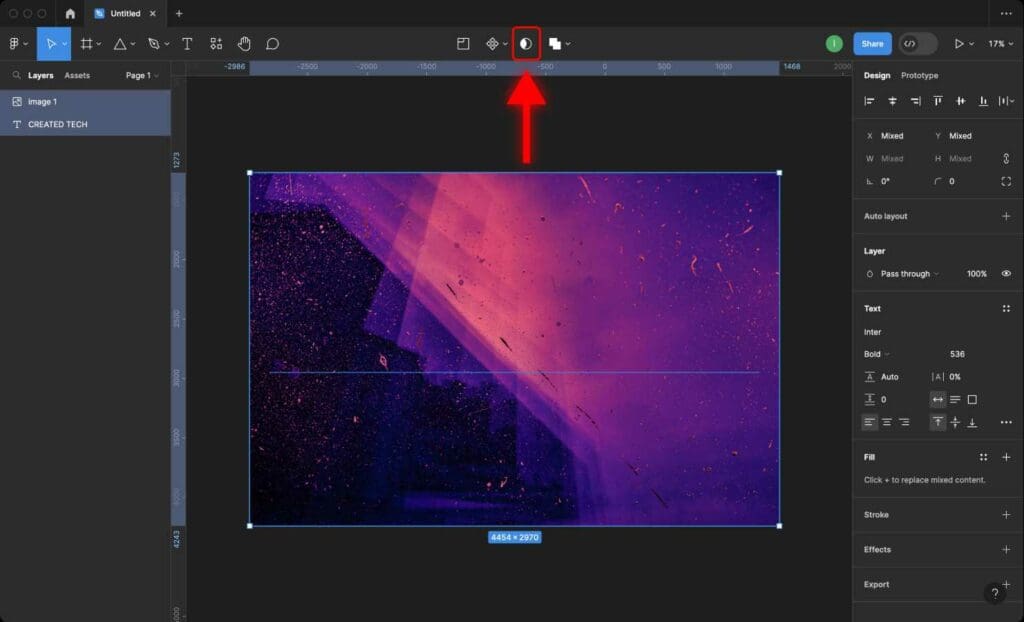
Step 4: Select both layers (text and background) by clicking on each layer while holding the Command key on Mac or Control key on Windows.
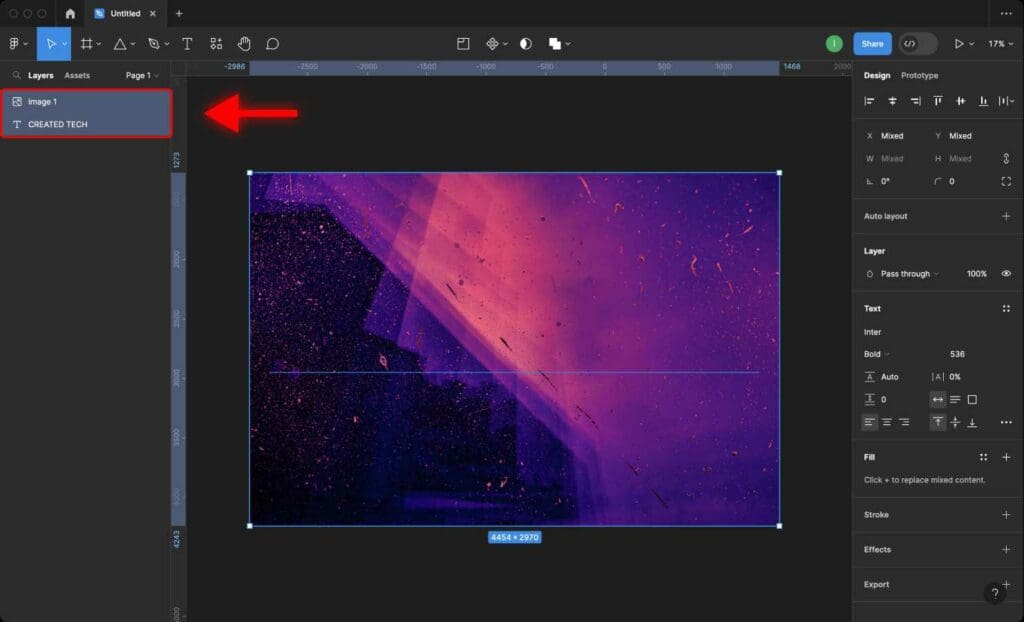
Step 5: Click on the “Mask” icon in the top menu bar, or use the shortcut keys Shift + Command + M on Mac or Ctrl + Alt + M on Windows.
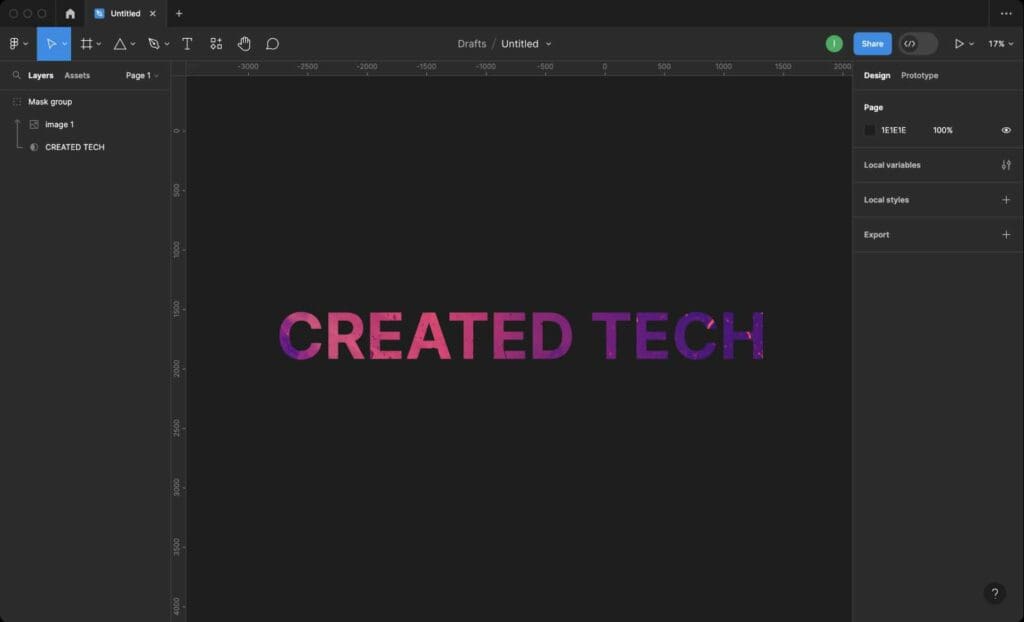
Now you can move the text around to achieve the look you want.
Don’t forget to learn how to curve text in Figma.
5: Tips and Tricks for Effective Masking
Once you master masks in Figma, you will be able to create much more interesting visuals.
Combine Masks for Complex Visual Effects
You can create intricate designs by combining multiple masks. All you have to do is to group several layers together and apply a mask to this group.
Apply masks to text layers
As I showed above, you are not limited to masking only shapes, you also can mask text in Figma. This allows you to fill the text with interesting colors.
Adjust the mask position and size
It’s important to keep in mind that after applying a mask, you can adjust its position and size.
Combine masks with other effects
Don’t forget about other effects available in Figma. Masks can be used together with gradients or blurs.
Organize your layers
When working with masks in Figma, one of the most important parts is to keep your layers organized and structured. I highly suggest you to name each group to be able to find and manage your masked layers and mask groups.
Learn How to Create a Glass Effect in Figma.
Frequently Asked Questions
How to use multiple shapes as masks in Figma?
Simply select the layers you want to use as a mask.
Right-click on the layers and select “Group Selection”.
Place the group selection under the image you want to mask.
Select the group selection and the image and click on the “Mask” icon in the top menu bar or use the shortcut keys Shift + Command + M on Mac or Ctrl + Alt + M on Windows.
How to move a mask in Figma?
To move a mask in Figma, simply select the mask object, then click the mask to a new position.
Can I use PNG files as masks in Figma?
You can use PNG files and images as masks in Figma.


