Most people usually view rendering as the final and least important step in the video editing process. In reality, it’s one of the most important parts of the entire editing workflow.
If you screw up the render settings, it can ruin the entire video – no matter how high quality the footage was or how much time and effort it took to edit.
I’m speaking from experience here… I’m a part of a hybrid video/web content production company producing multiple 4K videos every single week. Over the years we’ve experimented with many different render settings and techniques.
In this step-by-step tutorial, I will guide you through the best render settings for 4K video in DaVinci Resolve, whether you are uploading it to YouTube or sending it to a corporate client. The main goal here is to achieve the best possible 4K video quality from DaVinci Resolve.
Let’s get started.
Project Settings for 4K Video in DaVinci Resolve
Proper project settings are essential to achieve the best possible quality in a 4K video.
To set up a 4K project in DaVinci Resolve, follow these steps:
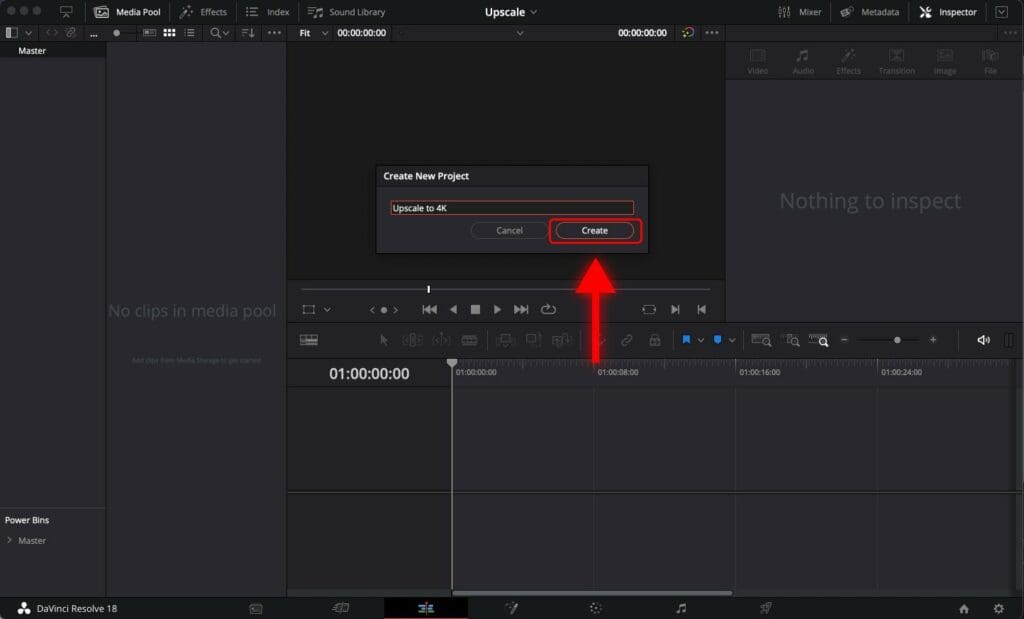
Step 1: Go to File and select “New Project…”.
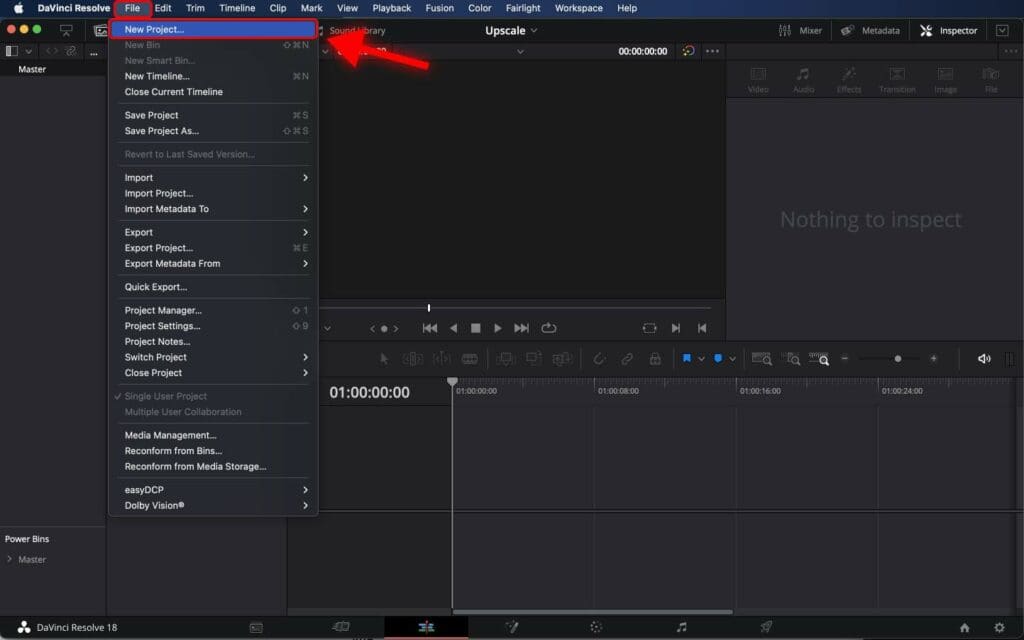
Step 2: Name the project and click “Create”.
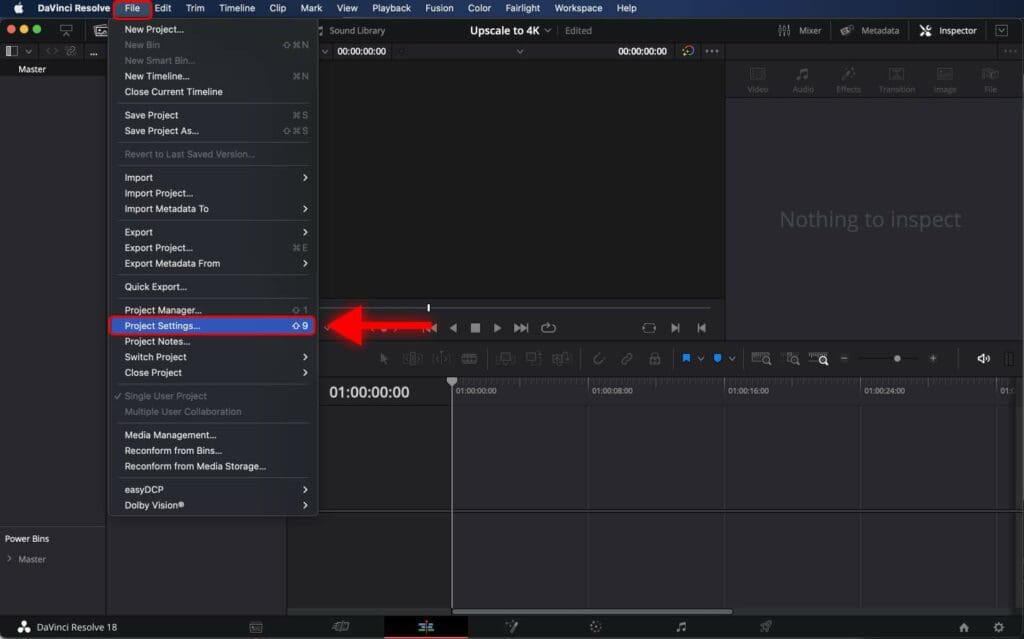
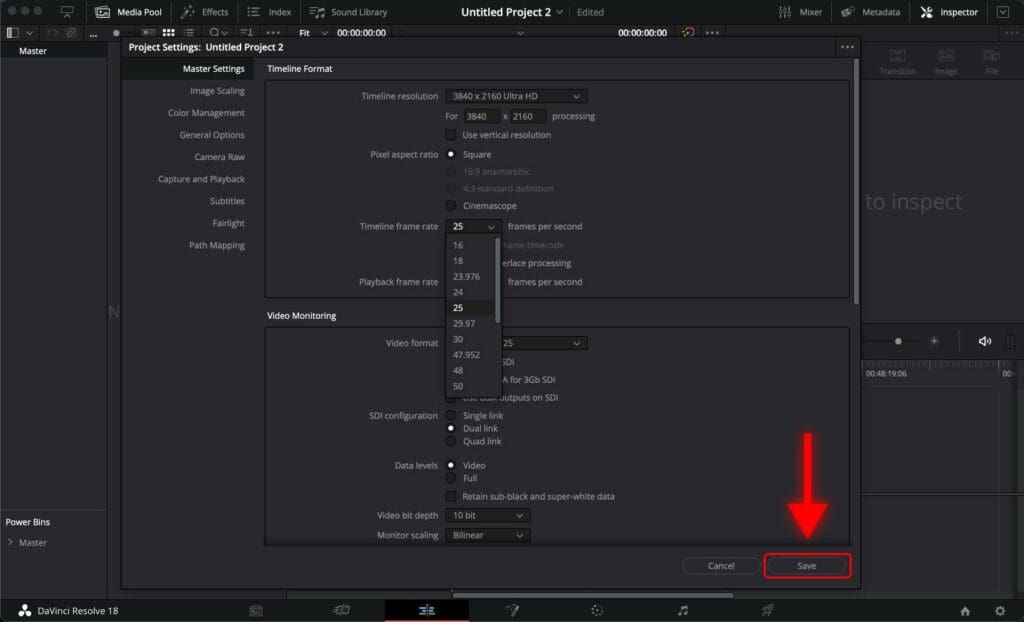
Step 3: Go to File and select “Project Settings…”.
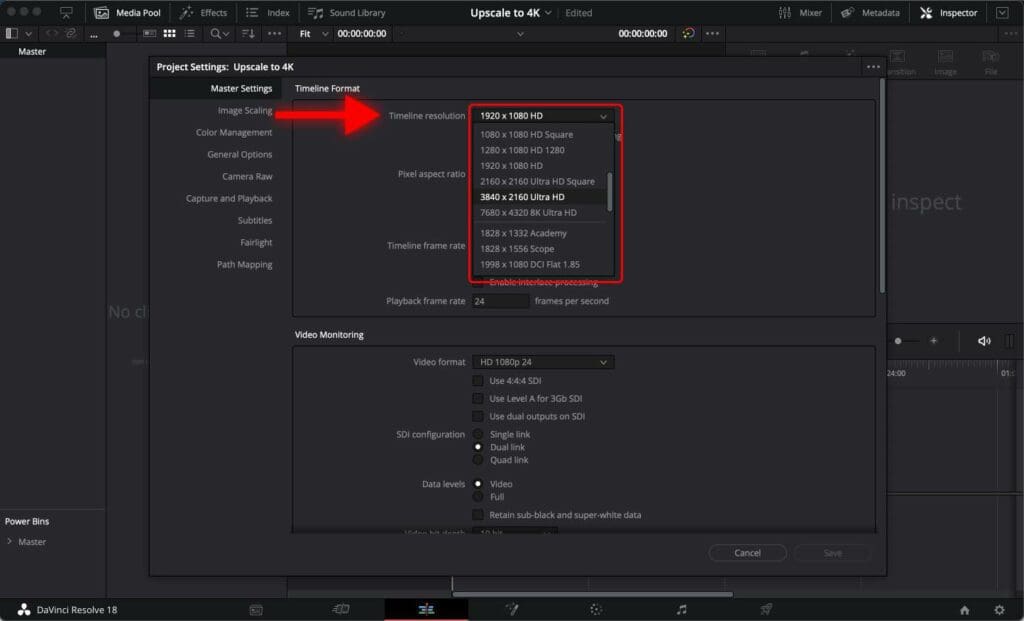
Step 4: Set the “Timeline Resolution” to 3840 x 2160 Ultra HD.
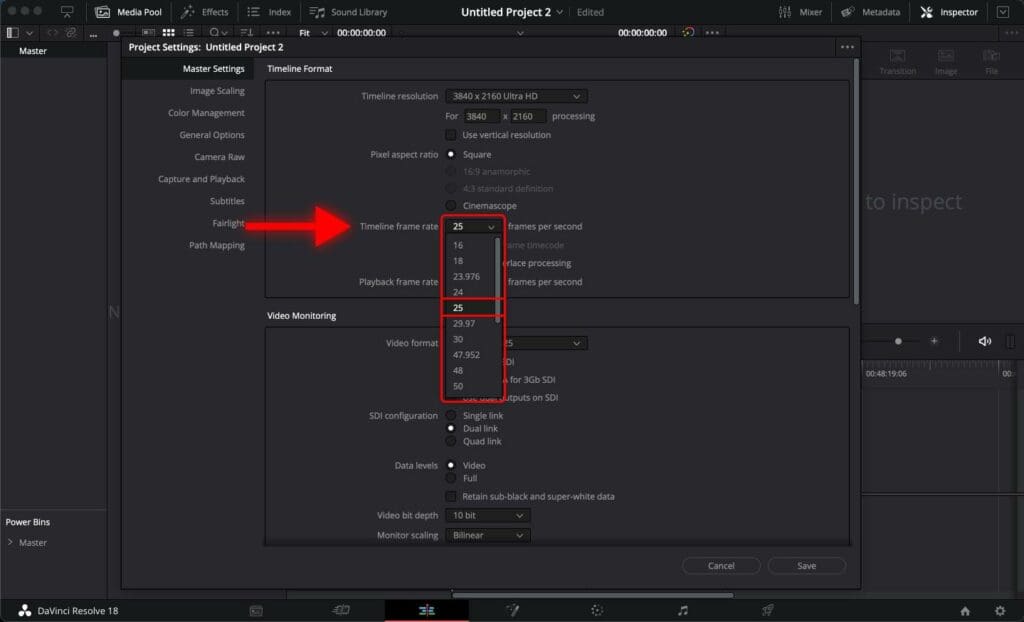
Step 5: Set the “Timeline frame rate” to match the frame rate of the footage you are going to edit.
For example, most of the videos I edit are shot in 25 frames per second (FPS). Therefore, I’m selecting “25” in the drop-down list.
Step 6: Click “Save”.
Now, you can add your footage and start editing your video. These settings ensure you get the best possible quality for a 4K video.
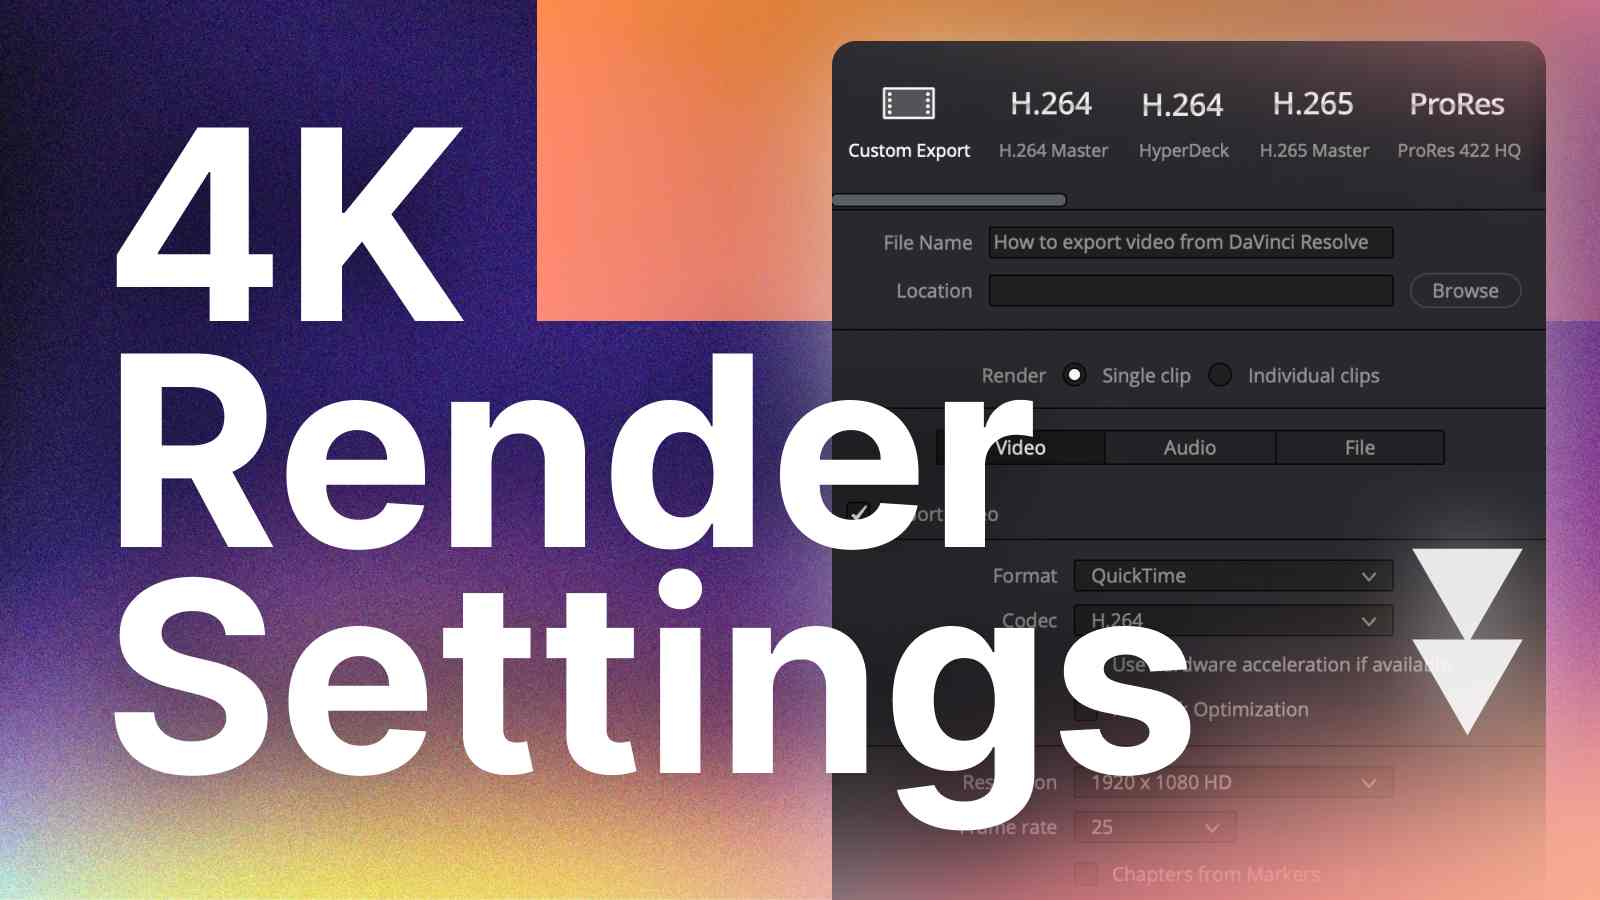
Render Settings
Once you are done editing the video, and you are ready to export it, go to the Deliver page.
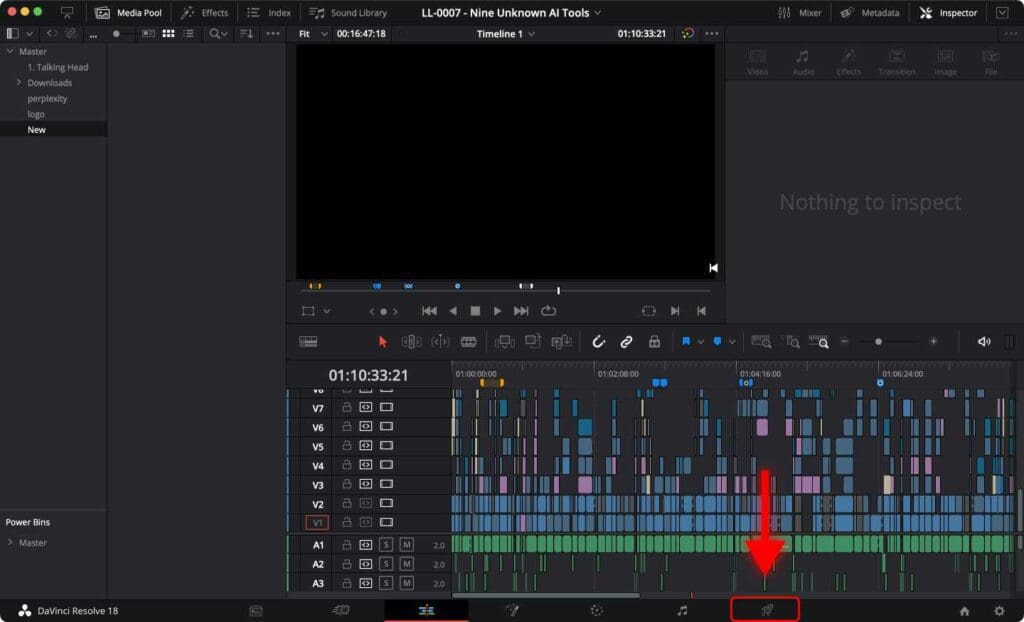
Alternatively, you can use the shortcut “Shift + 8” to open the Deliver page.
To learn some of the most frequently used DaVinci Resolve shortcuts for macOS and Windows, check out 70 Easy DaVinci Resolve Shortcuts You Can’t Afford to Miss.
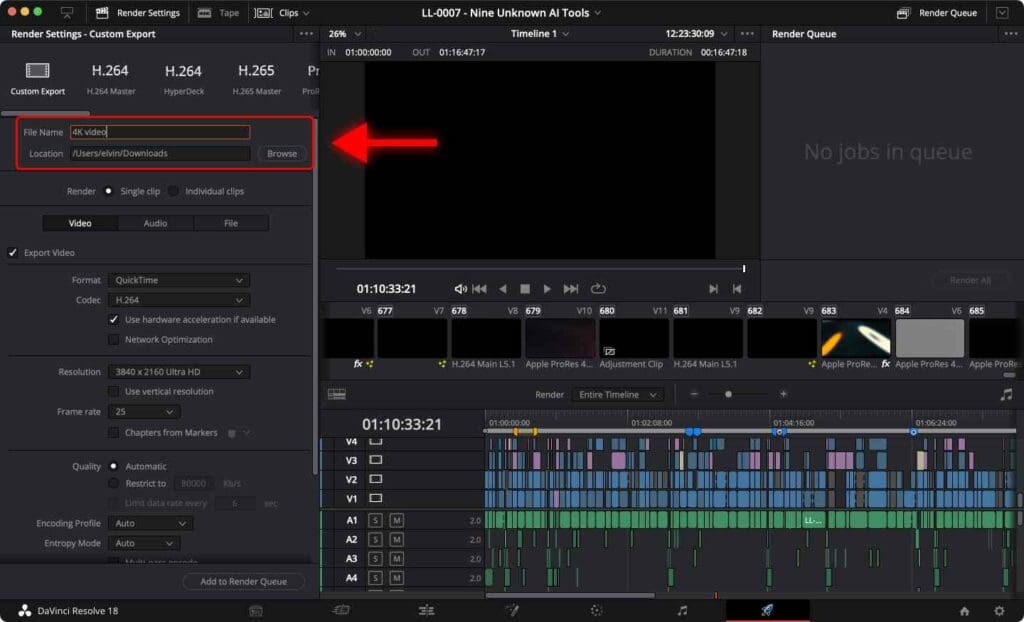
Give your video a name and select the destination folder on your computer to save the video.
Why Using Presets is a Bad Idea
When in the Deliver page, you’ll see a number of presets available just above the File Name and Location input boxes.
In the below image example, you can see available presets like “YouTube 1080p” or “Twitter 1080p”.
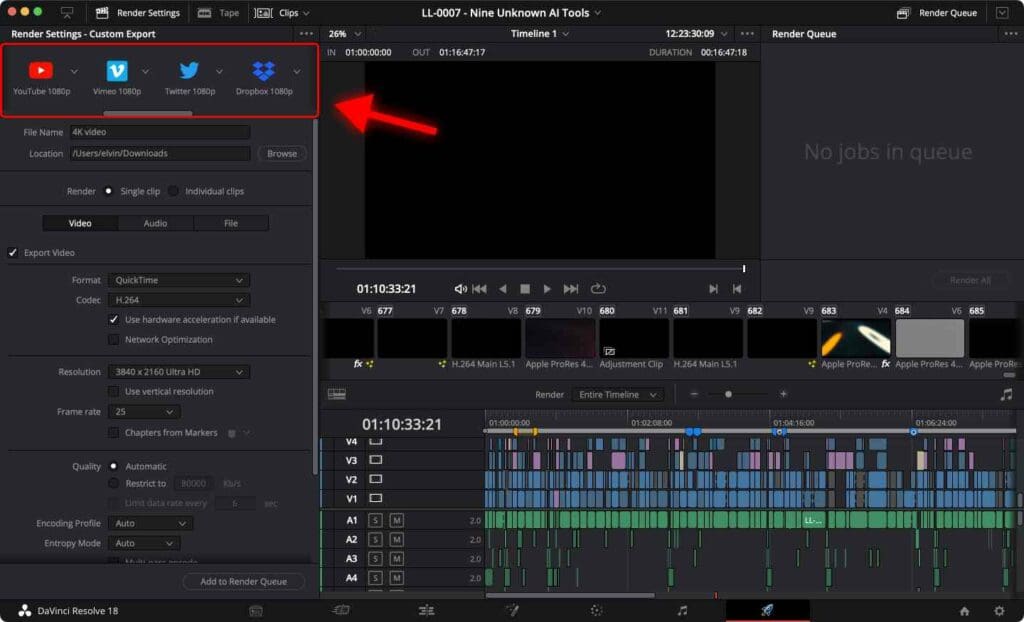
I tend to avoid these presets, even though they may seem convenient and fast. Why? Well, they lack customizability and most importantly, presets limit your control over critical things like video bitrate
To achieve optimal quality, it’s important to manually adjust the render settings when necessary.
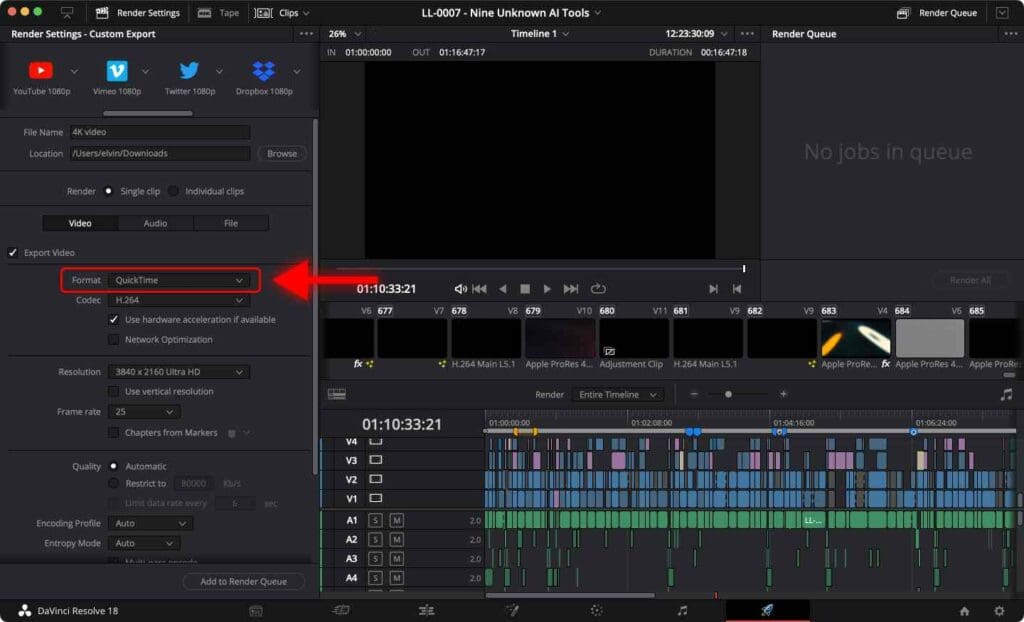
Best Format for 4K Video
For the format, choose QuickTime if you’re using a Mac or MP4 if you’re using Windows.
Both formats work on either operating system, so don’t worry too much about which one you choose.
Just choose one that matches the operating system you most frequently use.
We are primarily macOS based, so we usually stick with QuickTime.
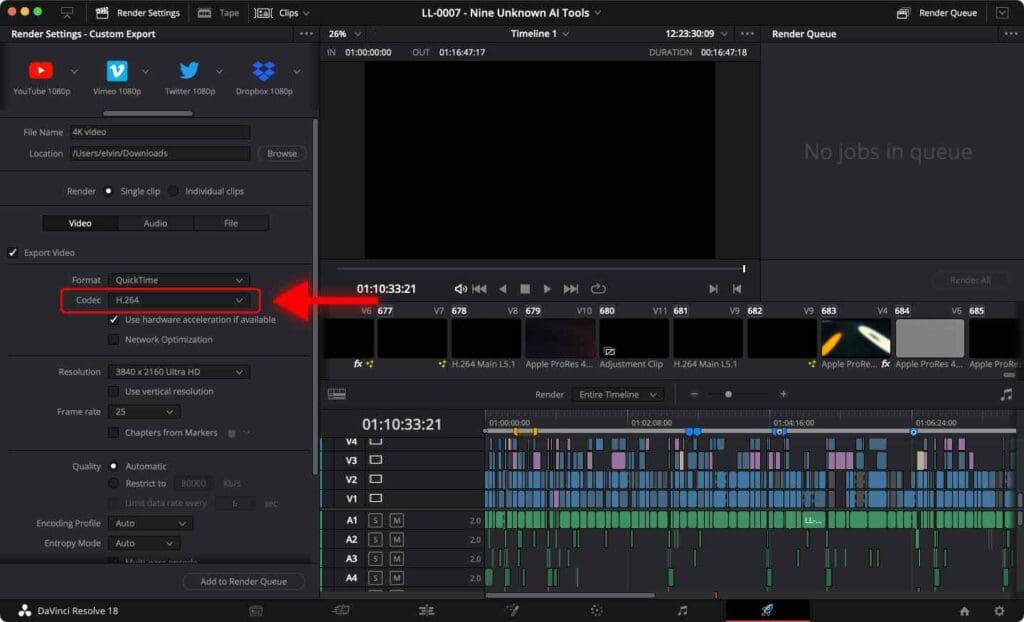
Best Codec for 4K Video
The codec you use for rendering plays a crucial role in preserving the video quality. For 4K videos, stick to H.264, as it offers a good balance between video quality and file size.
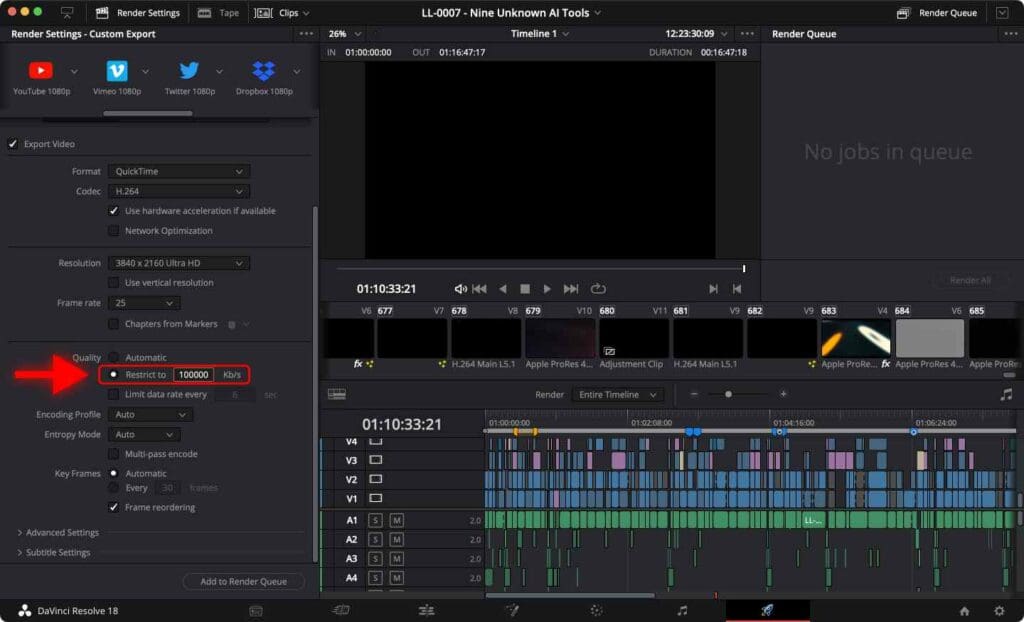
Best Bitrate for 4K Video
Bitrate determines the amount of data used to represent each second of video. Higher bitrates generally result in better image quality but come with larger file sizes.
For the best possible quality, check “Restrict to”.

Now, you must enter a number depending on the project’s frame rate.
In the table below, identify the corresponding bitrate value to be entered in the “Restrict to” field.
| Frame Rate | Bitrate for 4K | Bitrate for 1080p |
|---|---|---|
| 60 fps | 150,000 kb/s | 12,000 kb/s |
| 30 fps | 120,000 kb/s | 6000 kb/s |
| 25 fps | 100,000 kb/s | 5000 kb/s |
As you can see, for a 4K video with 25 frames per second (FPS), it is recommended to set the Bitrate to 100,000 kb/s.
You can increase or decrease the bitrate depending on your needs, but I recommend sticking to within 50,000 kb/s of the values above for 4K. There are diminishing returns if you go above that, likewise you will start seeing noticeable quality decreases when going less than that.
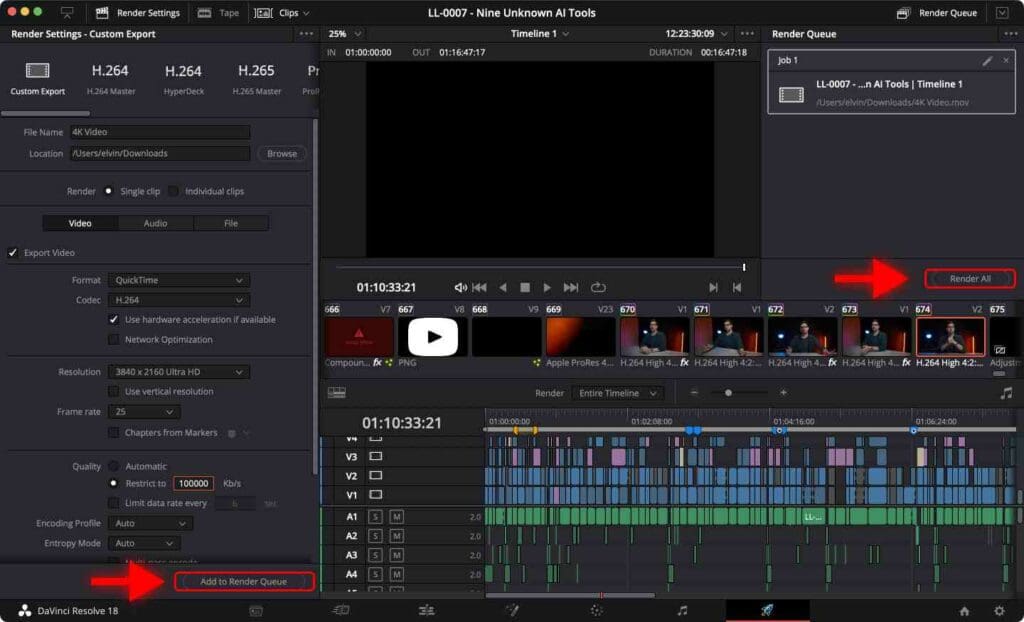
All done! Now the video has proper render settings.
Click “Add to Render Queue” and click “Render All”.
File Size
Longer videos with higher bitrates will result in larger file sizes. Keep this in mind when setting the bitrate if you care about the file size.
For example, a 10-minute video with “Automatic” bitrate will be around 3-4 GB in size. If you bump up the bitrate to 100,000 kb/s, the size will be 10-15 GB. It all depends on your priorities.
Remember that you will likely have to upload this video somewhere, either on YouTube or to send to a client. This should be taken into consideration when selecting a bitrate.
Our solution is to render 1080p “rough drafts” to send to clients/directors for approval first, before rendering and uploading the final full-quality 4K version once no more changes need to be made.
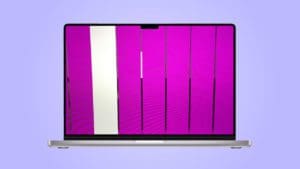
How to Avoid Color Shift in DaVinci Resolve (Only for Mac Users)
Mac users may encounter color shift issues when exporting videos from DaVinci Resolve. Observe the image below to get an idea of how different the colors may be.

If this happens to you, check out this tutorial on How To Match Colors When Rendering In DaVinci Resolve.
Often, when editing 4K videos, you may experience choppy playback. However, there are several ways to solve this issue.
You can use proxy media, or try to optimize DaVinci Resolve for a smooth playback.
Frequently Asked Questions
Why is my video taking so long to render?
Rendering 4K video is a time-consuming process, especially if your computer is not powerful enough. Moreover, setting a high bitrate will also increase the render time. If the render time is important to you, try reducing the bitrate to around 60,000 kb/s.
Why does my 4K video look pixelated or blurry after rendering?
This could be due to a low bitrate or incorrect resolution settings. Make sure to set the resolution to 3840 x 2160 Ultra HD (4K). Plus, set the bitrate to around 100,000 kb/s.
How can I reduce the file size of my rendered video?
You can try setting the bitrate to “Automatic” or reducing the bitrate to 60,000 kb/s. However, keep in mind that reducing the bitrate may also reduce the quality of your video. Alternatively, you can use a different codec, such as the more efficient H.265 instead of H.264.