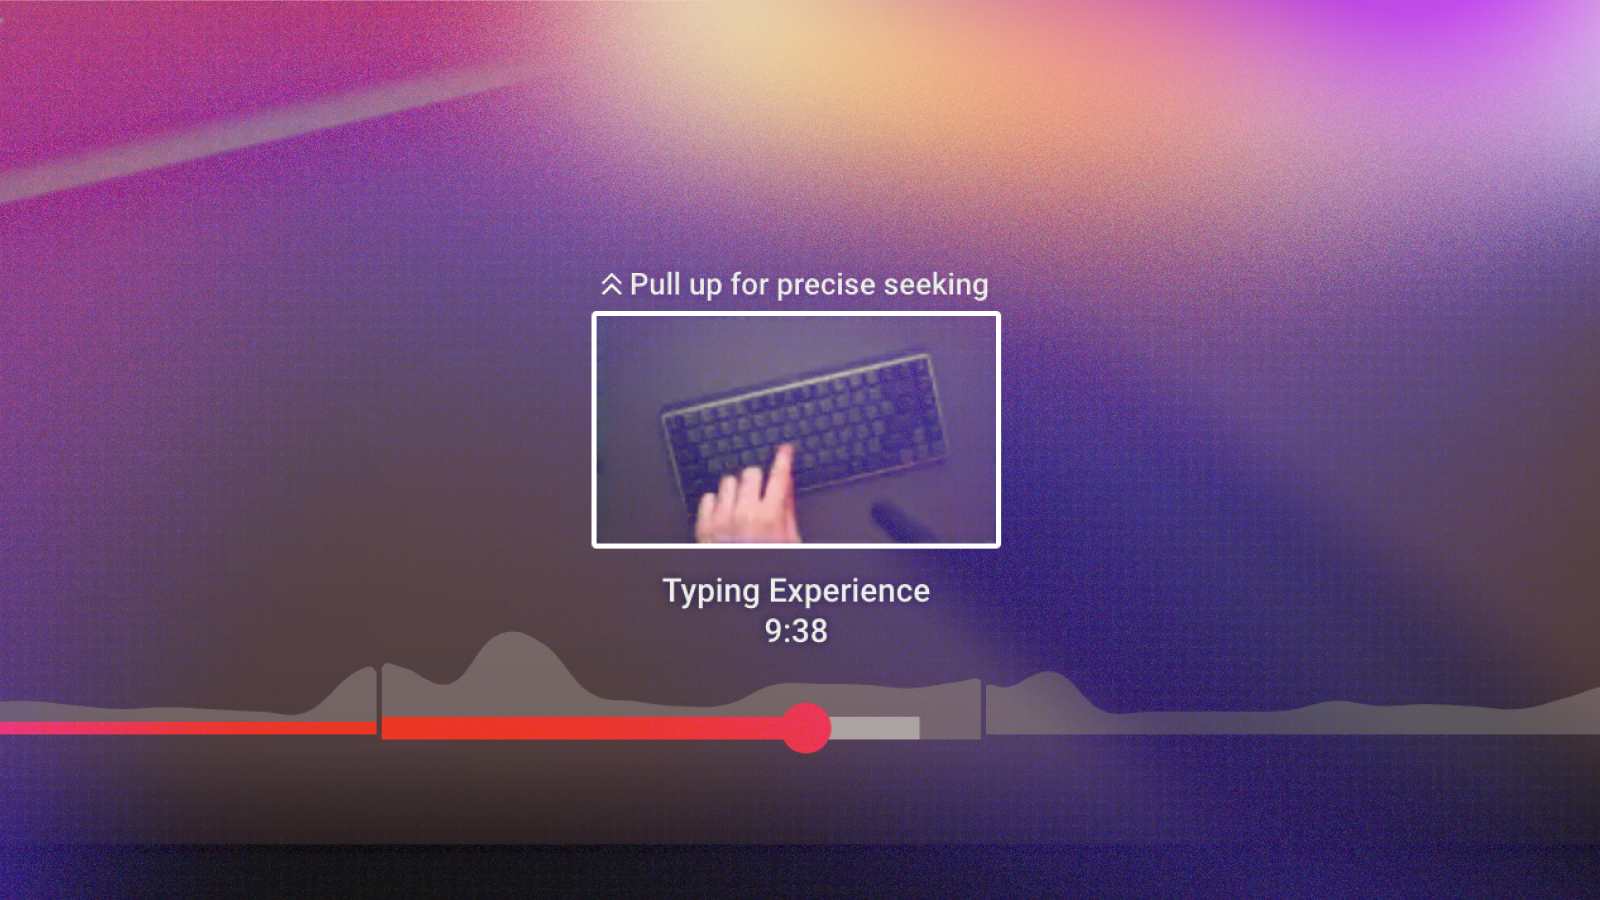
If you’re a YouTube content creator, you may have come across YouTube chapters. The chapters break up a video into sections, allowing viewers to navigate your video easily. This feature is helpful, especially for long videos.
This can lead to increased viewer retention, higher engagement, and better YouTube SEO (search engine optimization).
The good news is that Resolve allows you to mark YouTube Chapters at the editing stage, which is a faster and more convenient way than doing it manually on YouTube.
In this step-by-step tutorial, I will cover how to add YouTube chapters to your videos inside DaVinci Resolve.
How to Add YouTube Chapters in DaVinci Resolve?
First, make sure your video is edited and ready to be exported.
Check out the best render settings in DaVinci Resolve if you haven’t already.
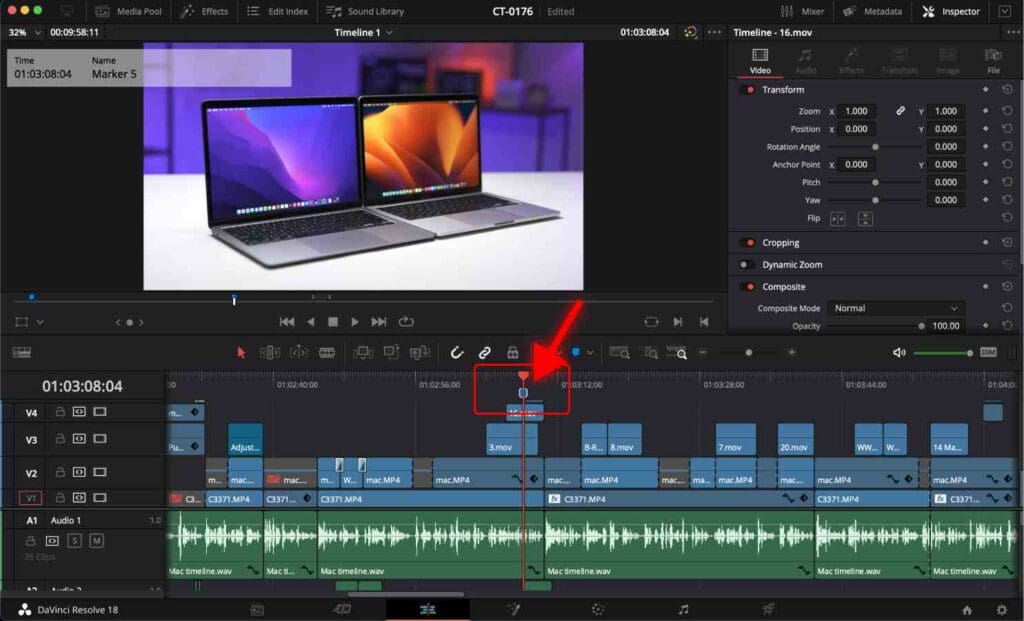
Step 1: Add a marker to your timeline
You can add a marker by using the keyboard shortcut (M). It will add a marker at the point in the timeline where your playhead is located.
Be sure to check out our collection of time-saving shortcuts for DaVinci Resolve.
Note that YouTube will activate the chapters only if the first chapter starts at 00:00.
To move the marker along the timeline, click and drag it either to the left or right.
It’s crucial to have all the markers of the same color.
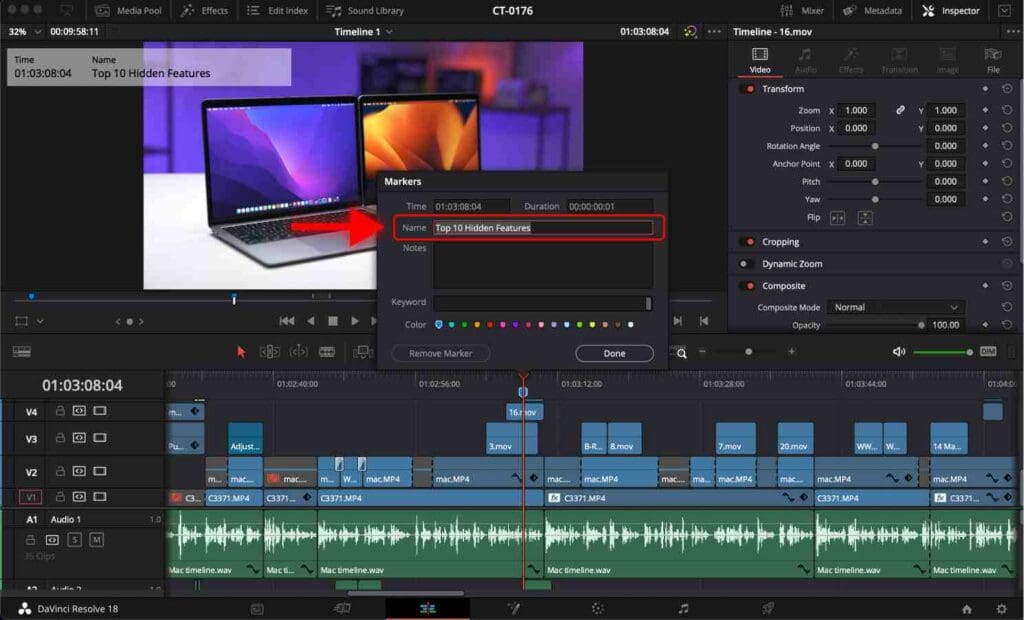
Step 2: How to Rename a Marker
YouTube will use the marker title for that particular YouTube chapter.
Double-click the marker. A small window pops up where you can give it a title.
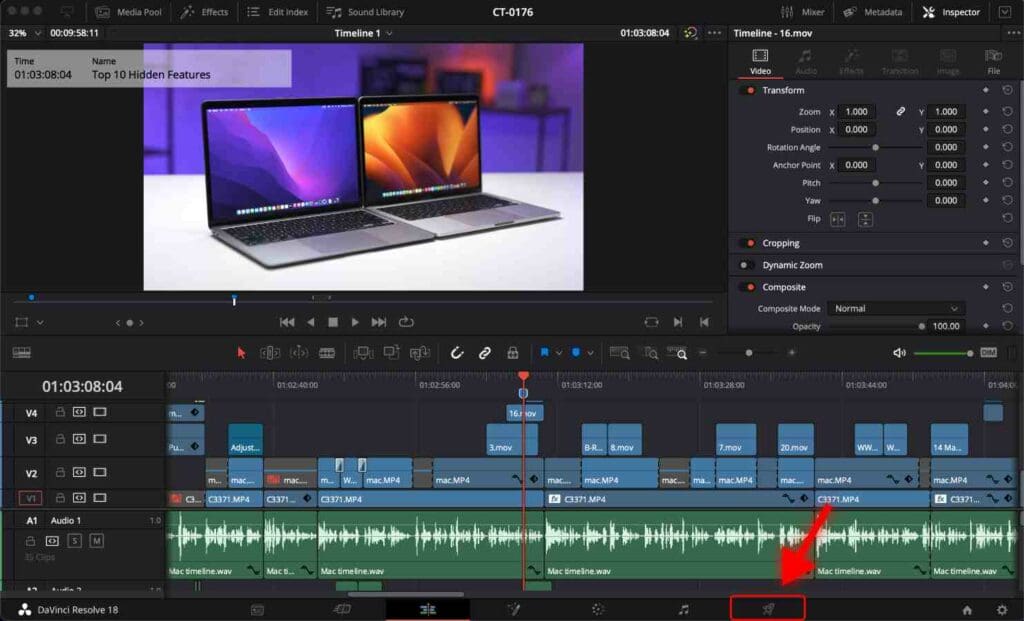
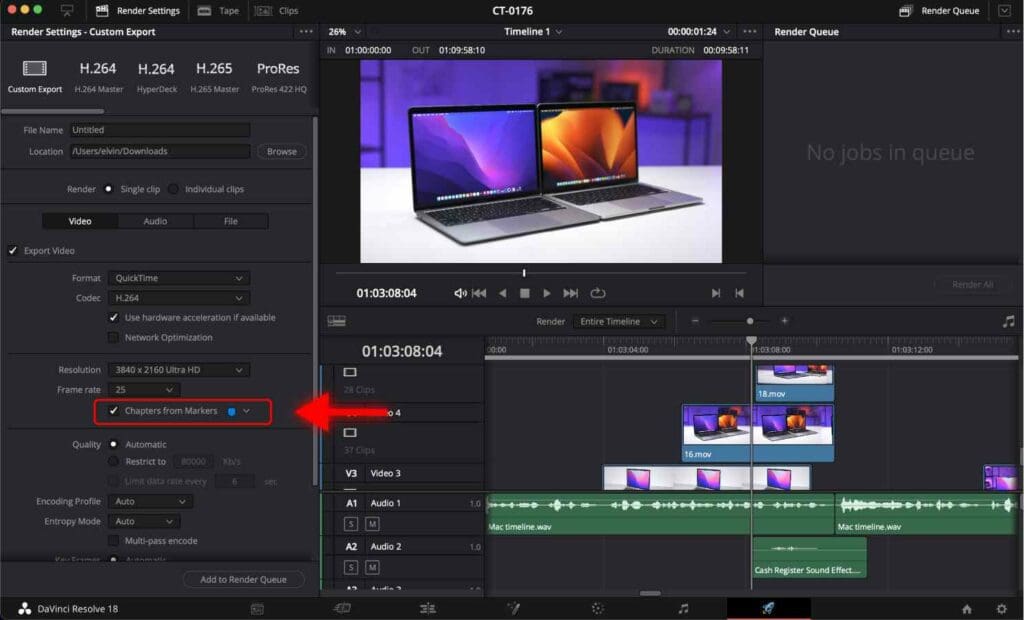
Step 3: How to export a video with chapters
Your video is ready to be rendered now.
Go to the Delivery page.
Alternatively, you can open the Delivery page with the shortcut Shift + 8.

For your chapter to be in the exported video, check the “Chapters from Markers” option.
Be sure to check the best render settings in DaVinci Resolve.
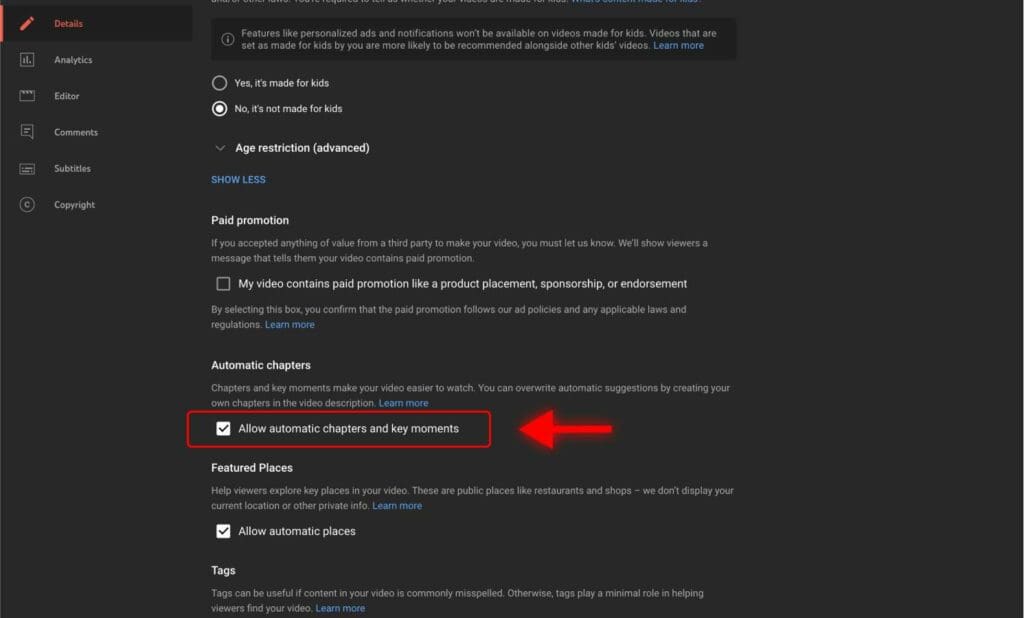
Step 4: Enable chapters on YouTube.
Once your video is uploaded to YouTube, check the “Allow Automatic Chapters” option in the Details tab of your YouTube video.
Important
- Make sure you space your markers at least 10 seconds apart.
- All markers should be of the same color.
- YouTube will activate the chapters only if the first chapter starts at 00:00.
Frequently Asked Questions
What are YouTube chapters?
YouTube chapters break the video into sections allowing viewers to quickly navigate and re-watch different parts of the video.
How to add YouTube chapters in DaVinci Resolve?
You can add a marker by pressing the shortcut (M). It will add a marker at the point in the timeline where your playhead is located. YouTube will use the marker title for that particular YouTube chapter. Double-click the marker to give it a title. Note that YouTube will activate the chapters only if the first chapter starts at 00:00.
How to change the duration of a YouTube chapter in DaVinci Resolve?
You can change the duration of a YouTube chapter in DaVinci Resolve by adjusting the length of the corresponding marker in the timeline. Click on the marker and drag it left or tight to adjust its duration.
How to enable YouTube chapters?
Once your video is uploaded to YouTube, check the “Allow Automatic Chapters” option in the “Automatic Chapters” section.
Should I add chapters to my YouTube videos?
Yes, you should! Chapters break up a video into sections, allowing viewers to navigate your video easily. This feature is helpful, especially for long videos. This can lead to increased viewer retention, higher engagement, and better YouTube SEO (search engine optimization).


