
It’s important to know how to manipulate your footage in a variety of different ways. One of the features you’ll need to use is flipping (mirroring) your video or a photo vertically or horizontally.
In this step-by-step tutorial, I will guide you through the steps to flip your video vertically and horizontally in DaVinci Resolve.
Step 1: Add Your Video to the Timeline
Click on your video file in the Media Pool section.
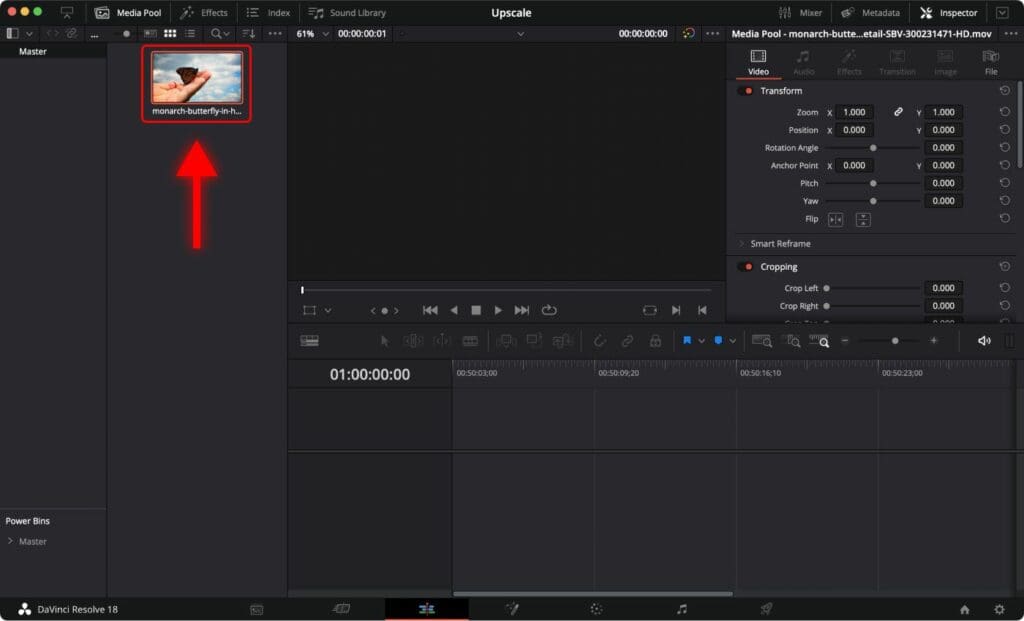
Drag and drop your video file into the timeline section.
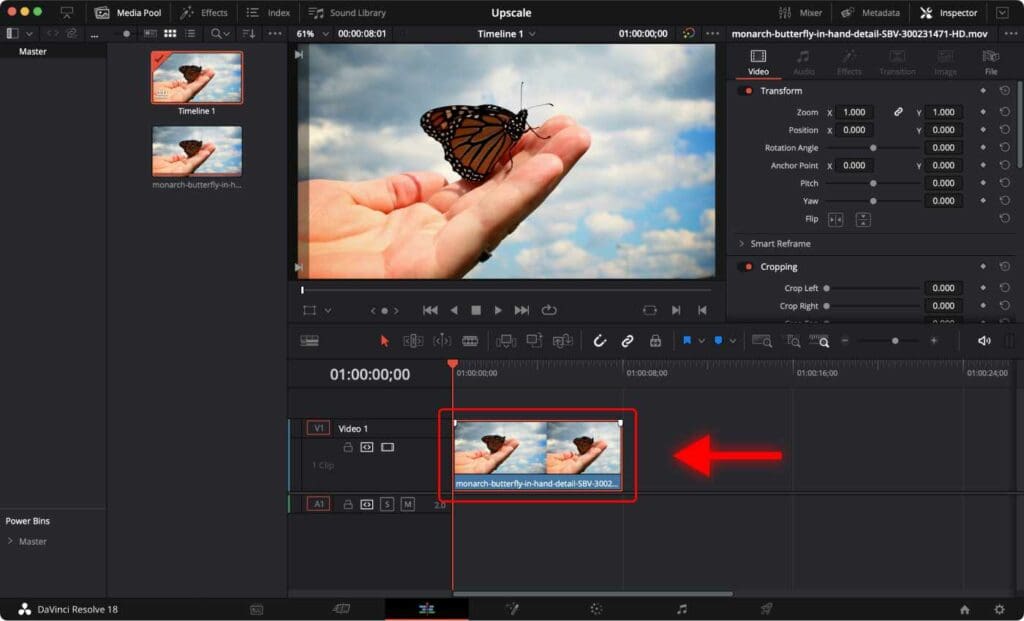
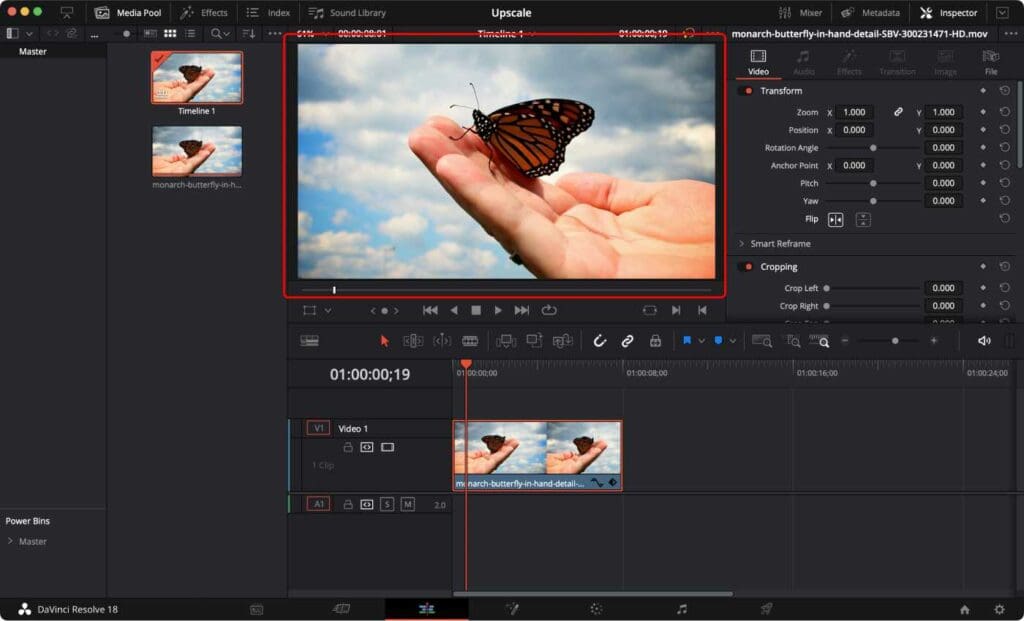
Step 2: Flip Your Video
Now that your video is on the timeline, you can flip it vertically or horizontally. To do this, follow these steps:
Click on your video file in the timeline section.
If you want to manage clips on the timeline faster, check out 70 Easy DaVinci Resolve Shortcuts You Can’t Afford to Miss.

Go to the “Inspector” tab.
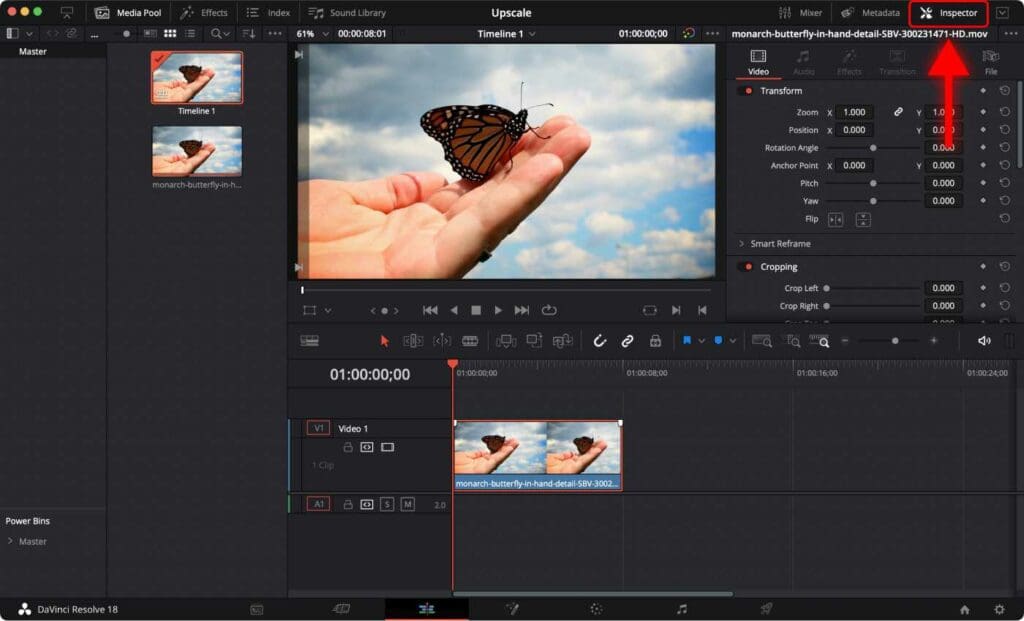
Find the “Transform” section.

Locate the “Flip” row with two buttons nearby.
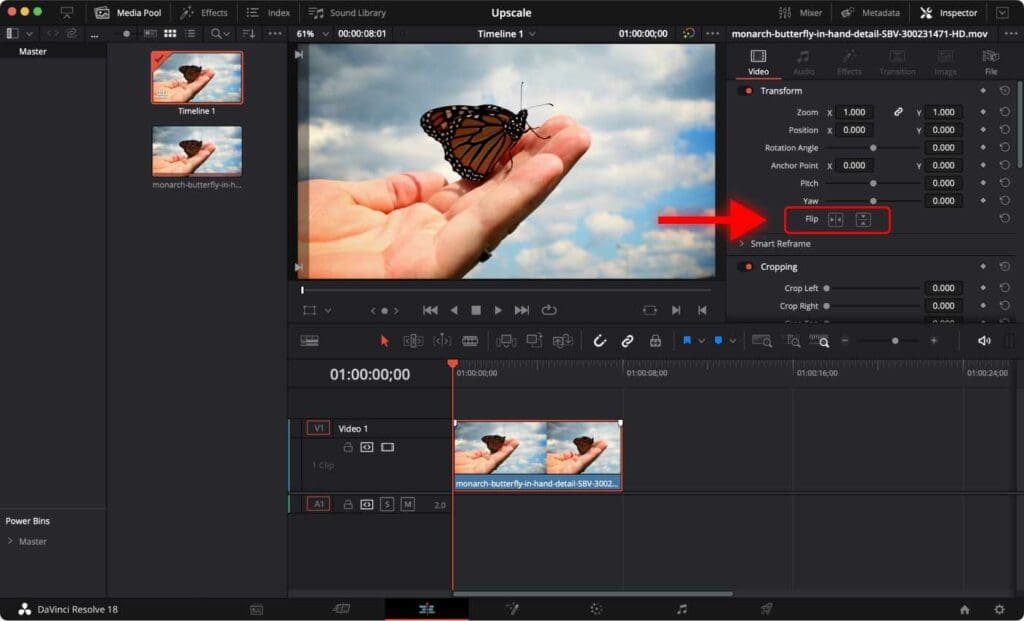
The button on the left flips the image horizontally, and the button on the right flips the image vertically.
Click on the button that corresponds to the direction you want to flip your video.
Once you have flipped your video, you can export your video within DaVinci Resolve.
Frequently Asked Questions
My video is not flipping in DaVinci Resolve. What should I do?
If your video does not flip, make sure that you are clicking on the correct button in the Inspector tab. If you have clicked the correct button and your video is still not flipping, try restarting DaVinci Resolve and repeating the steps.
How to flip several videos at the same time in DaVinci Resolve?
Select all the video clips in the timeline by holding down the Shift key and clicking on each video. Go to the Inspector tab. In the Transform section locate the “Flip” row with two buttons nearby.
Click on the button that corresponds to the direction you want to flip the videos (either vertically or horizontally).


