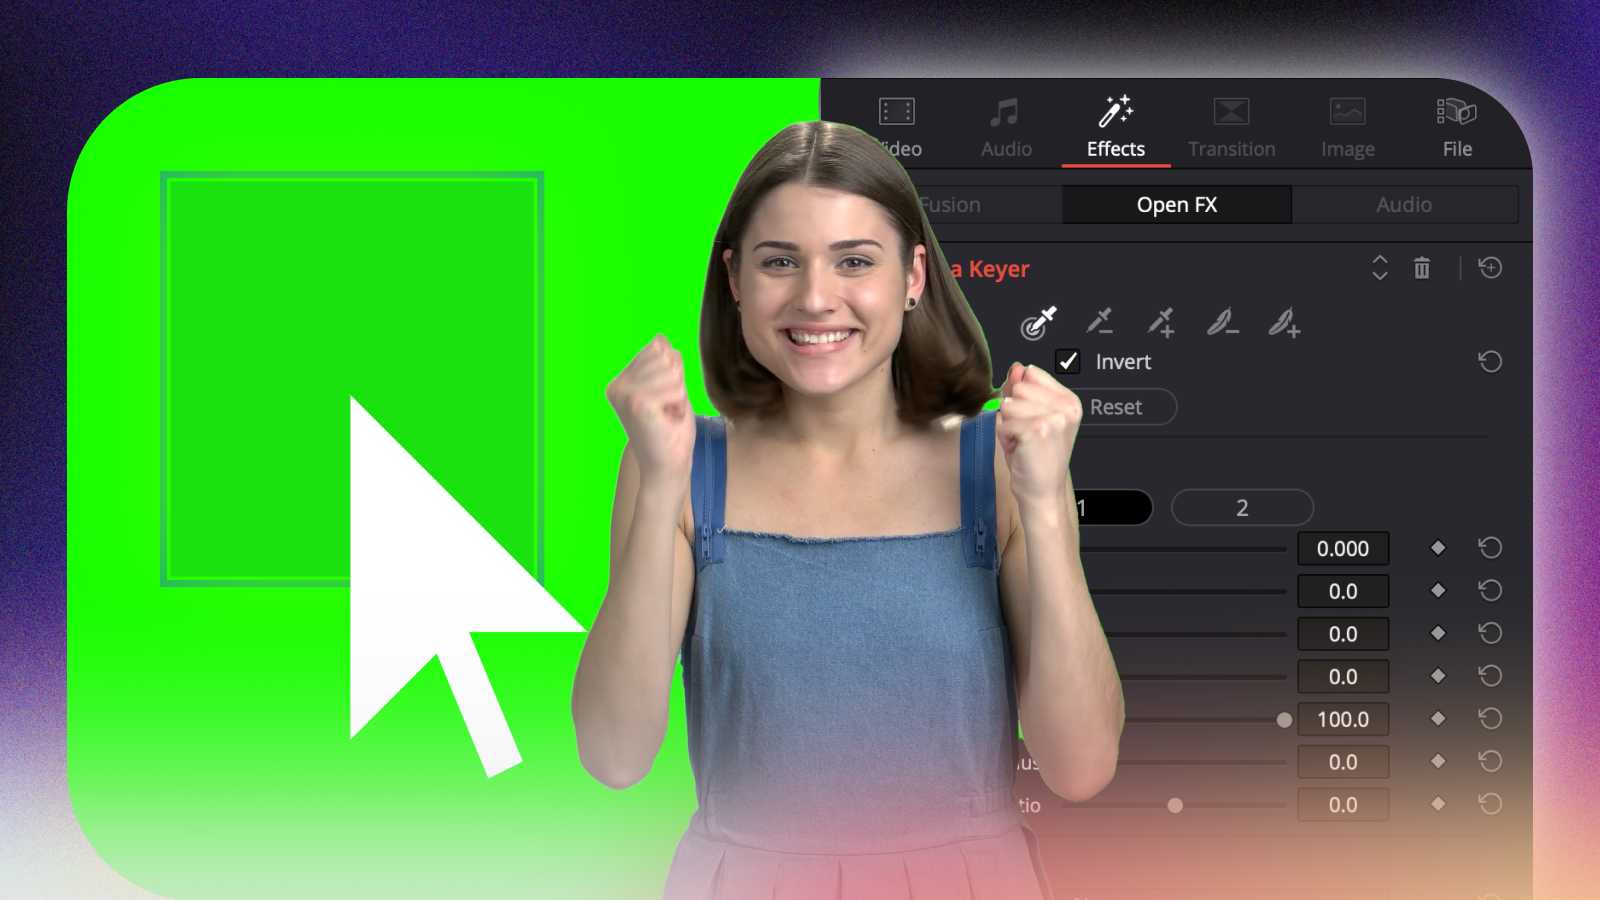
Green screen (or Chroma key) is a popular tool in video production, allowing video editors to replace the background of a shot with any image or video.
However, removing the green screen can be a complicated process. In this step-by-step tutorial, I will show you how to remove a green screen in DaVinci Resolve. I will cover two different methods for green screen removal and provide step-by-step instructions for each.
If you want to remove any other type of background from a video, check out How to Remove and Change Background in DaVinci Resolve Using Magic Mask.
What is Green Screen (or Chroma key)?
A green screen is a technique used in video production where a subject is filmed in front of a green background to allow substituting the green background with other footage or visual effects.
Method 1: Removing the Green Screen on the Edit Page of DaVinci Resolve
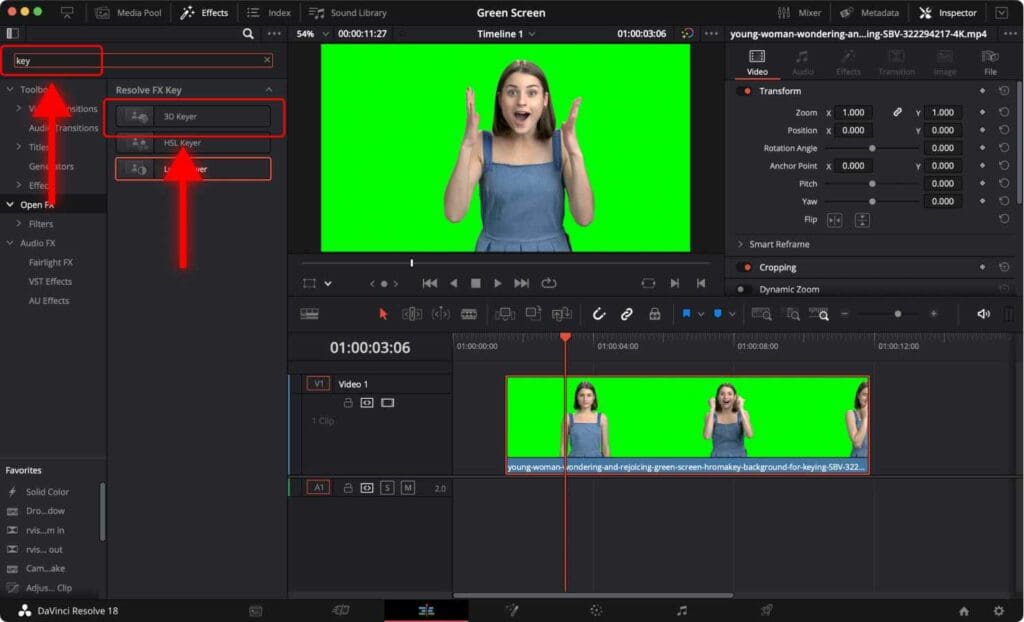
Step 1: Go to the “Effects Library” tab and click “OpenFX”

Step 2: In the search box, type “key”. Drag the “3D Keyer” effect and drop it over your green screen clip.
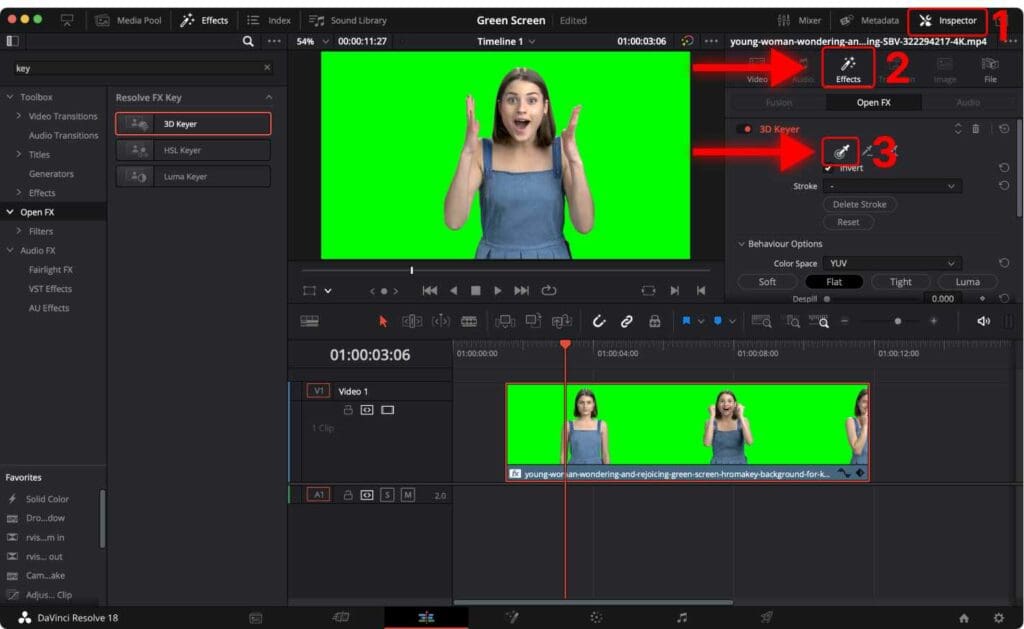
Step 3: Click on “Effects” in the “Inspector” tab.
Step 4: Click the “Pick” tool.
Step 5: Click on the drop-down menu near the screen and select “Open FX Overlay”

Step 6: Draw a short line over the green part of the screen to ‘select” the green color.

At this point, most of the green screen will be removed, but a few green artifacts may remain.
To make it disappear completely, there are a few extra steps.
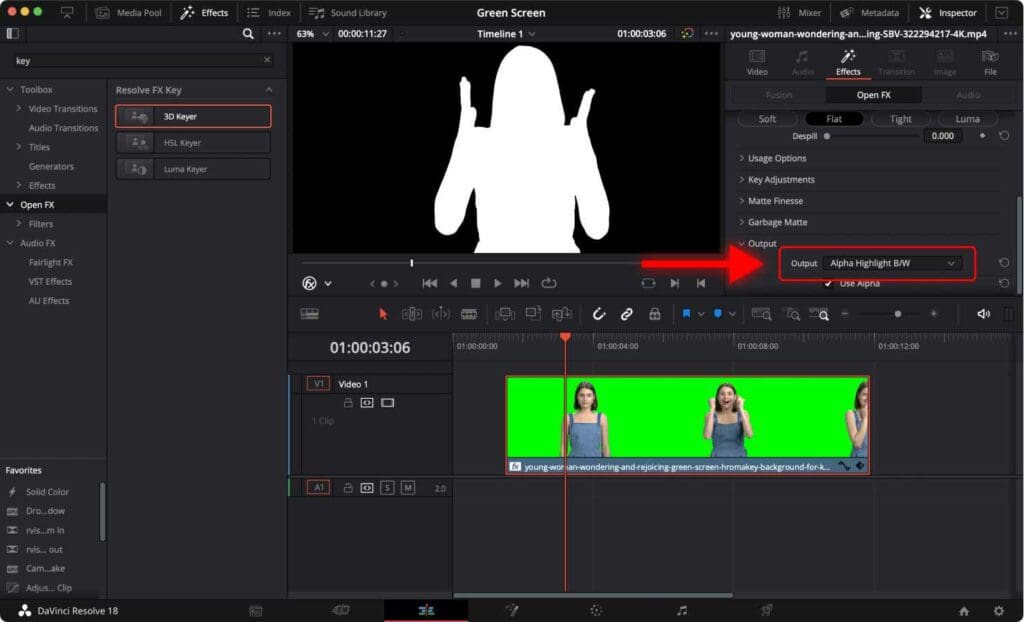
Step 7: Scroll down. In the “Output” section, change the Output from “Final Composite” to “Alpha Highlight B/W”.
Step 8: In the “Matte Finesse” section, increase the value of “Clean Black” carefully until the background is entirely black.
In my example, I increased the value to about 25 (yours will be different).

Step 9: Return to the “Output” section and change it to “Final Composite”.

Step 10: In “Behaviour Options”, increase the “Despill” value until the subject’s edges are sharp and don’t have a green tint.

All done! The green screen is completely removed from your clip.
Method 2: Removing the Green Screen on the Fusion Page of DaVinci Resolve
Step 1: Go to the Fusion tab.

Alternatively, you can open the Fusion page using the shortcut “Shift + 5“.

Step 2: Click on the “MediaIn1” node in the node field and press the shortcut “Shift + Spacebar” to open the “Select Tool” window.
In the pop-up window, type “Delta Keyer”.

Click “Add“.
Now you should see a DeltaKeyer1 node connected to MediaIn1 and MediaOut1.

Step 3: In the Inspector tab, click on the color next to “Background Color”.

Then click on “Color Picker” and click on the green screen in your clip.

Press “Ok”.
In my example, the green screen was completely removed. However, you might still see a slight green “fog” left in some areas of the footage.
This is because the green screen behind the person/object being recorded was not lit evenly, causing some areas to be a lighter or darker shade of green. It’s complicated to get a perfect green screen.
The good news is that you should be able to completely remove it.
Step 4: Change the “View Mode” to ”Matte”.

Step 5: Click on the left control of the Threshold and drag it to the right until the black part of the clip becomes completely black.

Step 6: Click on the right control of the Threshold and drag it to the left until the white part of the clip becomes completely white.

Step 7: Change the “View Mode” from “Matte” to “Final Result”.

As a result, you should get a perfect clip with the green screen completely being removed.

How to change the background after removing the green screen?
Once the green screen is removed, you can go ahead and change the background. It can be anything, either a video or an image.
Go to the Edit page and place your background below your clip.

Conclusion
Removing the green screen in DaVinci Resolve is easy and fast, and with these methods and tips, you should be able to achieve great results. Remember to start with well-shot footage and take your time adjusting the settings to get the best possible outcome.
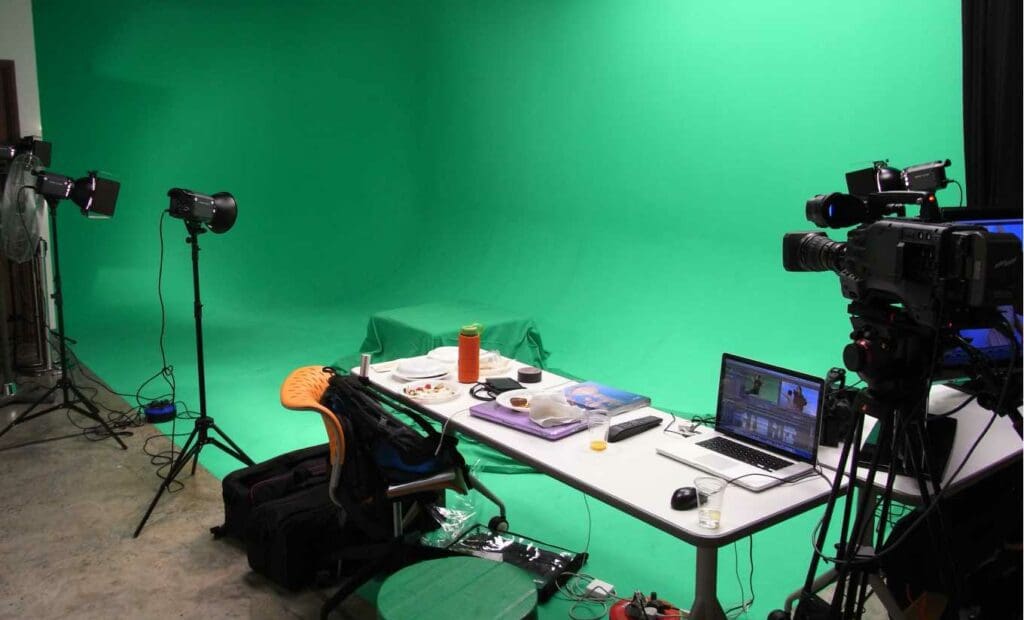
An important part of this process is ensuring the green screen itself is properly set up. It should be lit well and evenly, have no wrinkles or shadows, and the person/object being recorded should not feature any green colors (for example a bracelet or shirt).
Once the green screen is removed in DaVinci Resolve, you can switch between different backgrounds and add engaging visual effects without affecting the main subject in the video.
Before starting the render, check out the 2 Best Ways to Export Videos in DaVinci Resolve.
Frequently Asked Questions
Why is my green screen not completely removed in DaVinci Resolve?
It could be a few things. One common issue is uneven lighting on the green screen, which can cause shadows and other inconsistencies.
To fix this, try adjusting the lighting on your green screen to make it as even as possible.
Another issue may be that the green screen is too close to the subject, causing green color to spill/reflect onto the subject making it more difficult to remove. To fix this, try moving the green screen further away from the subject.
Why is there a green halo around my subject after removing the green screen?
Try adjusting the settings to be more aggressive. You can also increase the value of “Despill” to remove any remaining green spill.


