Did you know you can separate and remove any background from a video in DaVinci Resolve with just a few clicks?
There are several ways to remove a video’s background in DaVinci Resolve, but a tool called Magic Mask allows you to do it without the need for a green screen, or spending hours manually adjusting a mask.
In this step-by-step tutorial, I will guide you through the process of using Magic Mask.
What is DaVinci Resolve’s Magic Mask?
Magic Mask is a feature that was recently introduced to DaVinci Resolve. The feature allows the user to remove any background from videos.
Magic Mask uses advanced algorithms to analyze and separate the foreground and background of a video.
You can define what you want to remove in a video by drawing a rough outline over the object. You can further refine the mask using it’s controls.
It’s important to note that Magic Mask is only available in the Studio version of DaVinci Resolve (this is the paid version of Resolve).
Step 1: Prepare your footage (Optional)
Removing the background in DaVinci Resolve requires tracking each frame of the clip. To make this process easier and faster, you might consider stabilizing your video clip first.
Step 2: Import Your Footage
First, open DaVinci Resolve and import the footage you want to work with. To do this, follow these steps:
Click on the Edit tab at the bottom of the screen.
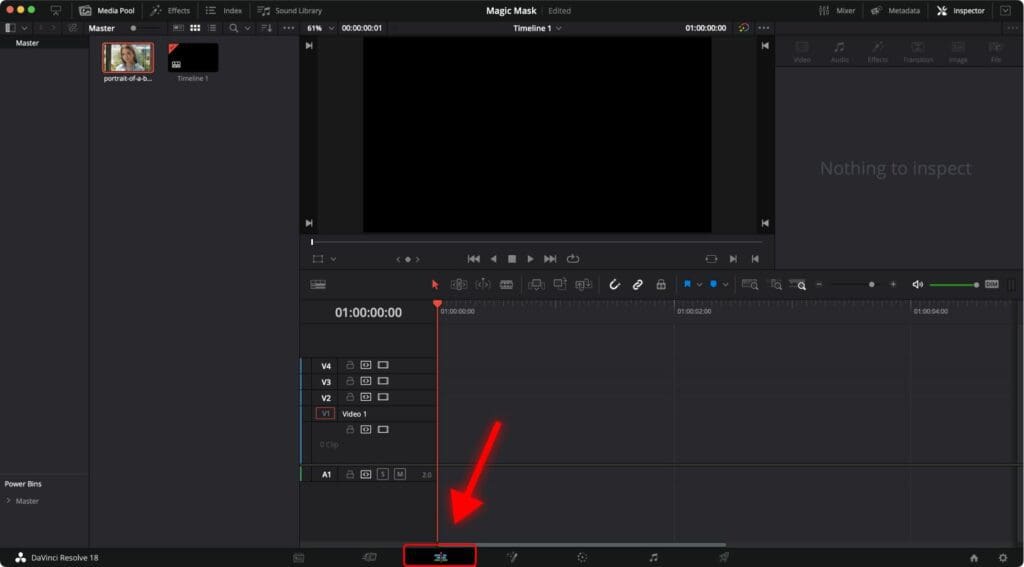
Drag and drop the footage onto the timeline.
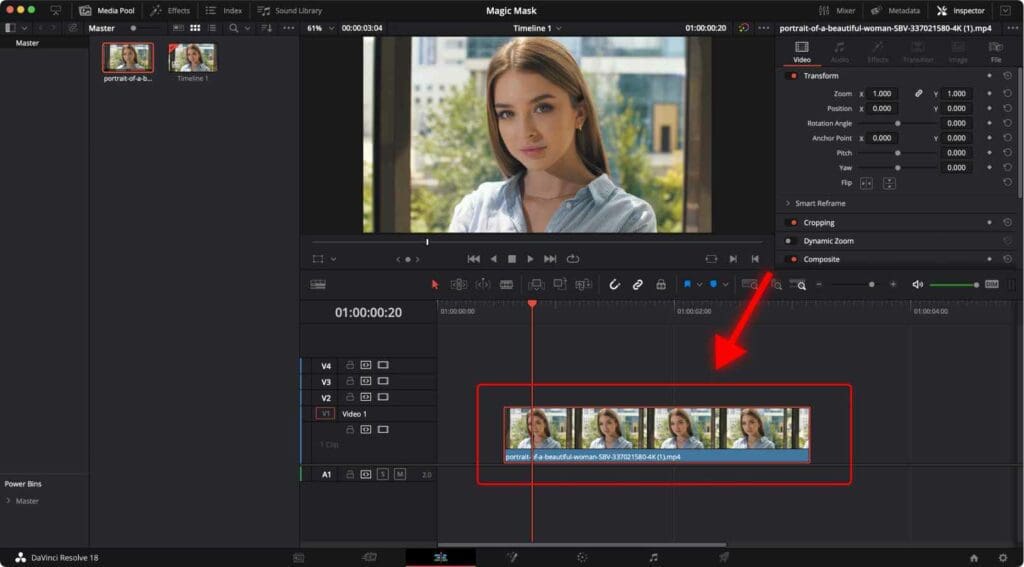
You may need to zoom in or zoom out of the timeline to trim your clip to an appropriate length before removing the background.
Step 3: Go to the Color Page
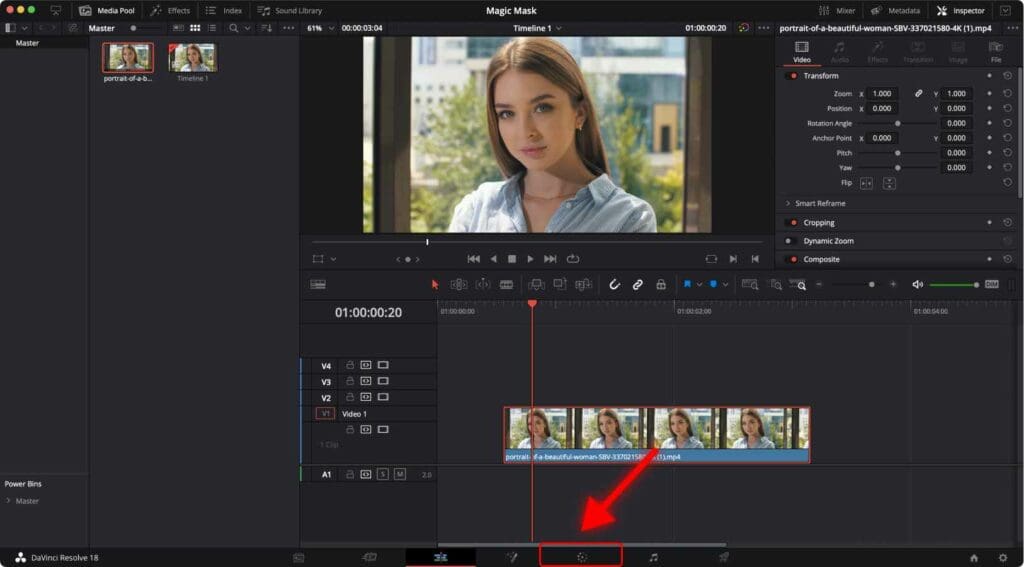
Alternatively, you can open the Color page using the shortcut “Shift + 6“.
To learn some of the most frequently used DaVinci Resolve shortcuts for macOS and Windows, check out 70 Easy DaVinci Resolve Shortcuts You Can’t Afford to Miss.
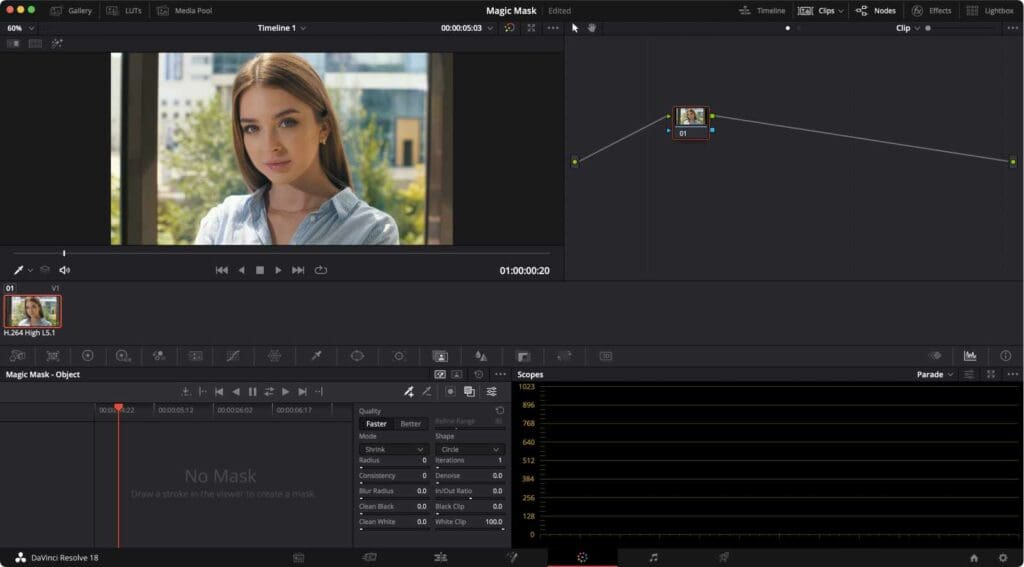
Step 4: Select the Magic Mask Tool
On the Color page, locate the toolbar and click on the Magic Mask tab.
Also, make sure the Qualifier is enabled.

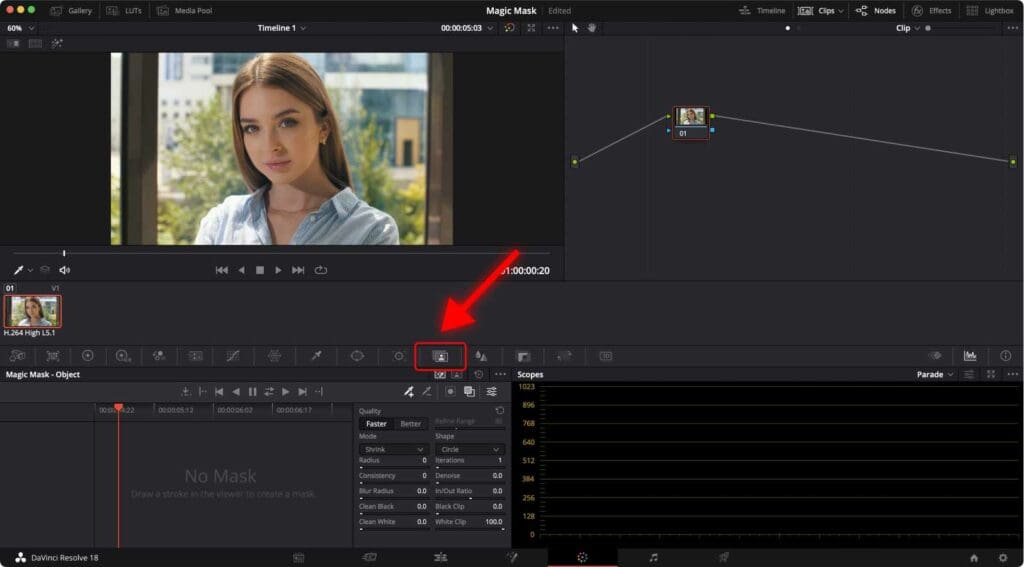
Step 5: Select the Object
With the Magic Mask tool selected, you can now define the background that you want to remove.
When it comes to removing the background, it might be easier first to select the object in the video and then invert the selection. That way, we will have the background selected.
This is because DaVinci Resolve is generally better at selecting objects.
If your footage has a person in it, it will make the process easier.
Follow these steps:
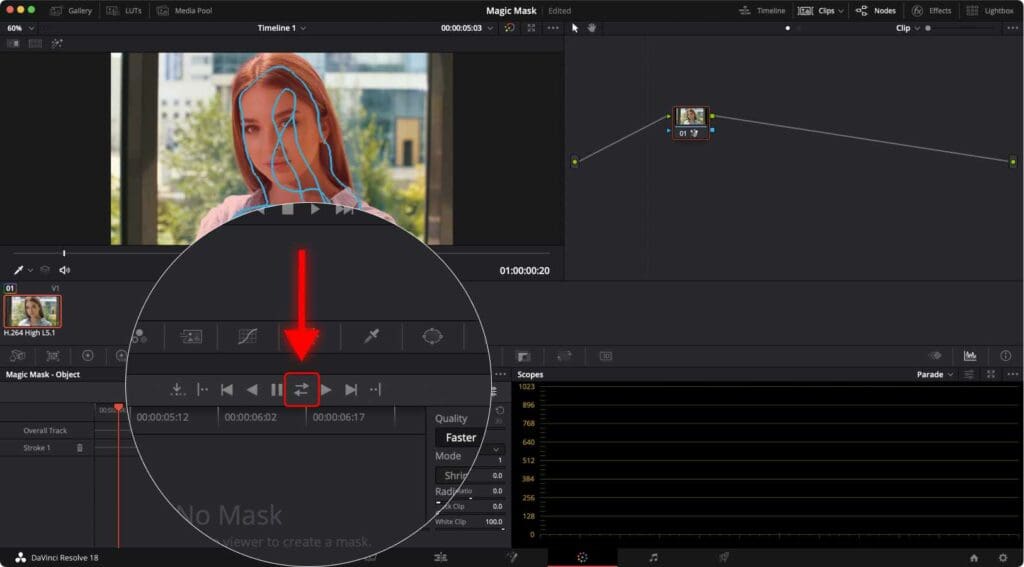
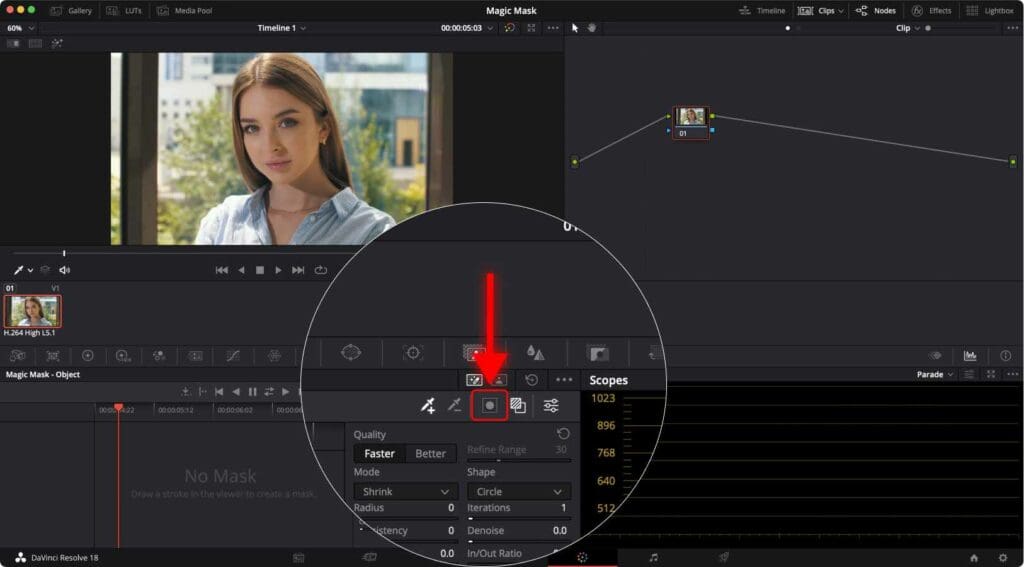
- Click on the “Person Mask” if your video has a person in it, or click on the “Object Mask” if your video has an object that you want to keep in the video.
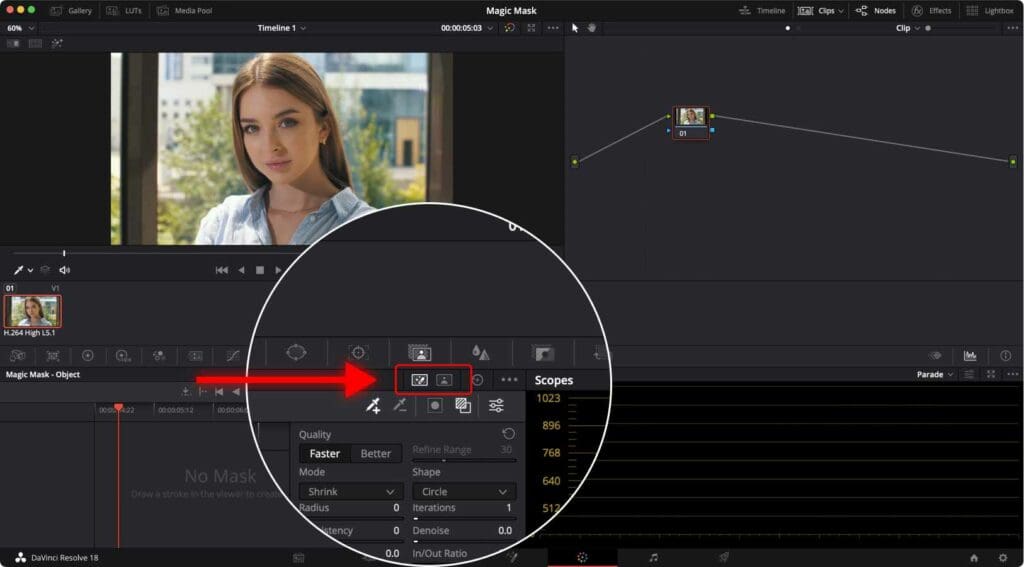
- Click on the “Toggle Mask Overlay” to highlight the selected person or object in red.
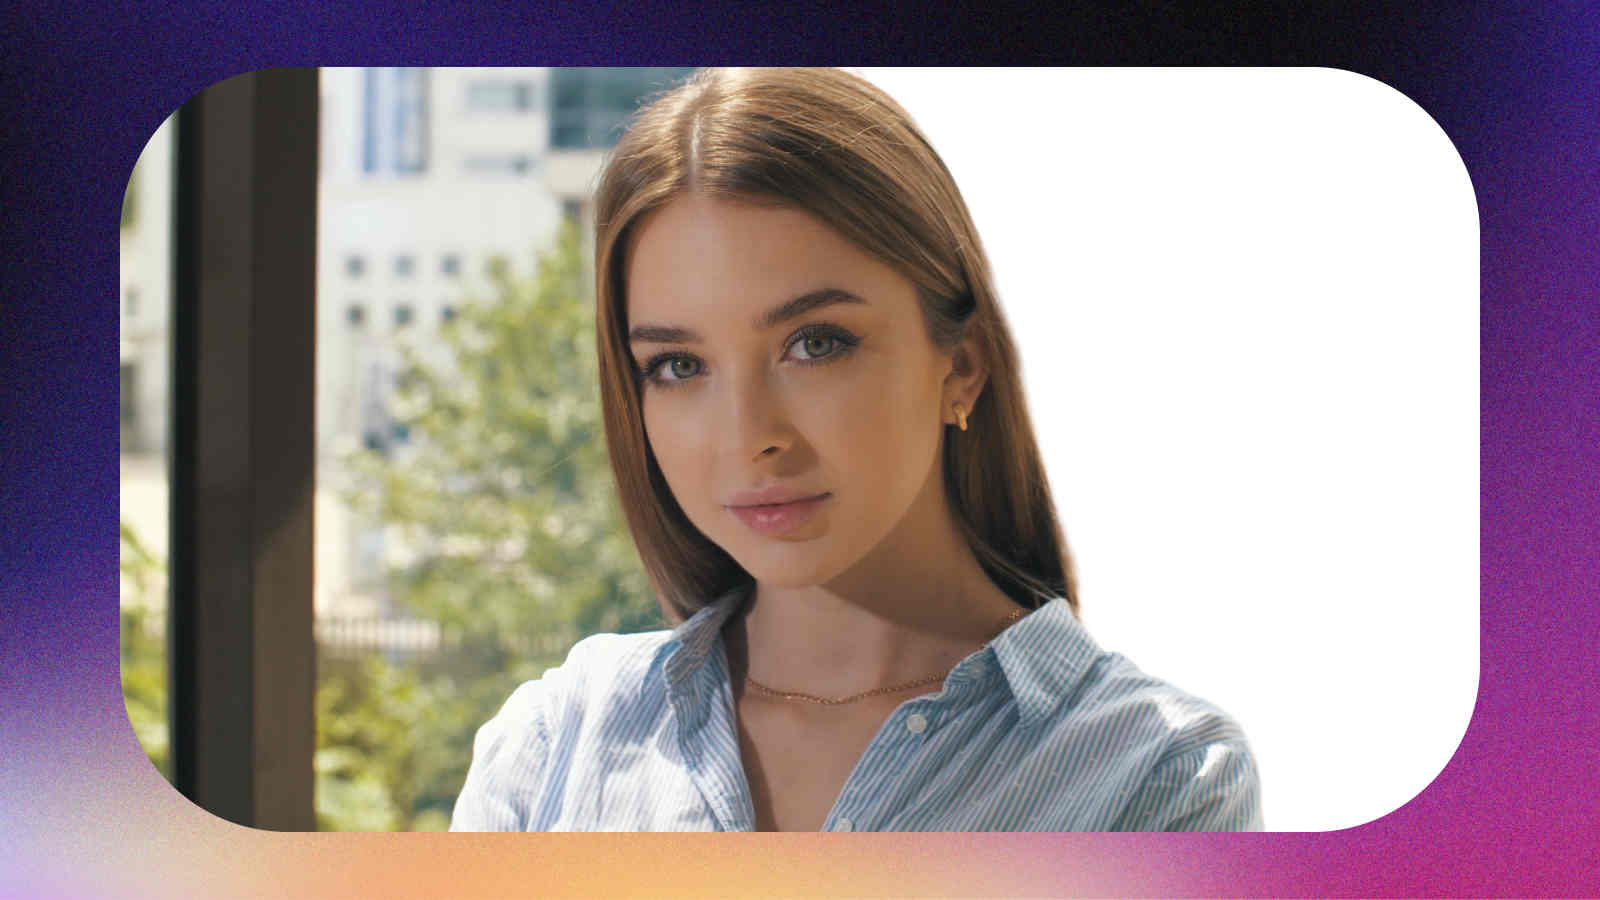
- Click and drag your mouse pointer to “select” the person or object in the video. It doesn’t need to be super neat, a rough scribble is fine like the example image below. You simply want to point Resolve towards whatever you want kept in the video (in this case the woman).
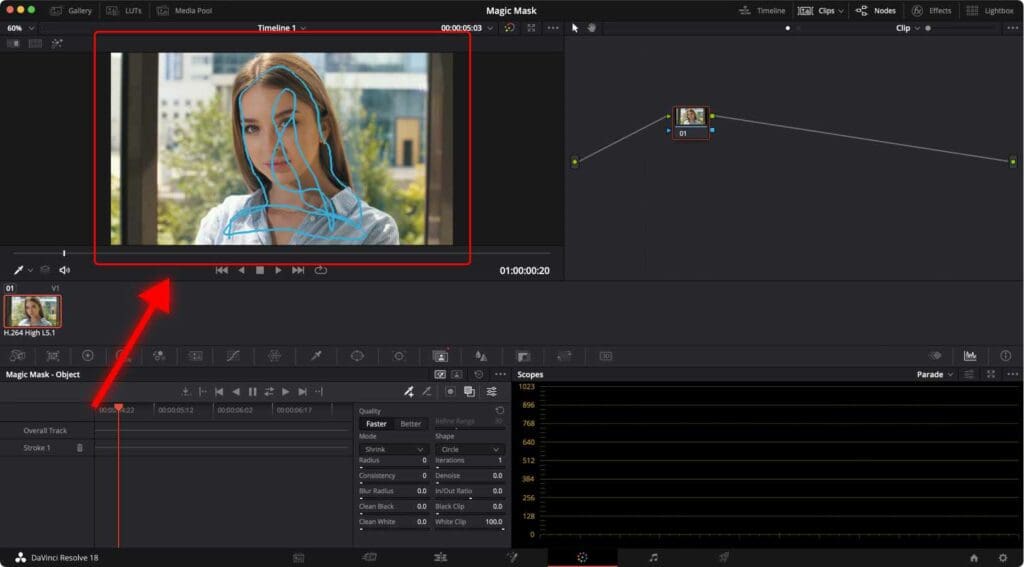
Now you’ll notice that Resolve has selected and highlighted the person or object in red.
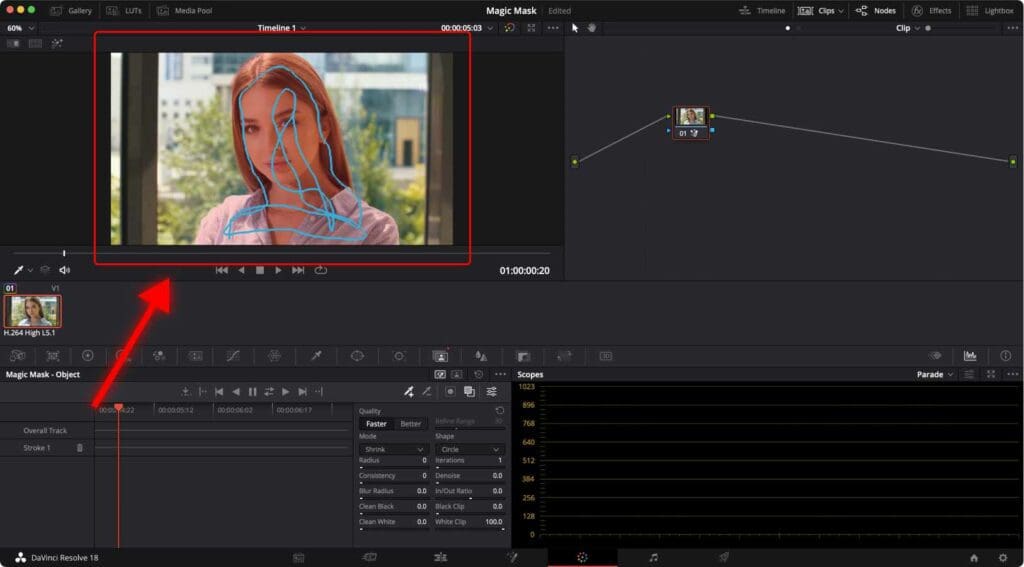
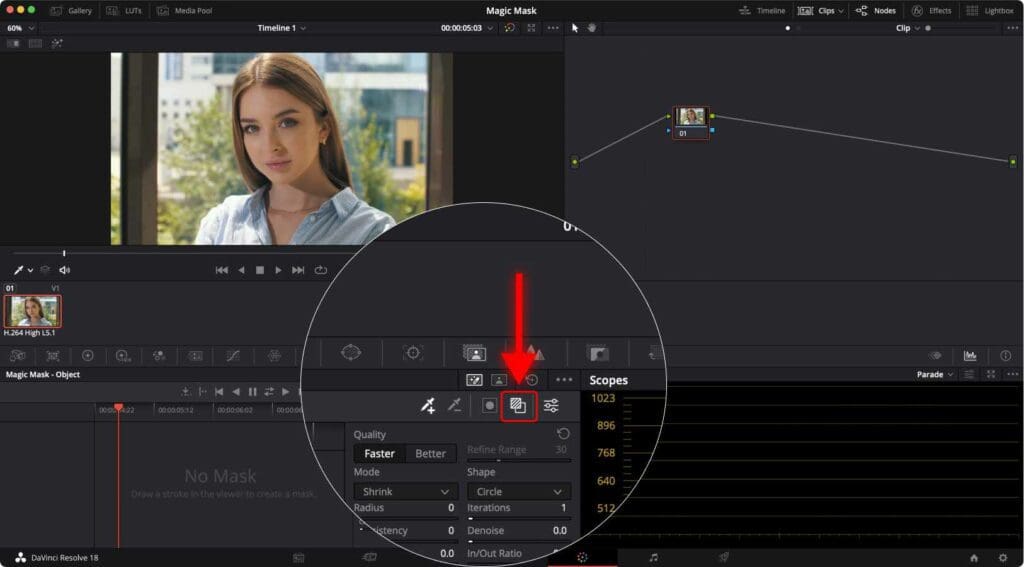
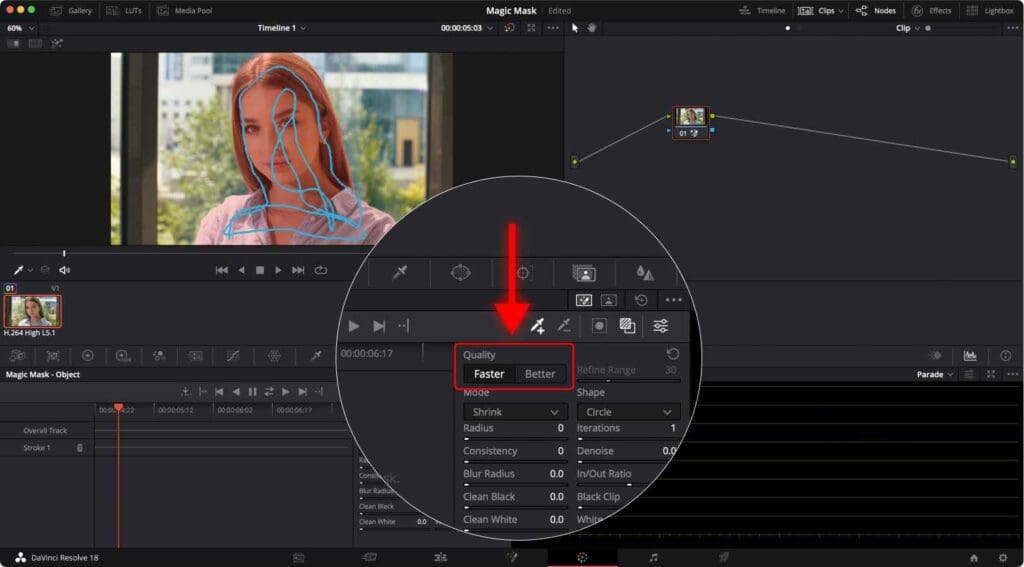
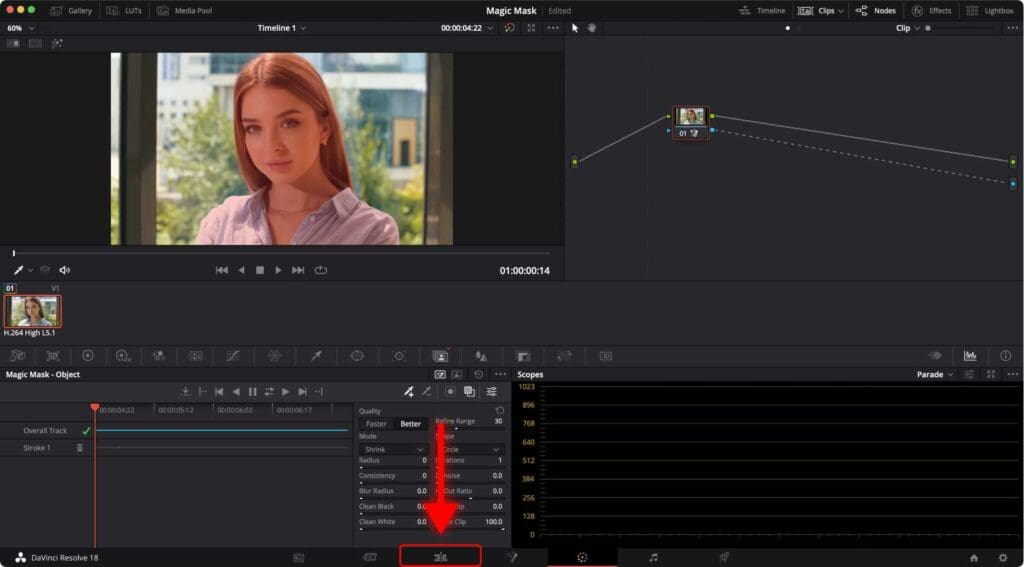
Step 6: Refine the mask
To make the selection more precise, you can click on the “Better” button. It will have a larger performance impact on your computer system than the “Faster” option, but the result is worth it.
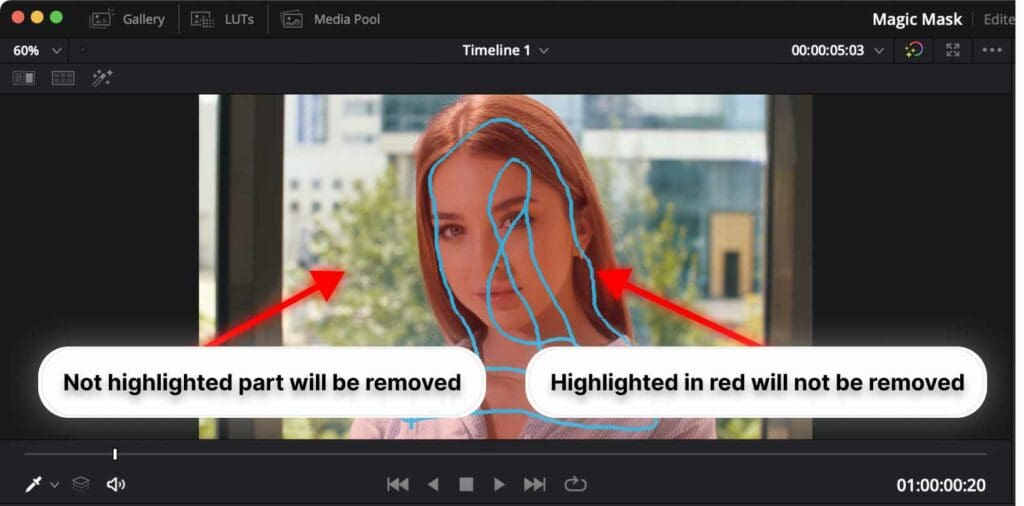
Remember
Everything that is not highlighted in red will be removed.
Step 7: Track the Mask
- Click on the “Forward/Backward” button to track the mask.
The longer the video, the more time it will take to complete the tracking.
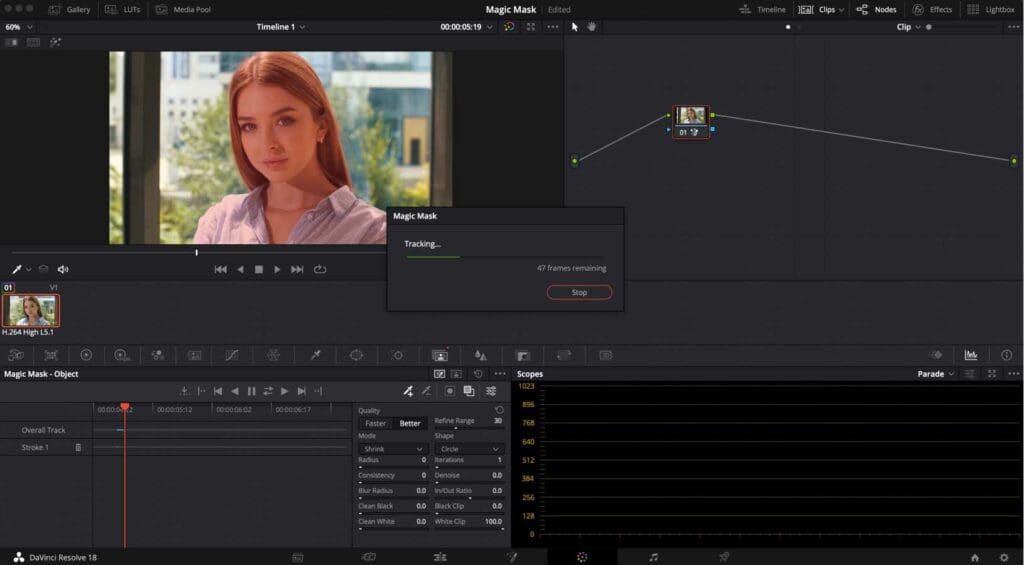
Once it’s done, you can play the clip to check if the mask was tracked correctly.
Step 8: Remove the background
- Right-click on the node field and select “Add Alpha Output”.
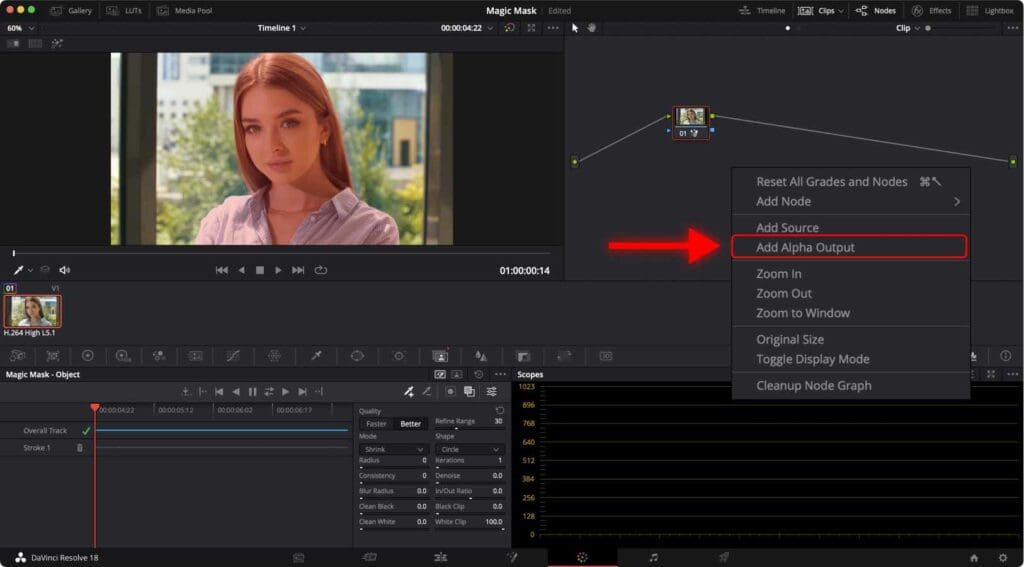
- Connect the clip node’s alpha to the output’s alpha by connecting blue squares, as seen below.
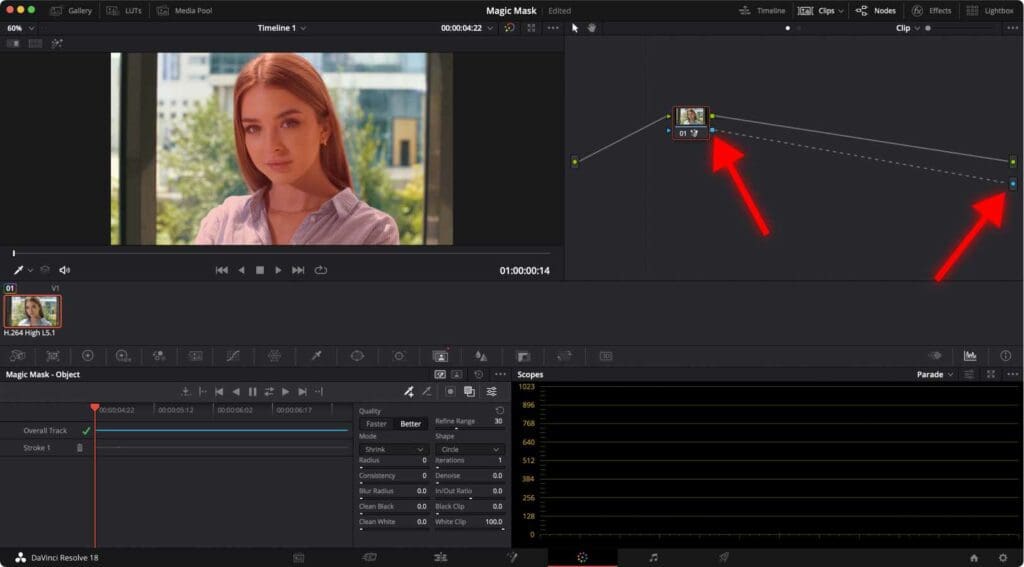
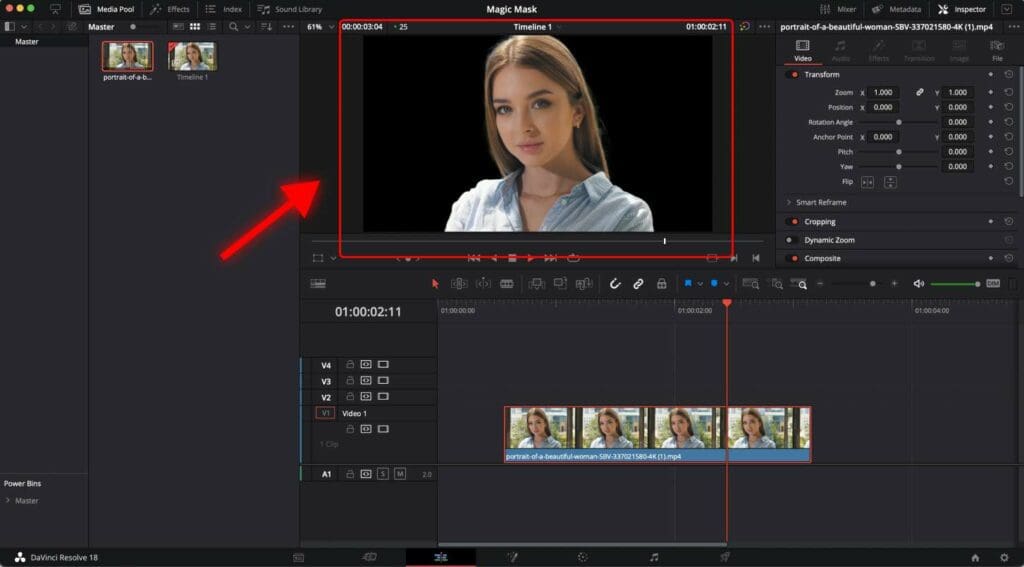
Go to the Edit page and check that the background was removed from your clip.
If you accidentally removed the person/object instead of the background, return to the Color page and click the “Invert Mask” button.

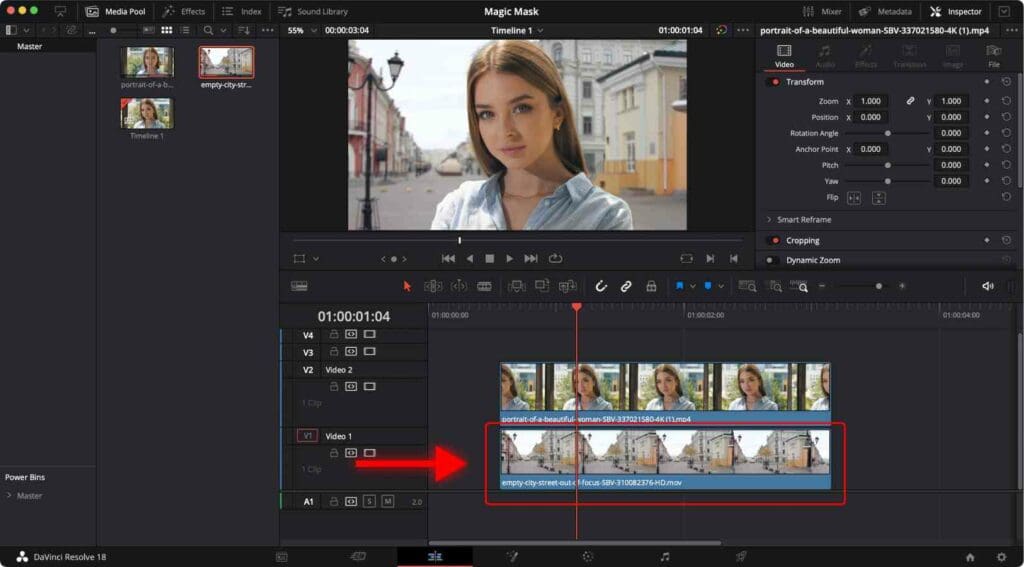
Step 9: How to change the background
Now you’ve removed the background from your video. To change the background, all you have to do is place the background video below the existing clip from which we removed the background.
You have just learned how to remove the background from your videos using Magic Mask, which makes this process extremely easy.
Before starting the render, check out the 2 Best Ways to Export Videos in DaVinci Resolve.
I hope this step-by-step tutorial has been helpful and informative.
Frequently Asked Questions
I’m having trouble getting accurate results with DaVinci Resolve Magic Mask tool. What can I do?
If you’re experiencing difficulties with the Magic Mask tool, here are a few tips to improve accuracy:
1. Ensure that your initial mask selection includes all areas of the object, person, or background.
2. Use the refine tools and eraser to fine-tune the mask edges. Experiment with different mask settings, such as Refine Range or Blur Radius to achieve the desired result.
3. Consider stabilizing the video clip first.
Can I use Magic Mask to remove backgrounds from videos without a green screen?
Yes, DaVinci Resolve’s Magic Mask allows you to remove backgrounds without a green screen. It uses advanced algorithms to analyze and separate the foreground from the background.
Are there any limitations to using the Magic Mask tool?
While the Magic Mask tool is a powerful feature in DaVinci Resolve, it may not always produce the expected result. Factors such as lighting conditions and motion blur can affect the accuracy of the mask. In such cases, manual adjustments and additional techniques may be required.
DaVinci Resolve keeps freezing when I try to use the Magic Mask tool. What should I do?
Freezing issues might indicate that your computer doesn’t have enough resources or the performance necessary to perform the task.
Make sure your computer meets the minimum system requirements for running DaVinci Resolve. You may also consider updating your graphics card drivers to the latest version. And close any unnecessary applications or processes running in the background to free up system resources


