
DaVinci Resolve has a huge library of transitions, and each one has it’s own settings allowing you to change the duration, position, motion blur, and so on.
When you’re working on a big project, you may need to reuse some transitions, some of which may have custom settings.
Instead of applying a transition and spending time customizing it over and over again, did you know you can simply copy and paste transitions to a different clip within seconds?
In this step-by-step tutorial, I will show you how to copy any transition and apply it to more clips, saving you a lot of time.
How to apply a transition in DaVinci Resolve?
Before we dive into copying and pasting transitions, let’s first go over how to apply a transition in DaVinci Resolve.
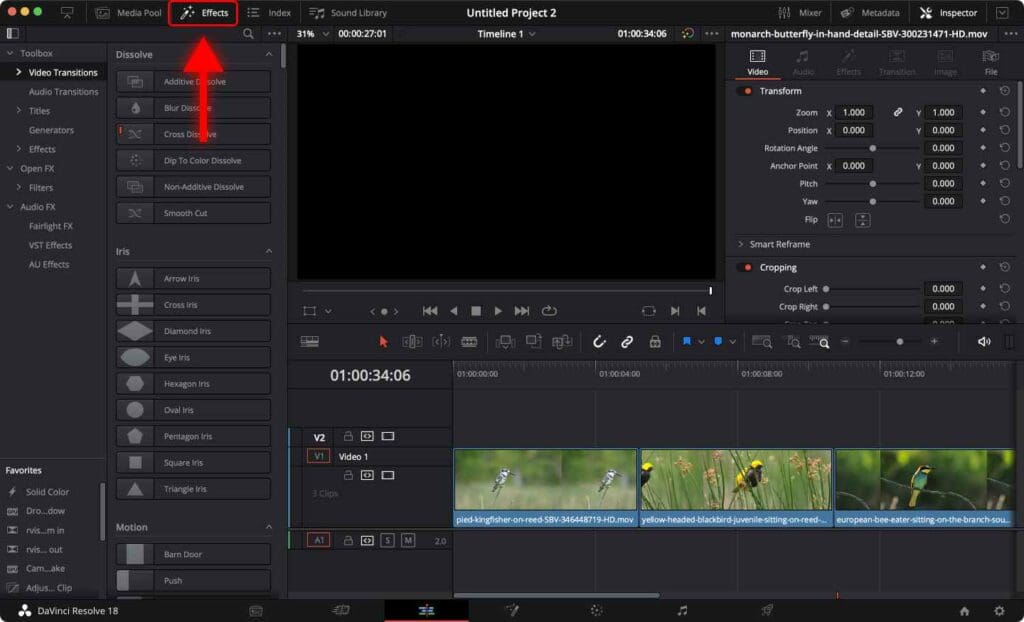
Step 1: Go to the “Effects” tab on the upper left-hand side of the screen.
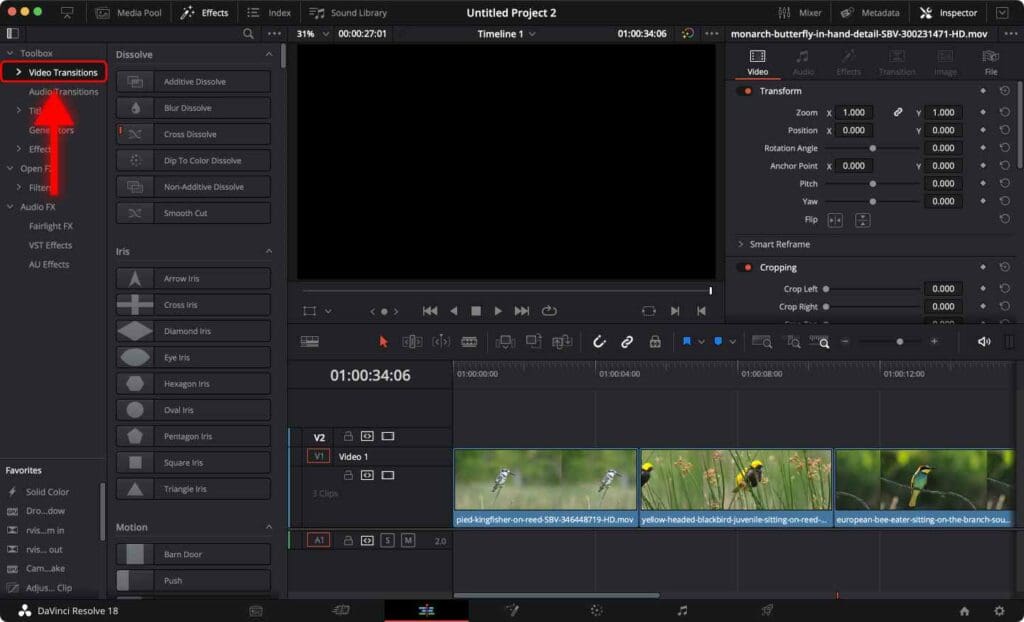
Step 2: Click on the “Video Transitions” folder to expand it.
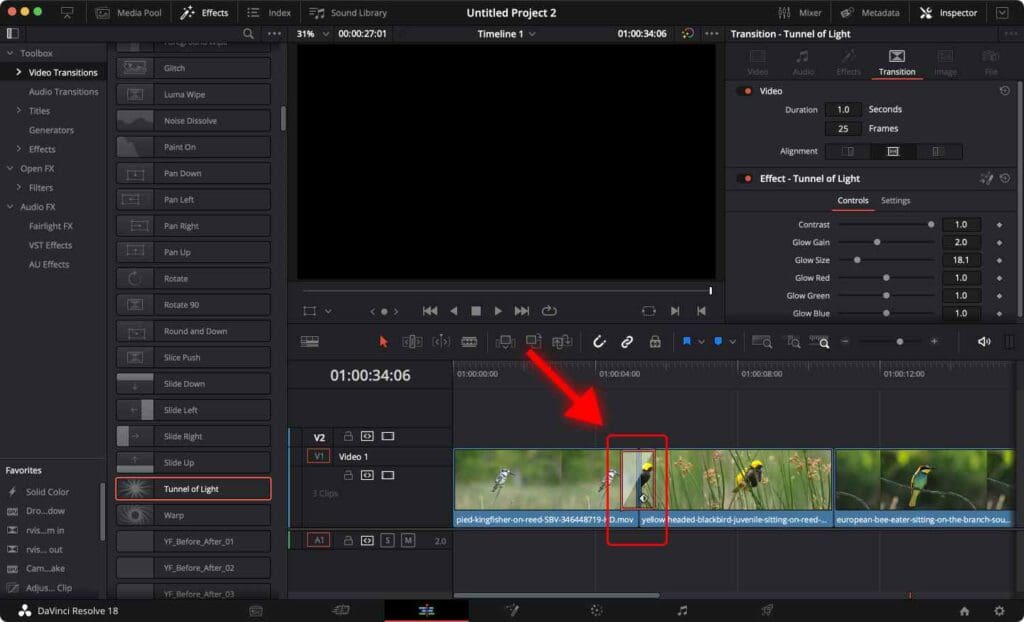
Step 3: Browse through the available transitions and select the one you want to use.

Step 4: Drag and drop the transition between the two clips in the timeline.
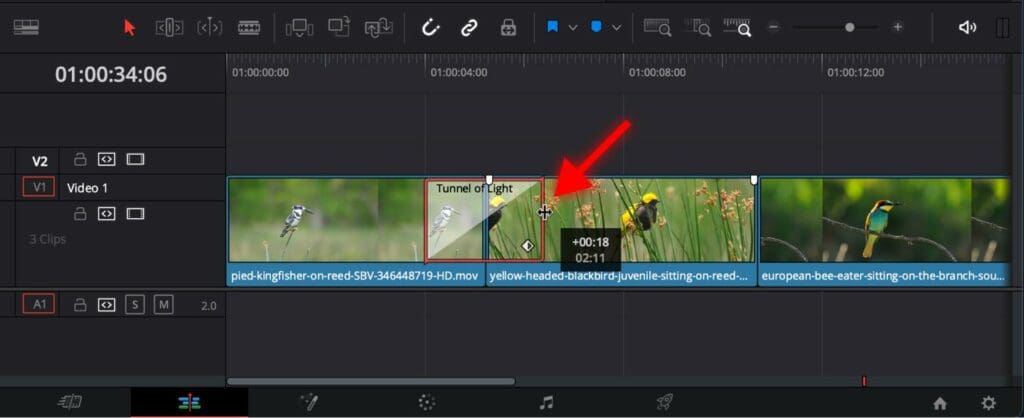
Step 5: Adjust the duration of the transition by dragging the edges of the transition to the left or right.
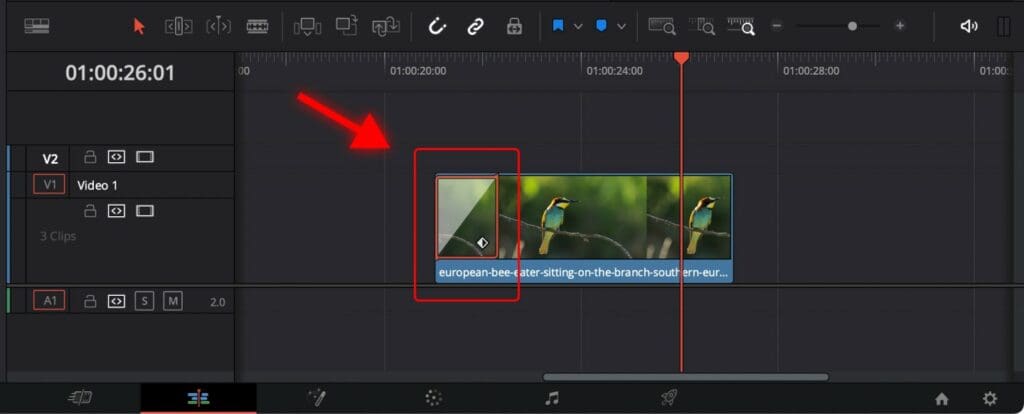
Pro tip: You can also apply a transition to a single clip, changing the way an image or a video is introduced.
To apply a transition to a single clip, drag a transition and drop it at the beginning of the clip.
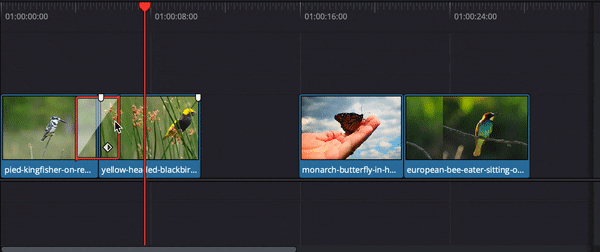
This is how it should look.
Pro tip: Don’t forget about shortcuts! Check out 70 Easy DaVinci Resolve Shortcuts for Mac and PC.
How to customize a transition in DaVinci Resolve
Once you have applied a transition, you may want to customize it to achieve a certain visual effect.
Here are the steps to customize a transition in DaVinci Resolve.
Step 1: Click on the transition in the timeline to select it.
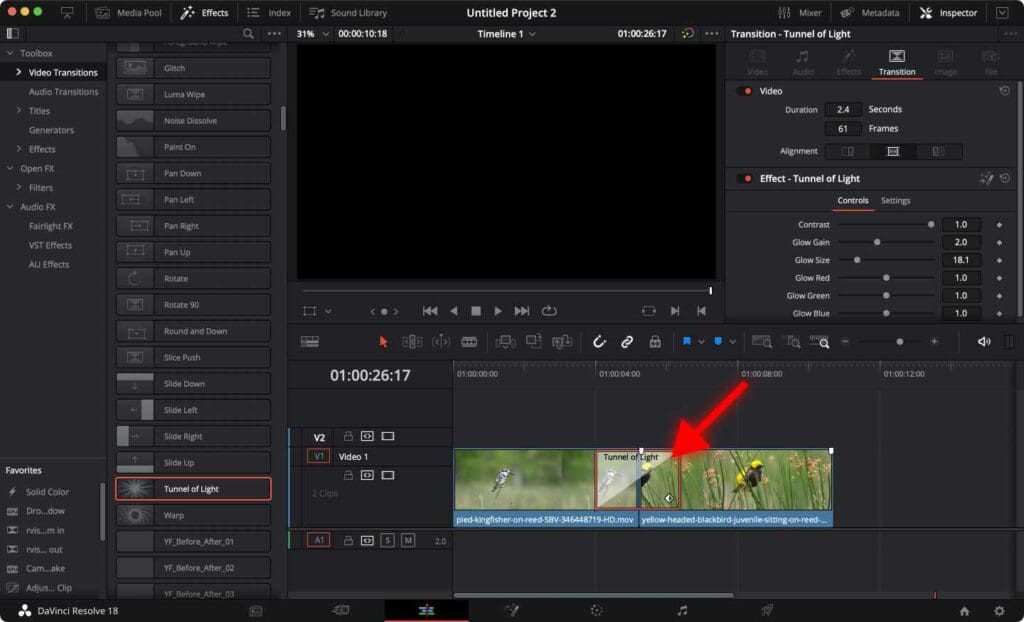
Step 2: Go to the “Inspector” panel on the top right-hand side of the screen.
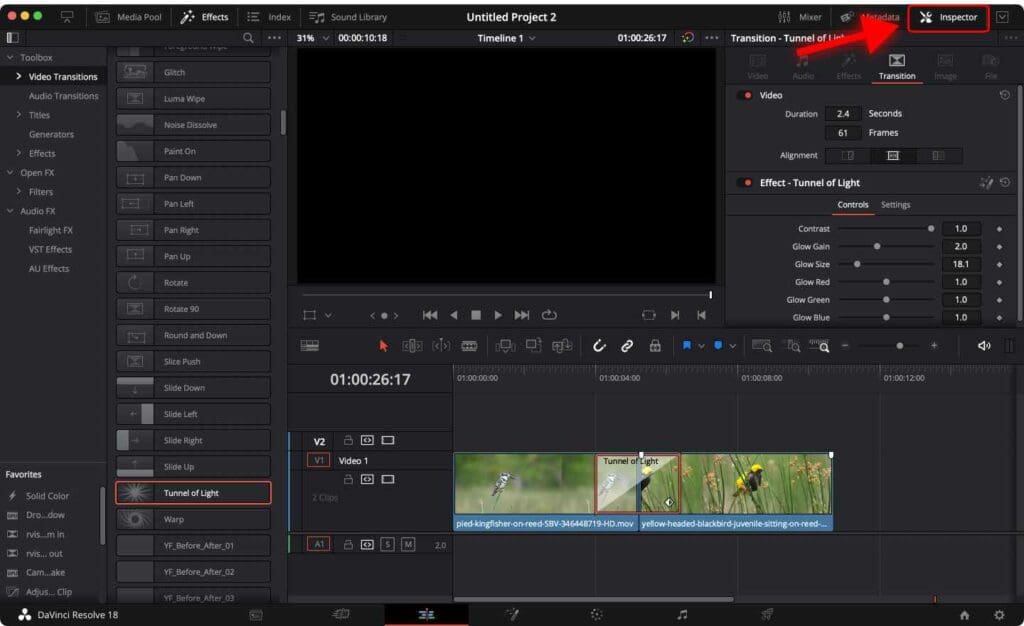
Step 3: Click on the “Transition” tab.
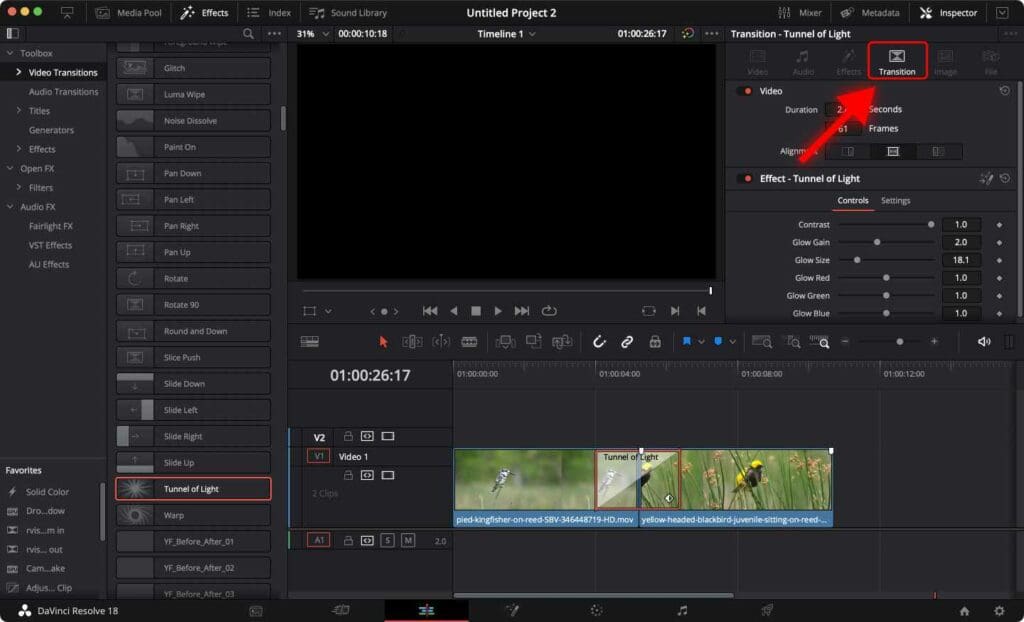
Step 4: Adjust the settings for the transition, such as duration, position, motion blur, and more.
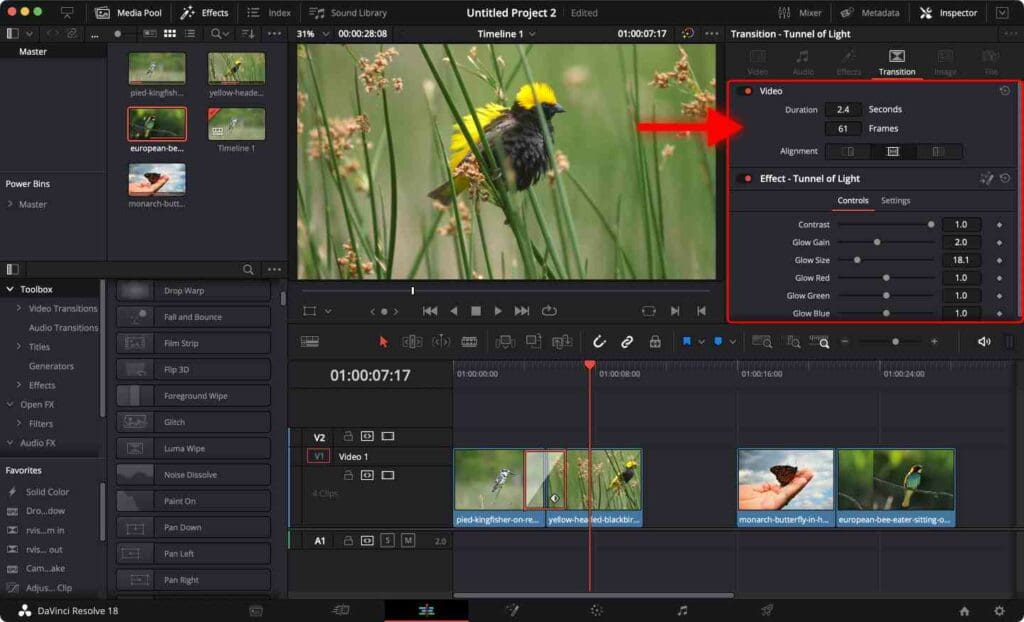
Keep in mind that each transition has a different number of settings.
Step 5: Preview the transition to see how it looks. Make any additional adjustments as needed.
Pro tip: Transitions can have a negative impact on the smoothness of your video preview playback because they can be quite resource-intensive.
In order to improve this, you can start using proxy media, or optimize DaVinci Resolve for smooth playback.
How to copy and paste transitions in DaVinci Resolve
Now that you know how to apply and customize transitions, let’s move on to copying and pasting them.
Here are the steps:
Step 1: Open your project in DaVinci Resolve and navigate to the timeline where you want to copy the transition.
Step 2: Click on the transition you want to copy. The transition will be highlighted in red.
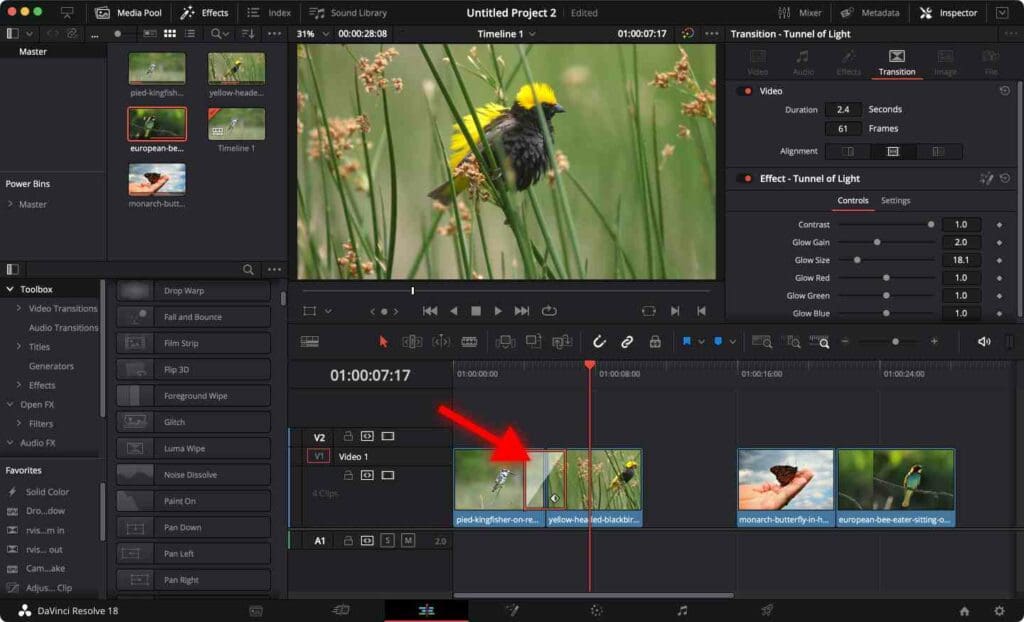
Step 3: Click and hold the “Option” key on Mac (or “Alt” key on Windows) and drag the transition between other clips.
The transition and it’s unique settings will be duplicated and applied.
Copying and pasting transition effects in DaVinci Resolve is a simple process that can help you optimize your editing workflow.
Before rendering your final project, check out the 2 Best Ways to Export Videos in DaVinci Resolve and the Best Render Settings For 4K Video in DaVinci Resolve.
Frequently Asked Questions
Why can’t I apply transition effects between clips in DaVinci Resolve?
If you are unable to apply a transition effect between clips in DaVinci Resolve, there could be a few reasons why.
1. Transitions need extra frames to work with at the end of one clip and at the beginning of another clip, which is why it may not let you add a transition. To fix this, zoom into the timeline and cut the end of the first clip by about a second and cut the beginning of the second clip by the same duration.
2. If the clips are not adjacent to each other, you may not be able to add a transition. Make sure there is no space between the two clips.
If none of these solutions work, try restarting DaVinci Resolve.
How to change the transition duration in DaVinci Resolve?
You can adjust the duration of the transition by clicking on the transition in the timeline and dragging the edges to make it longer or shorter.
My DaVinci Resolve transitions are not smooth. What should I do?
Try adjusting the transition duration or the “ease in” or “ease out” keyframes. Alternatively, check if there is an option in the transition settings to enable “Motion Blur”, it will smooth the movement during transition.
Another reason might be that your computer is not powerful enough to play back the transition smoothly. If you want to improve playback, start using proxy media, or optimize DaVinci Resolve for smooth playback.


